Throwing and handling a textured slip mug

Here’s a few video’s of me making a textured slip mug. First, a video of me throwing the mug, and then adding the slip and texture near the end. The second video is about 30 seconds long, it shows me working on the handle, and shows the finished mug at the end (and in the thumbnail).

This is a cobalt slip made of the same clay that I’m throwing with - Laguna cone 5 B-Mix. When finished the slip will be blue and the rest will be white. This first video is about a minute long.

This video shows me finishing the shape and attaching the bottom part of the handle. This one is a quick 30 seconds.

Our big move

Back in March of 2020, my husband and I found the perfect house for sale, and we decided to make the move. It was exciting but also scary, as these were the very early days of the pandemic - the days when no one was quite sure what was going on, and toilet paper was hard to come by. There were of course some hiccups, but we had our house bought in April and immediately started some improvements. An electric line was run to the planned kiln area, and a door was added into the side of the garage for easy access from the studio area to the kilns. We were finally move-in ready on Memorial Day weekend, and we made the move from Goodyear Arizona to nearby Avondale Arizona.
Our new home suits us perfectly! It has a gigantic garage intended for big RV’s, but of course we had other plans for that space. Jake now has plenty of room to collect and restore cars, and I have a nice portion of that space carved out for my studio.
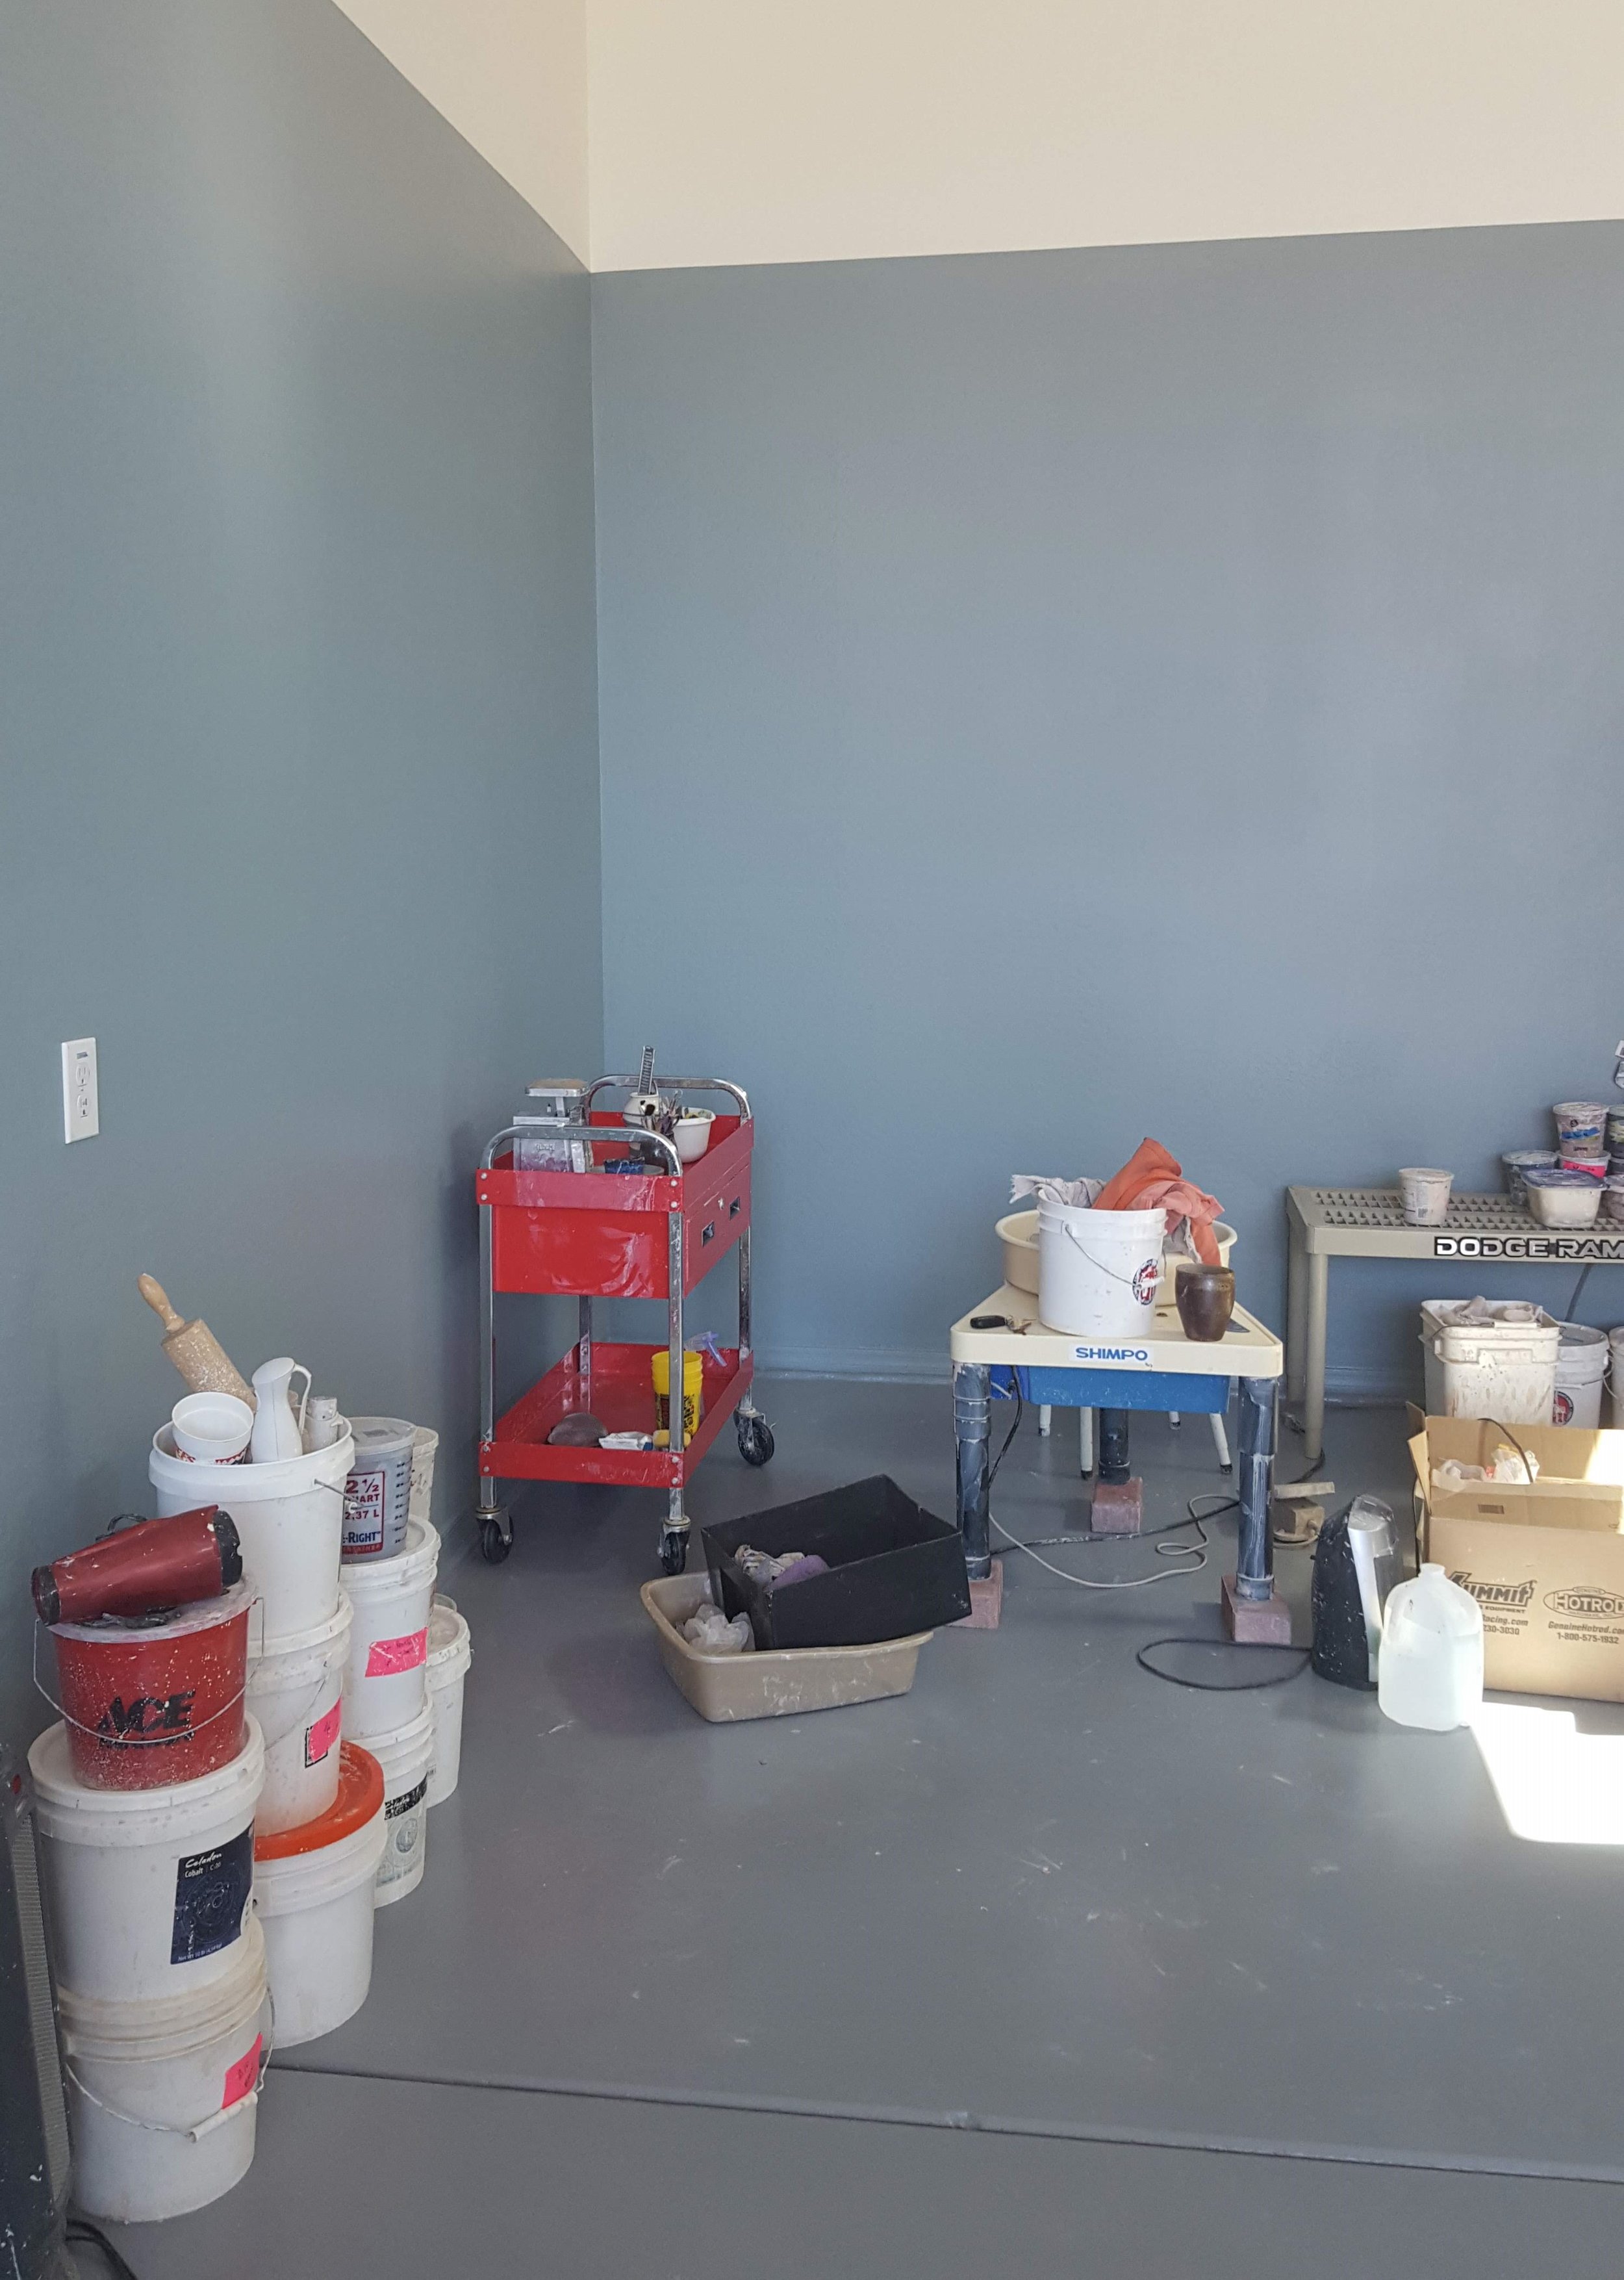
I really did love my old corner studio, it was tiny but it was enough. Moving into this new space and figuring out how to best utilize it is still a work in progress, but it’s been a wonderful space to work in. Here are some pictures of the move and of the initial studio setup.

Moving the kilns was Stressful! Especially this big old girl, I have probably had her 12 or more years which isn’t all that long, but she was already pretty old when I got her. We were able to get the 2 pieces moved without much damage to the firebrick inside.

I’ve changed things around just a little since we initially set this up. The kiln shelves were moved next to the house where they’ll stay shaded later into the day. And we’ve added some decent rock to this area so we’re not tracking so much dirt into the house.
Yes my kilns are still outside. I do tarp them carefully when they are not in use, and they are both manual kilns. I do hope to improve this setup someday, but this works really well for me now.

My studio is a nice size, with plenty of shelf space. I was a little overwhelmed when these first pictures were taken. My old studio had a flow, and I had to figure out what that flow looked like in this space. But it did not take long for me to feel at home.

These last 2 pictures show the current setup. My glazes are stored on the shelves against the wall to the right of my wheel (shown in the picture on the right). The sink is just a bit further up that same wall. Slips are stored on and under the table right behind/beside my wheel for easy access. There is ample shelf space between the wheel and the door for my pots in progress. It is so nice to have enough shelf space for a large kiln load of pots, with room to spare for green ware overflow or bisqued pots ready to glaze.

Source: http://www.jillspots.com/