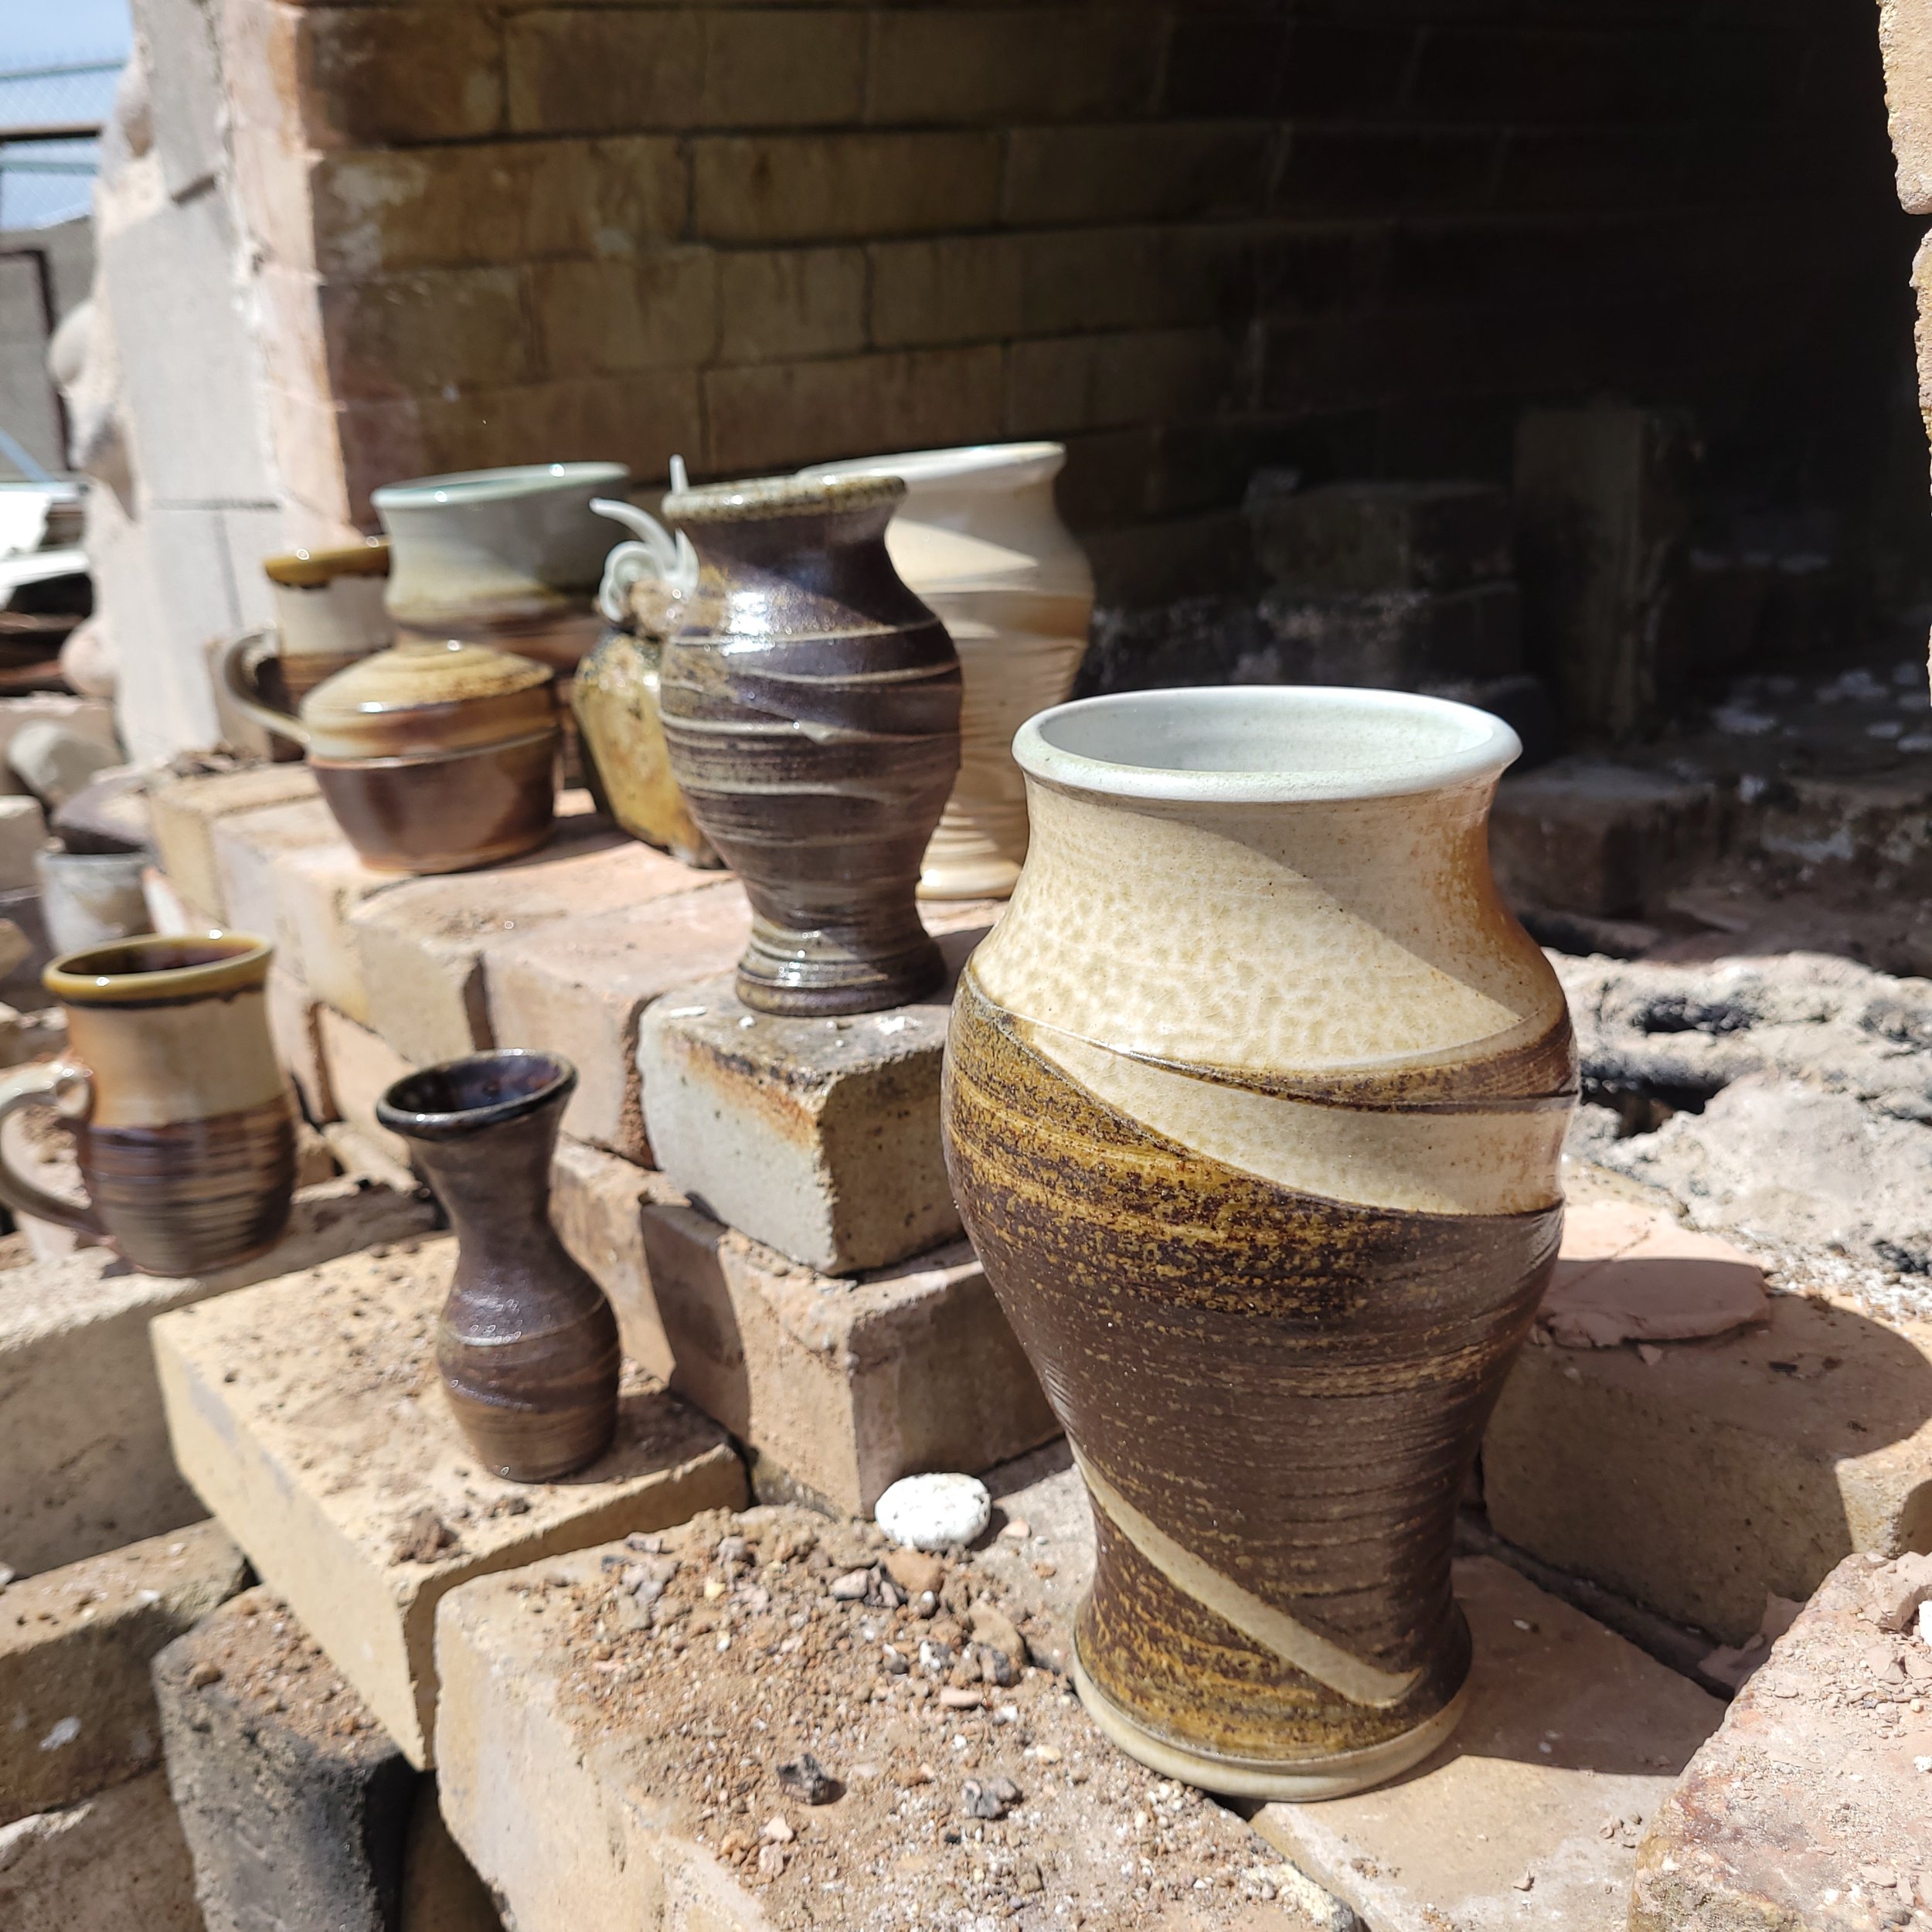
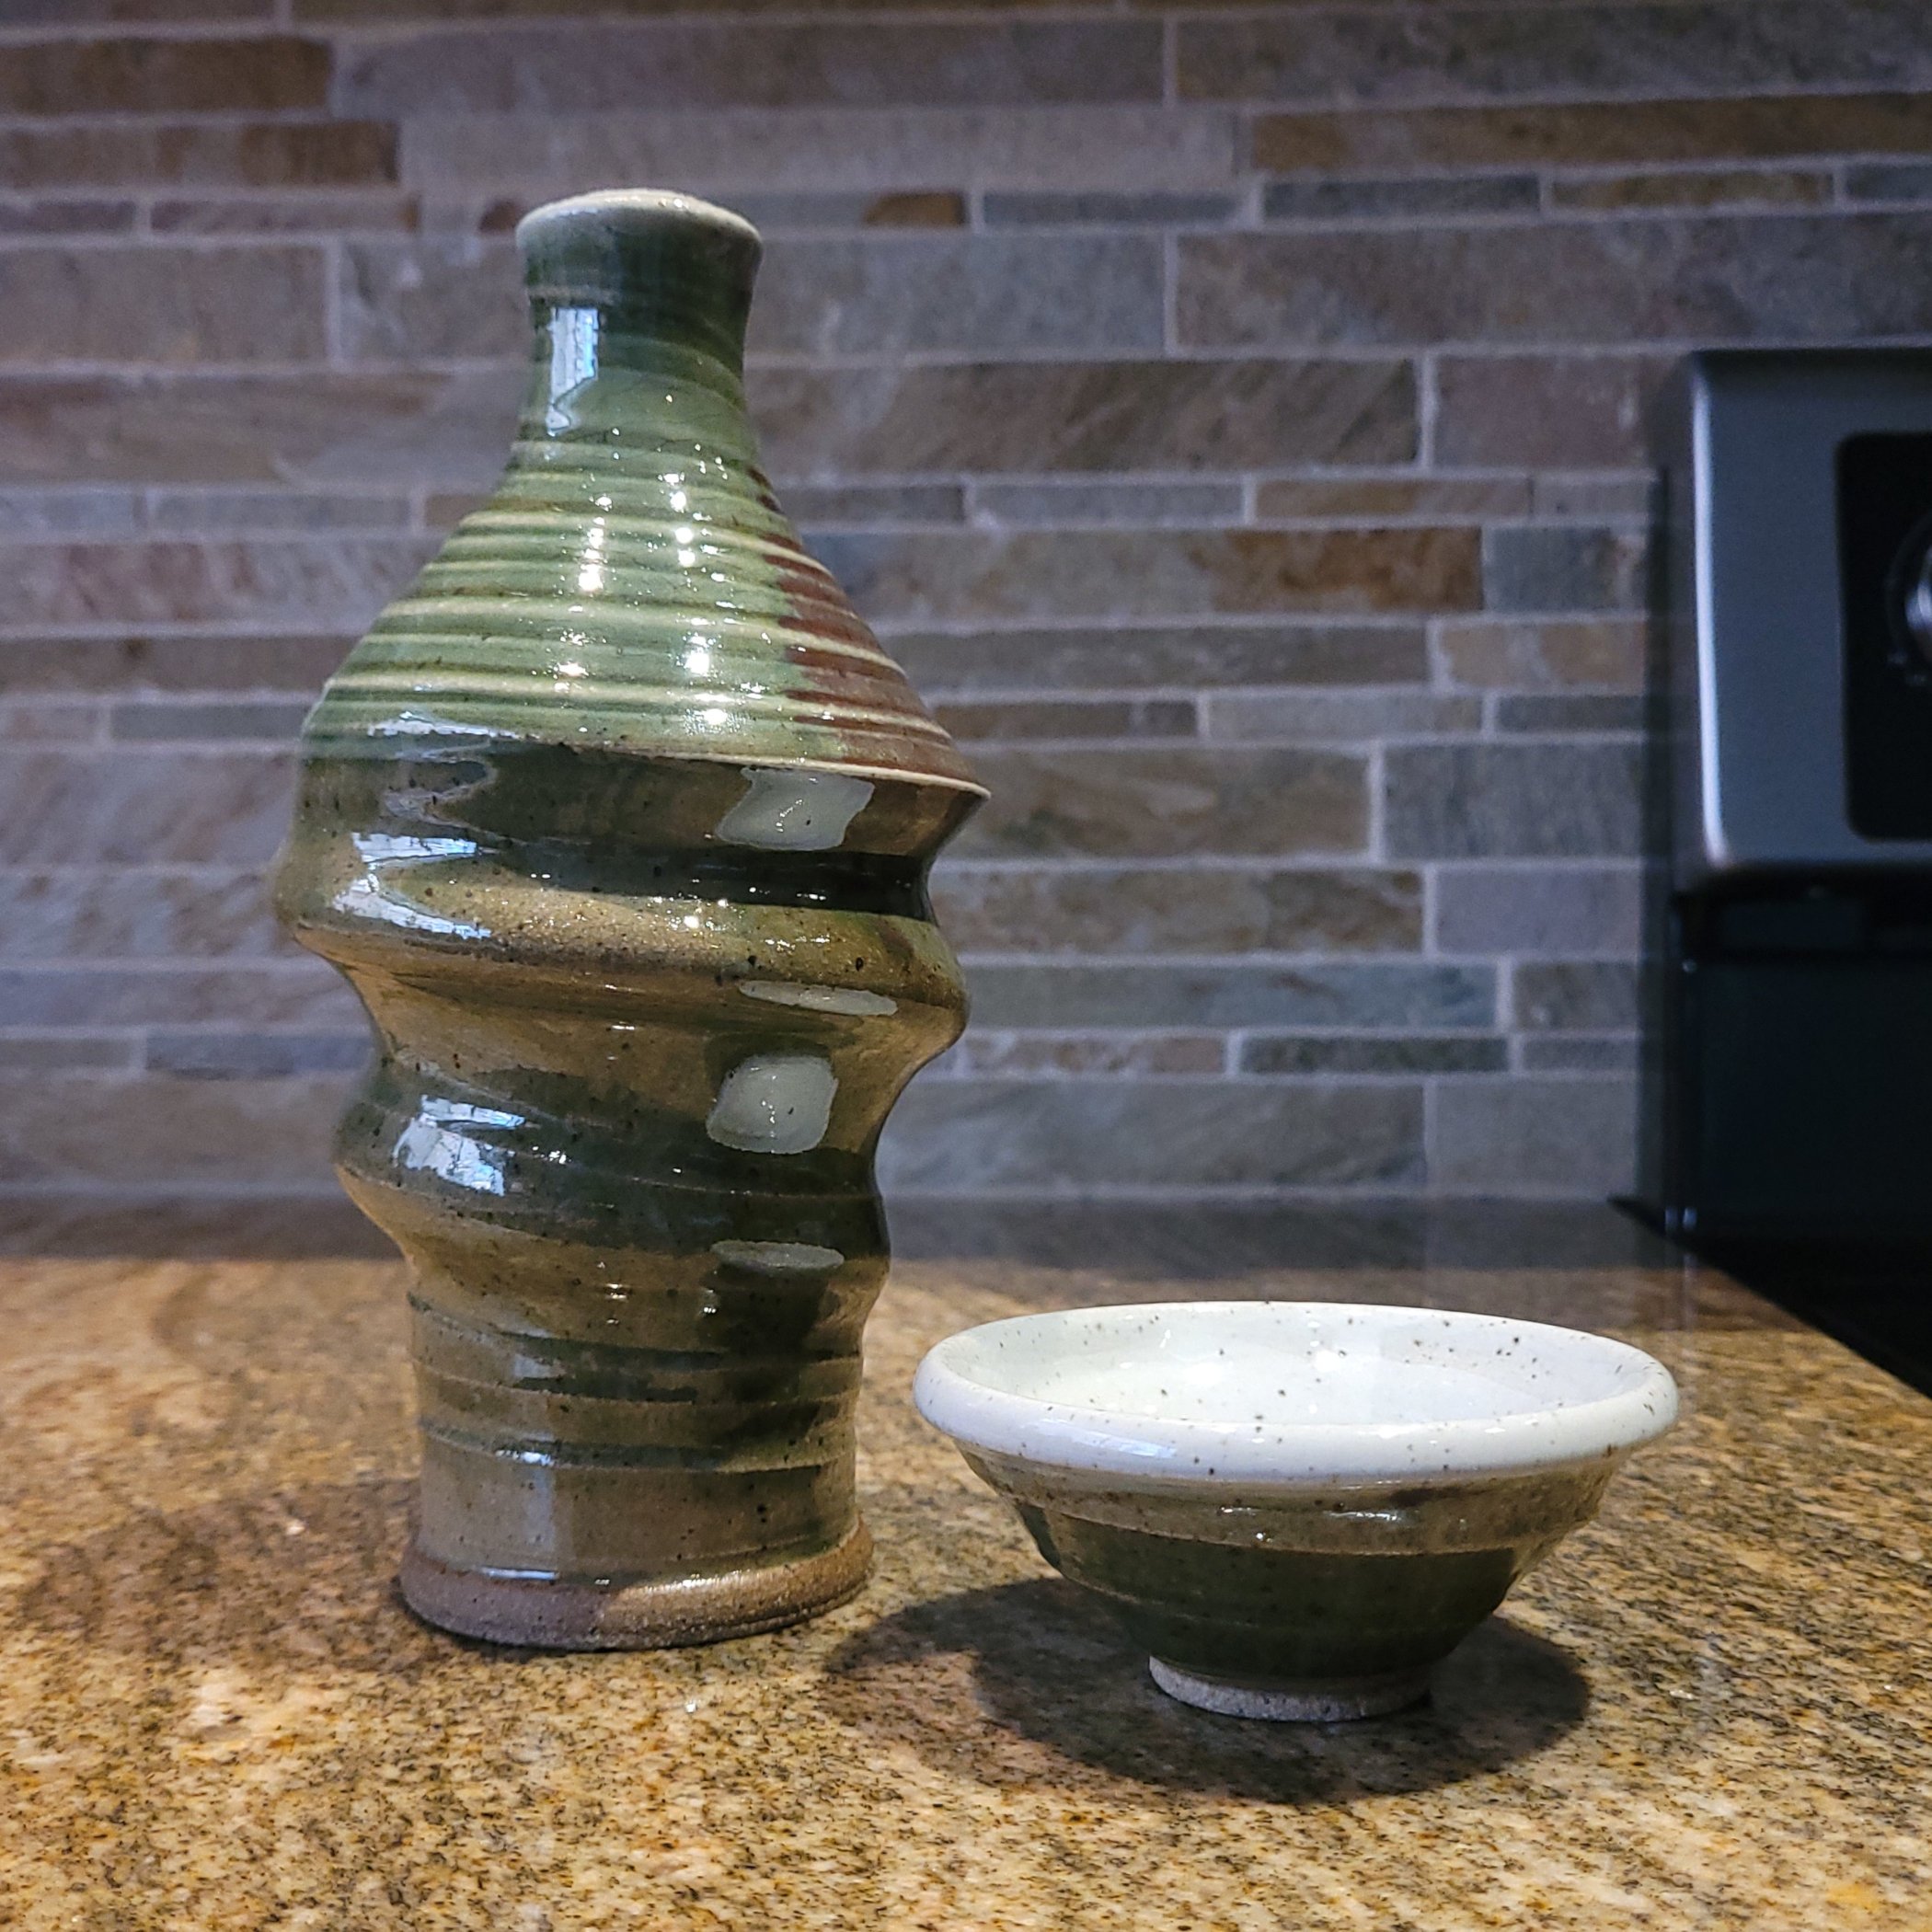
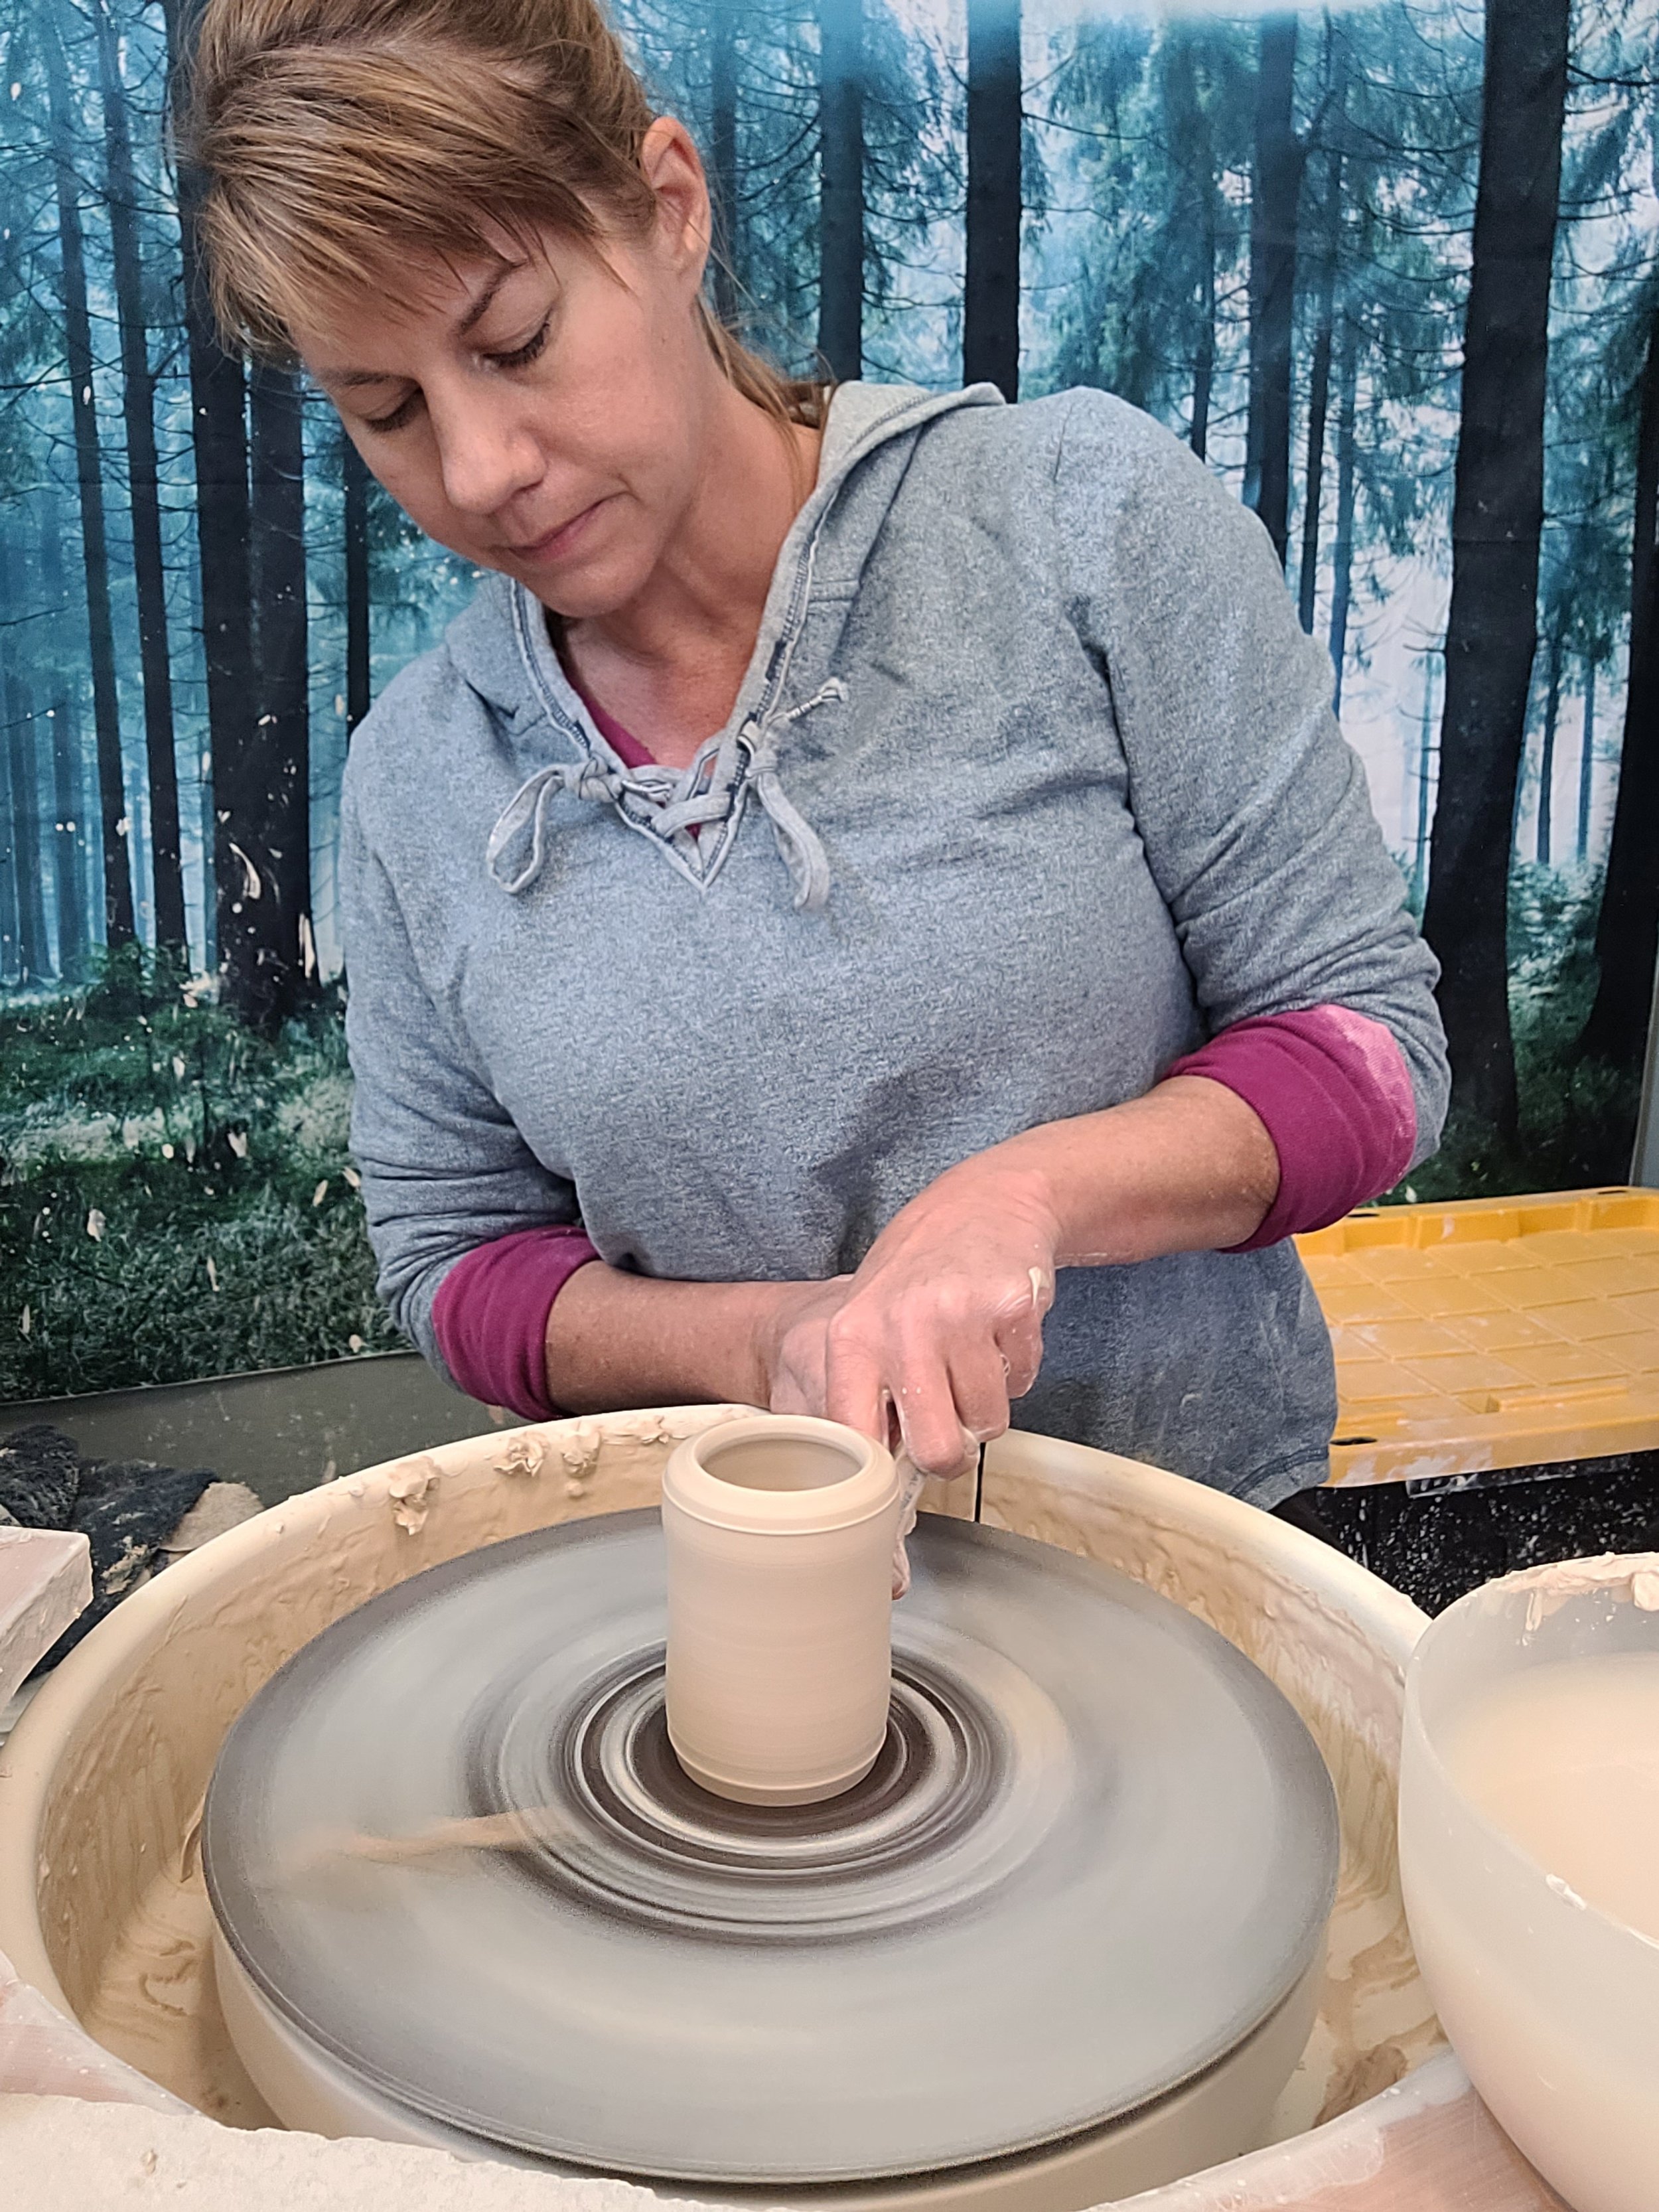
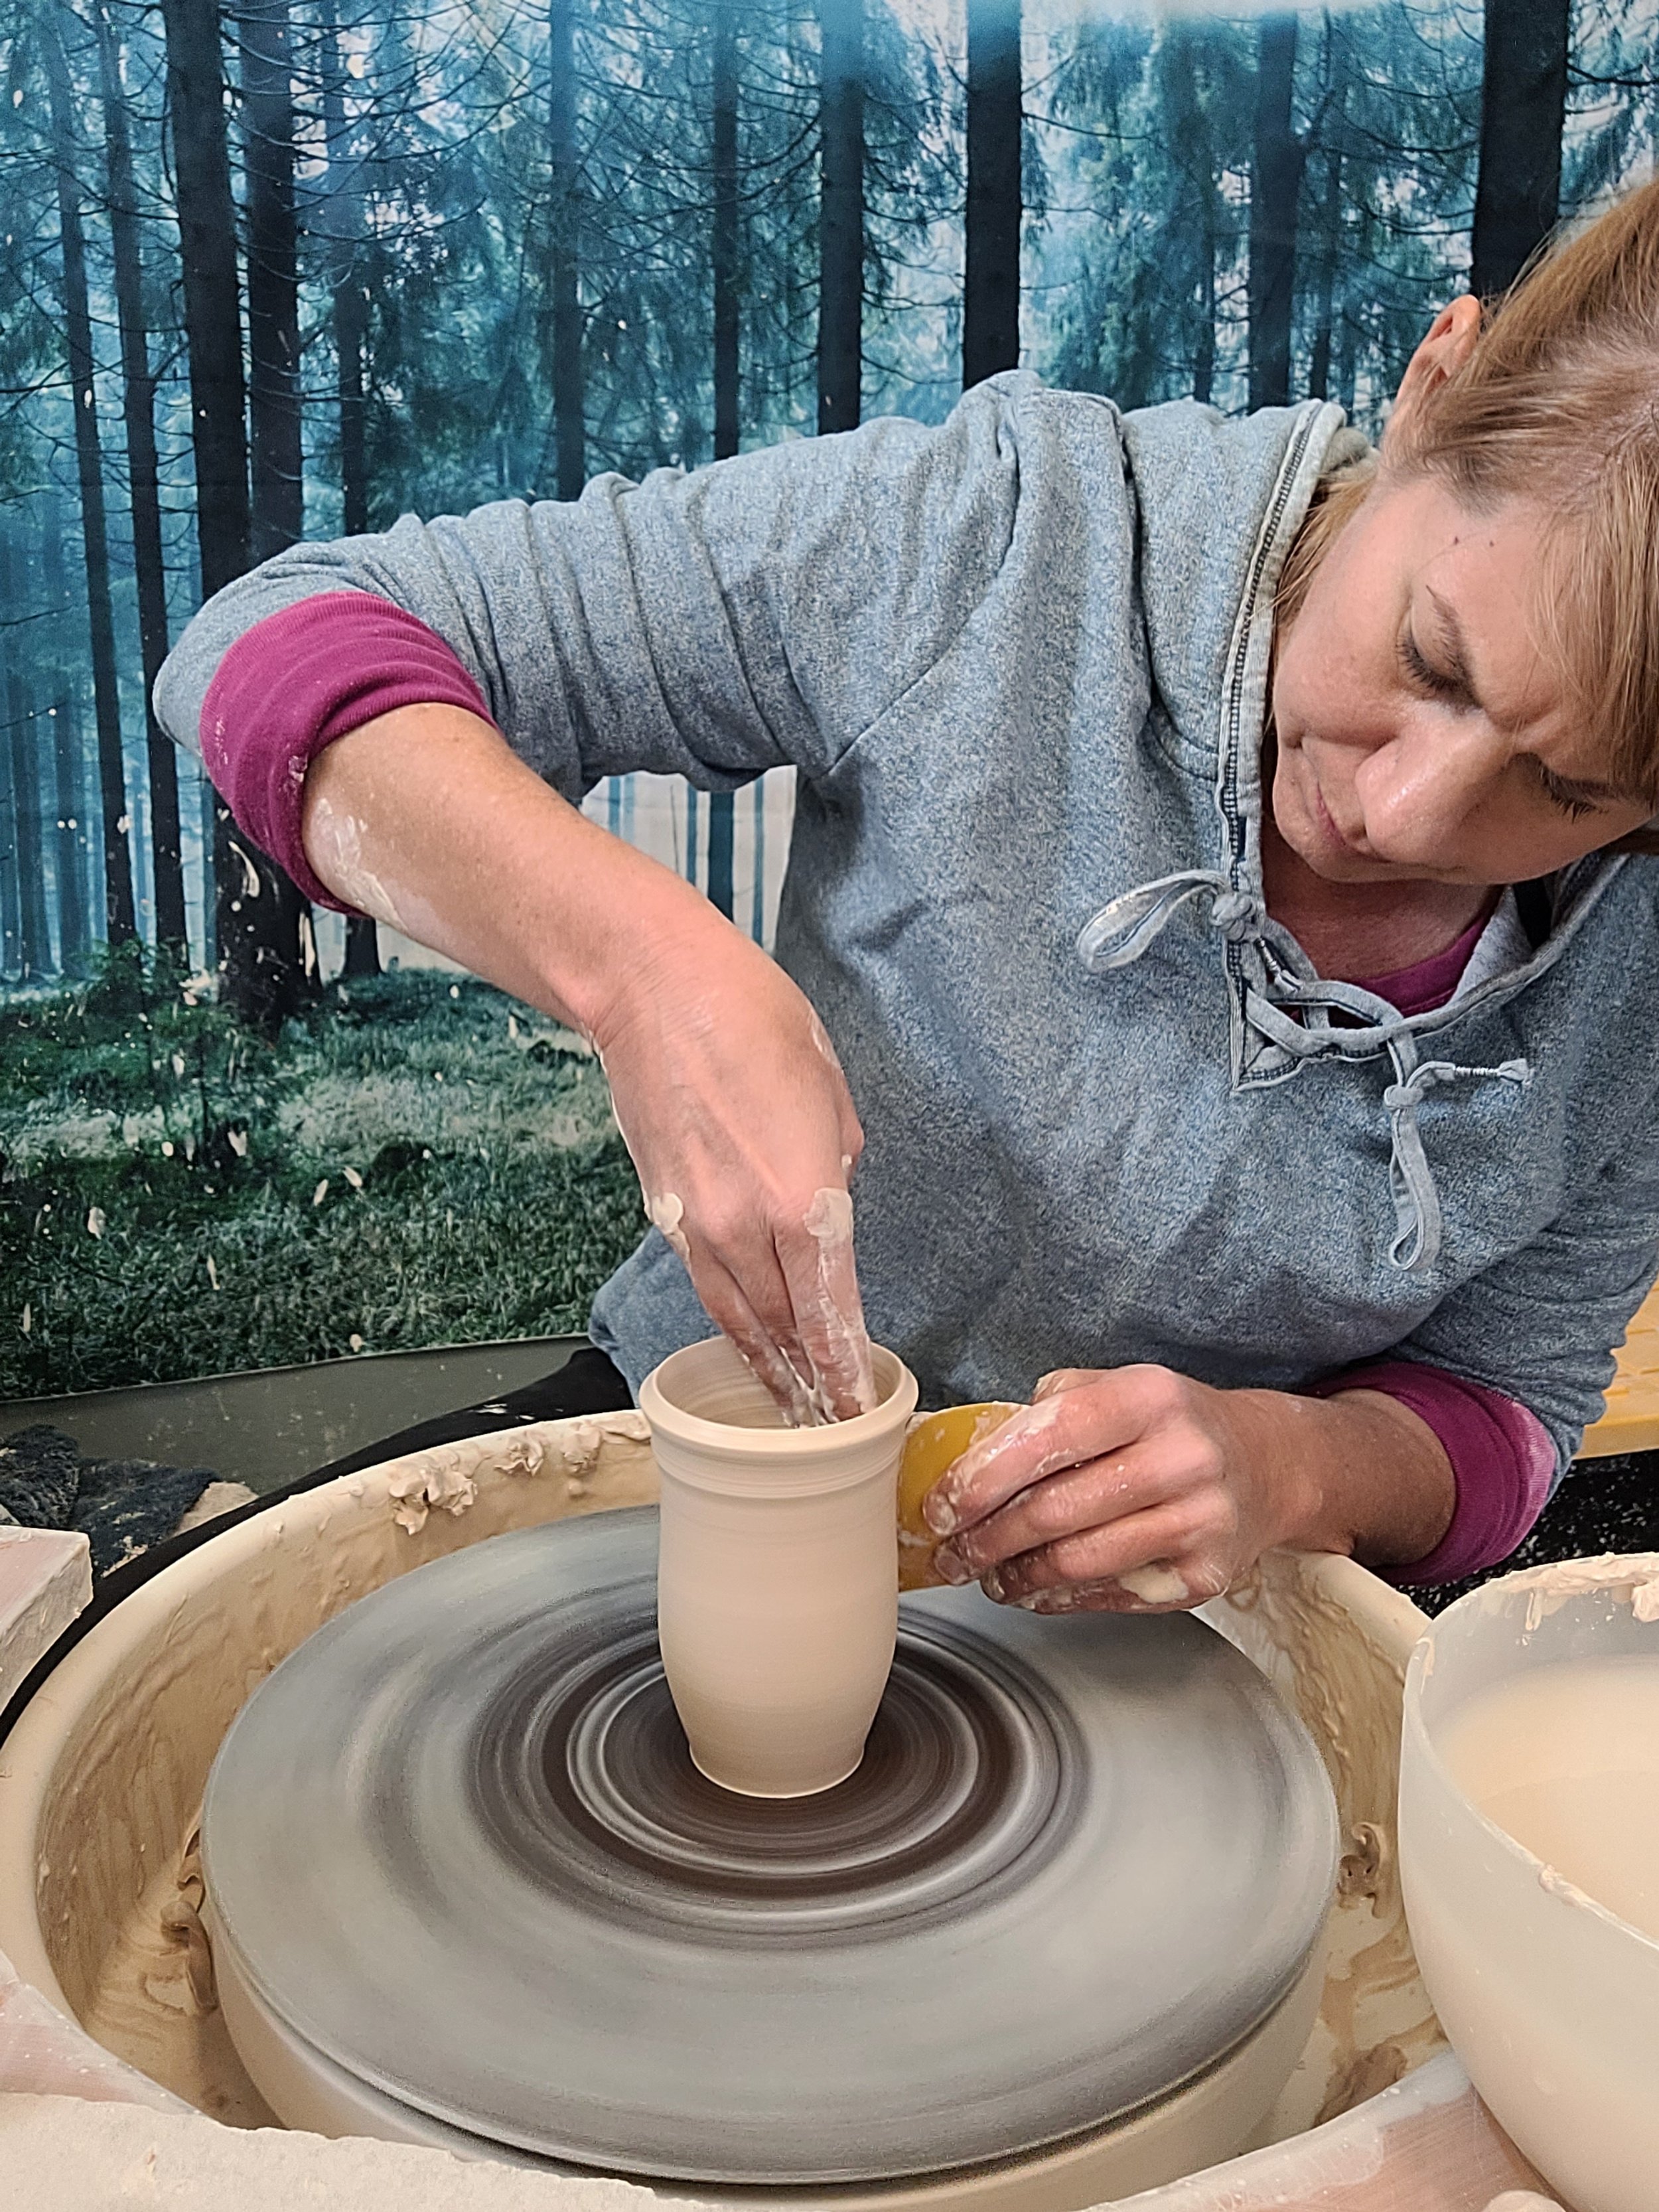
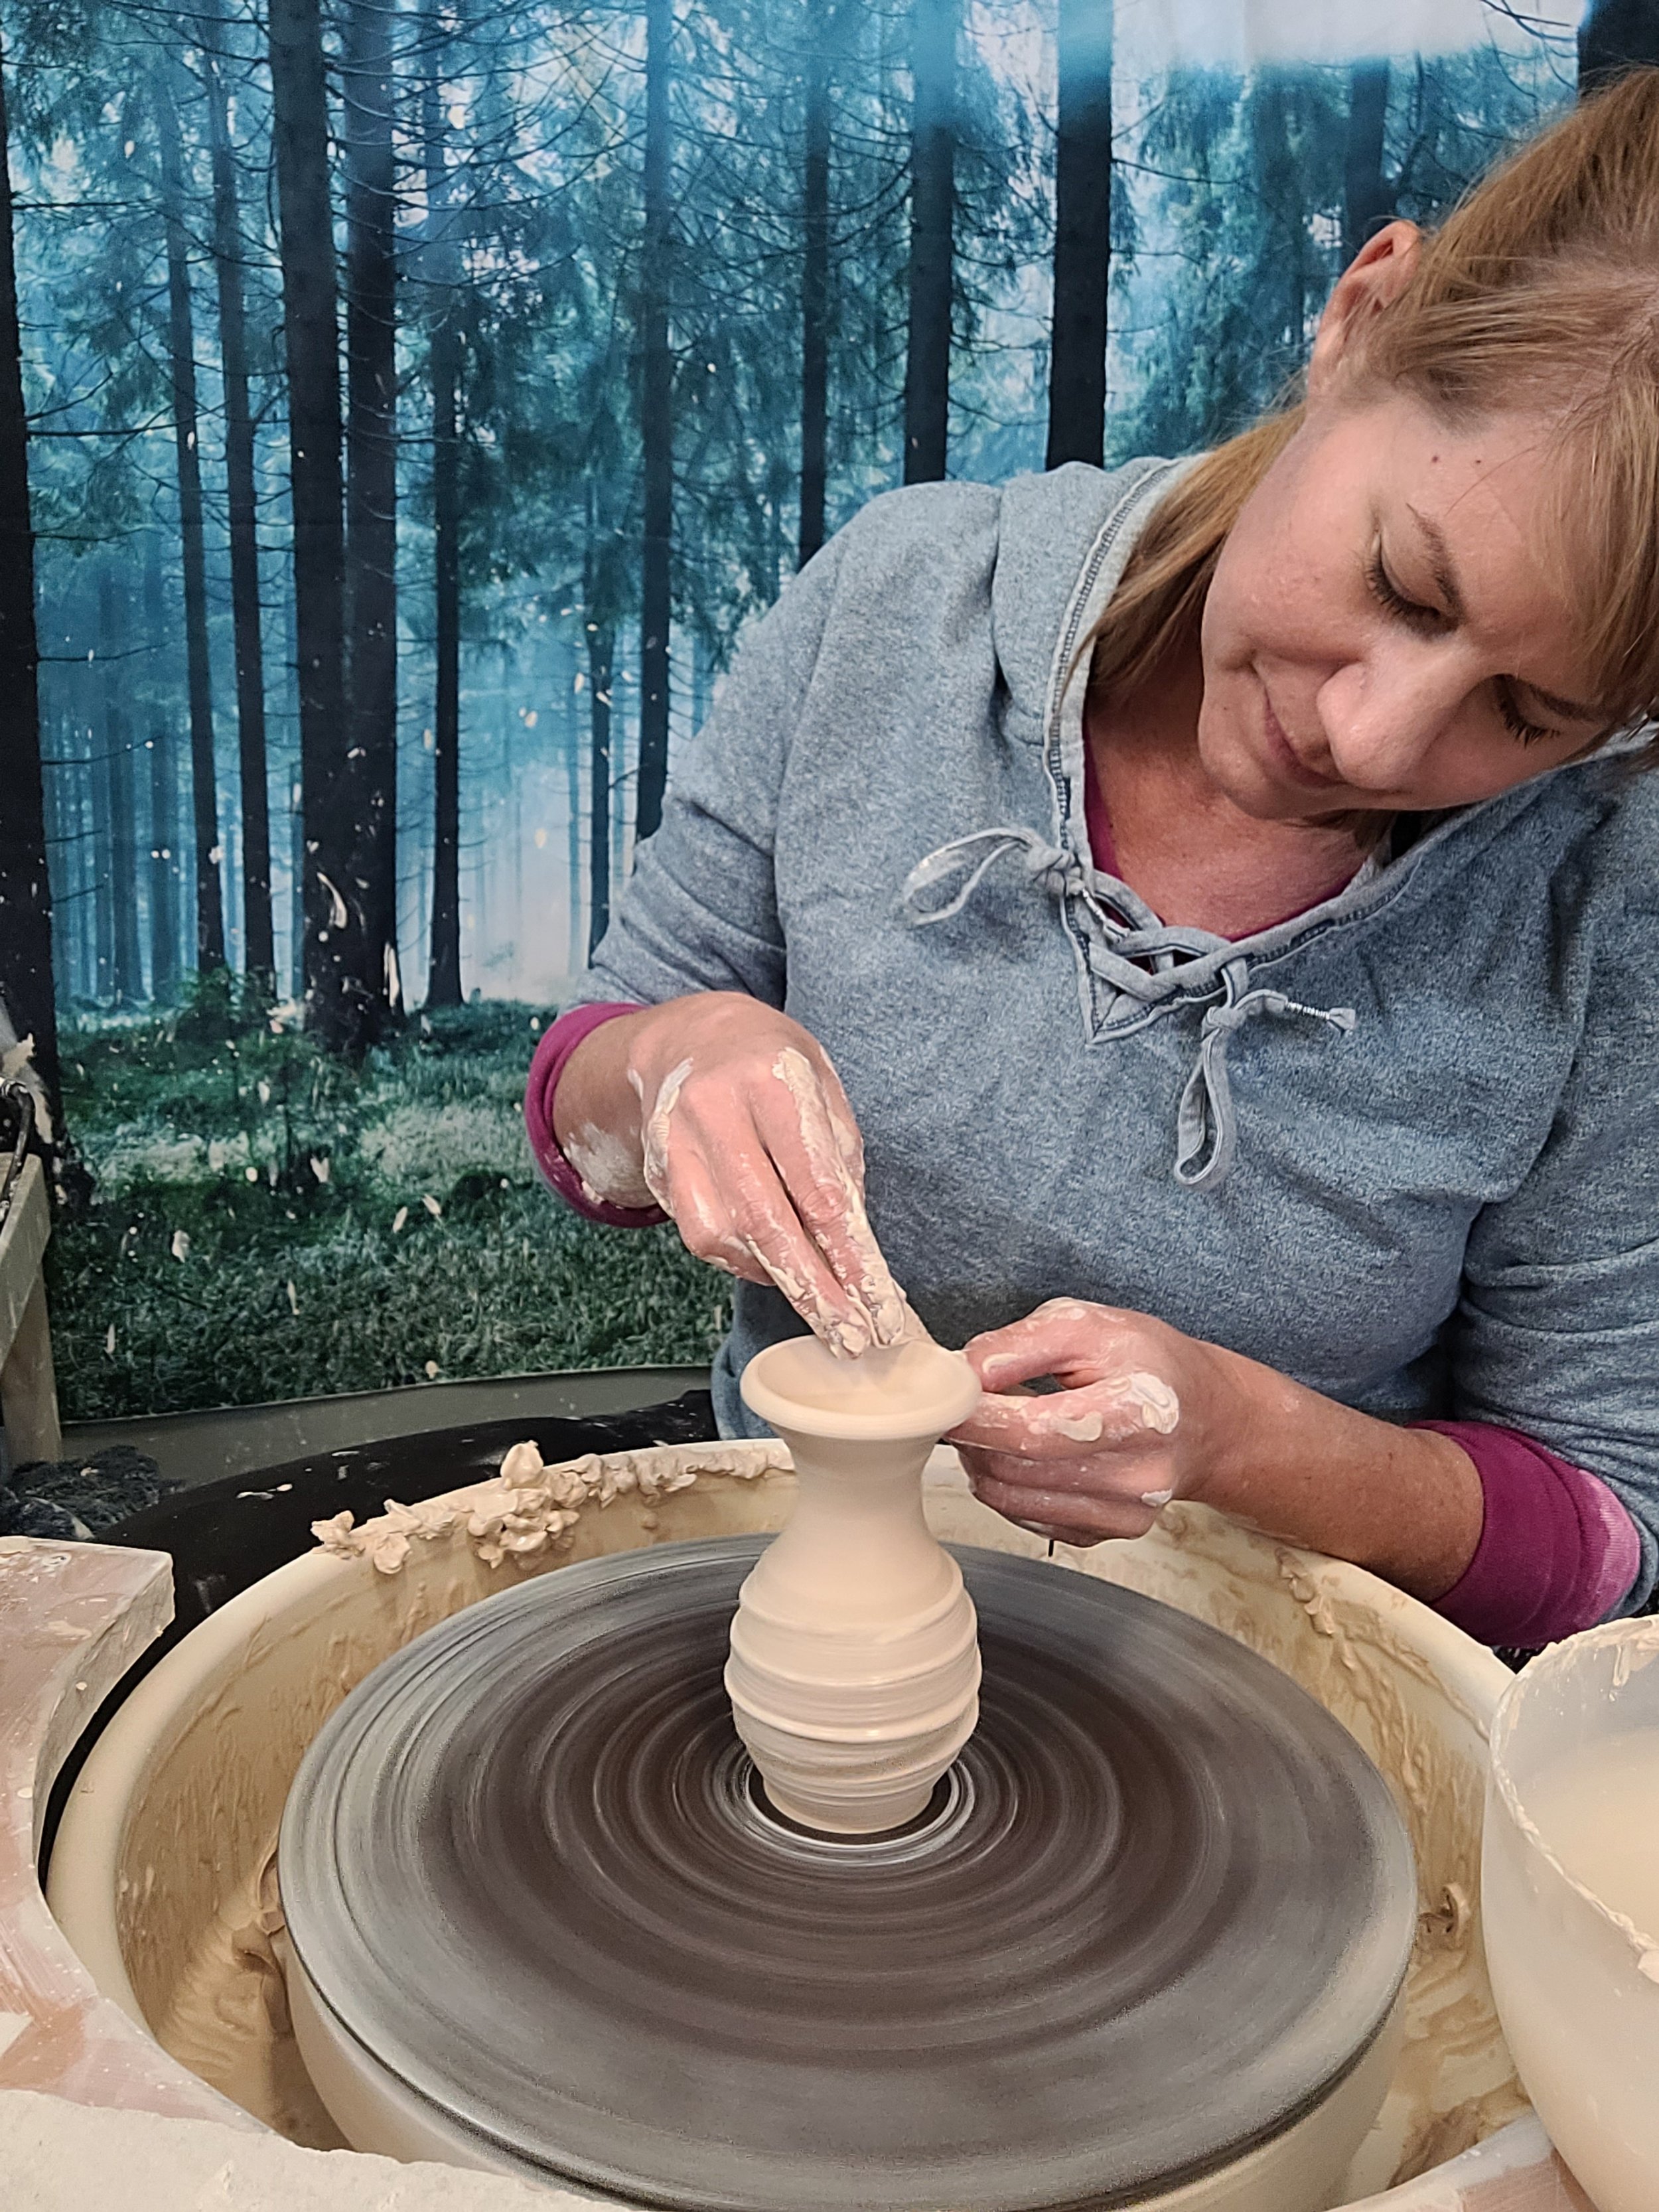
Here are a few videos showing me making a couple different types of swirl vases. They are both fairly large, nearly 10 inches tall.
In both of these examples I added a thick layer of slip and used a jagged brush to add texture to the wet slip. Then I used a rib to press a swirl mark in through the slip, revealing the clay beneath. For these 2 vases, there is a difference in how I do that mark making step.
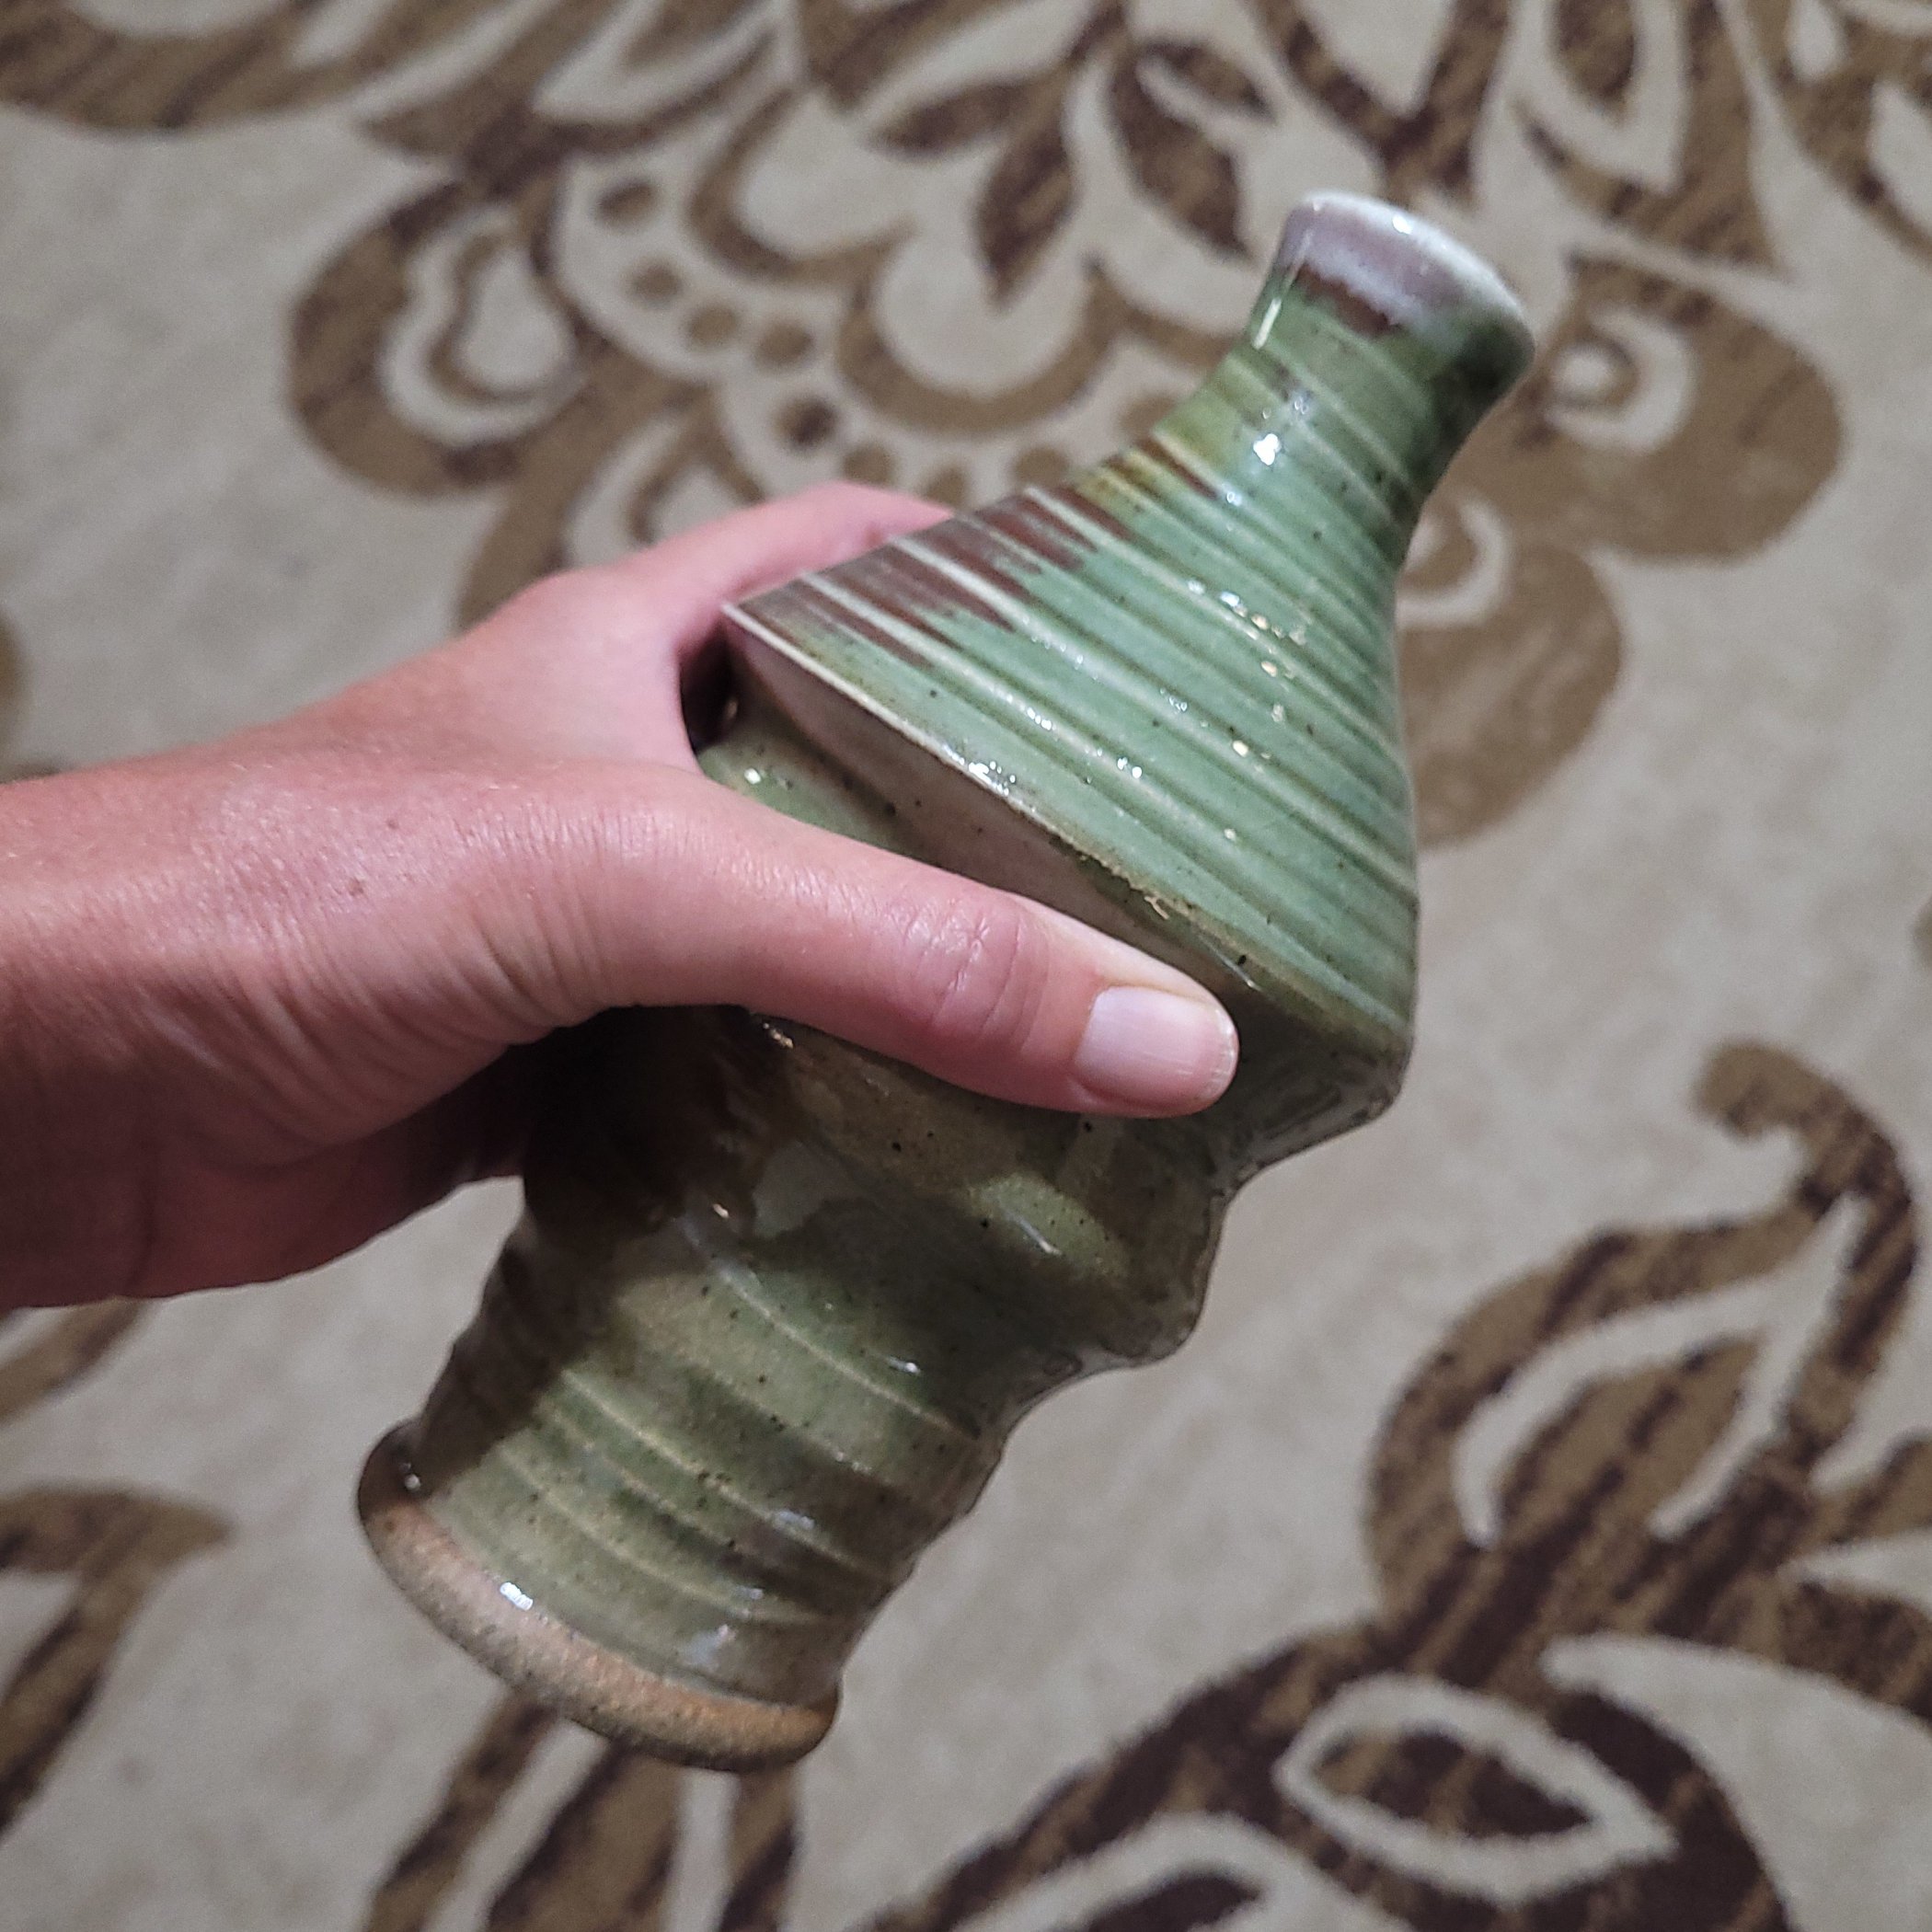
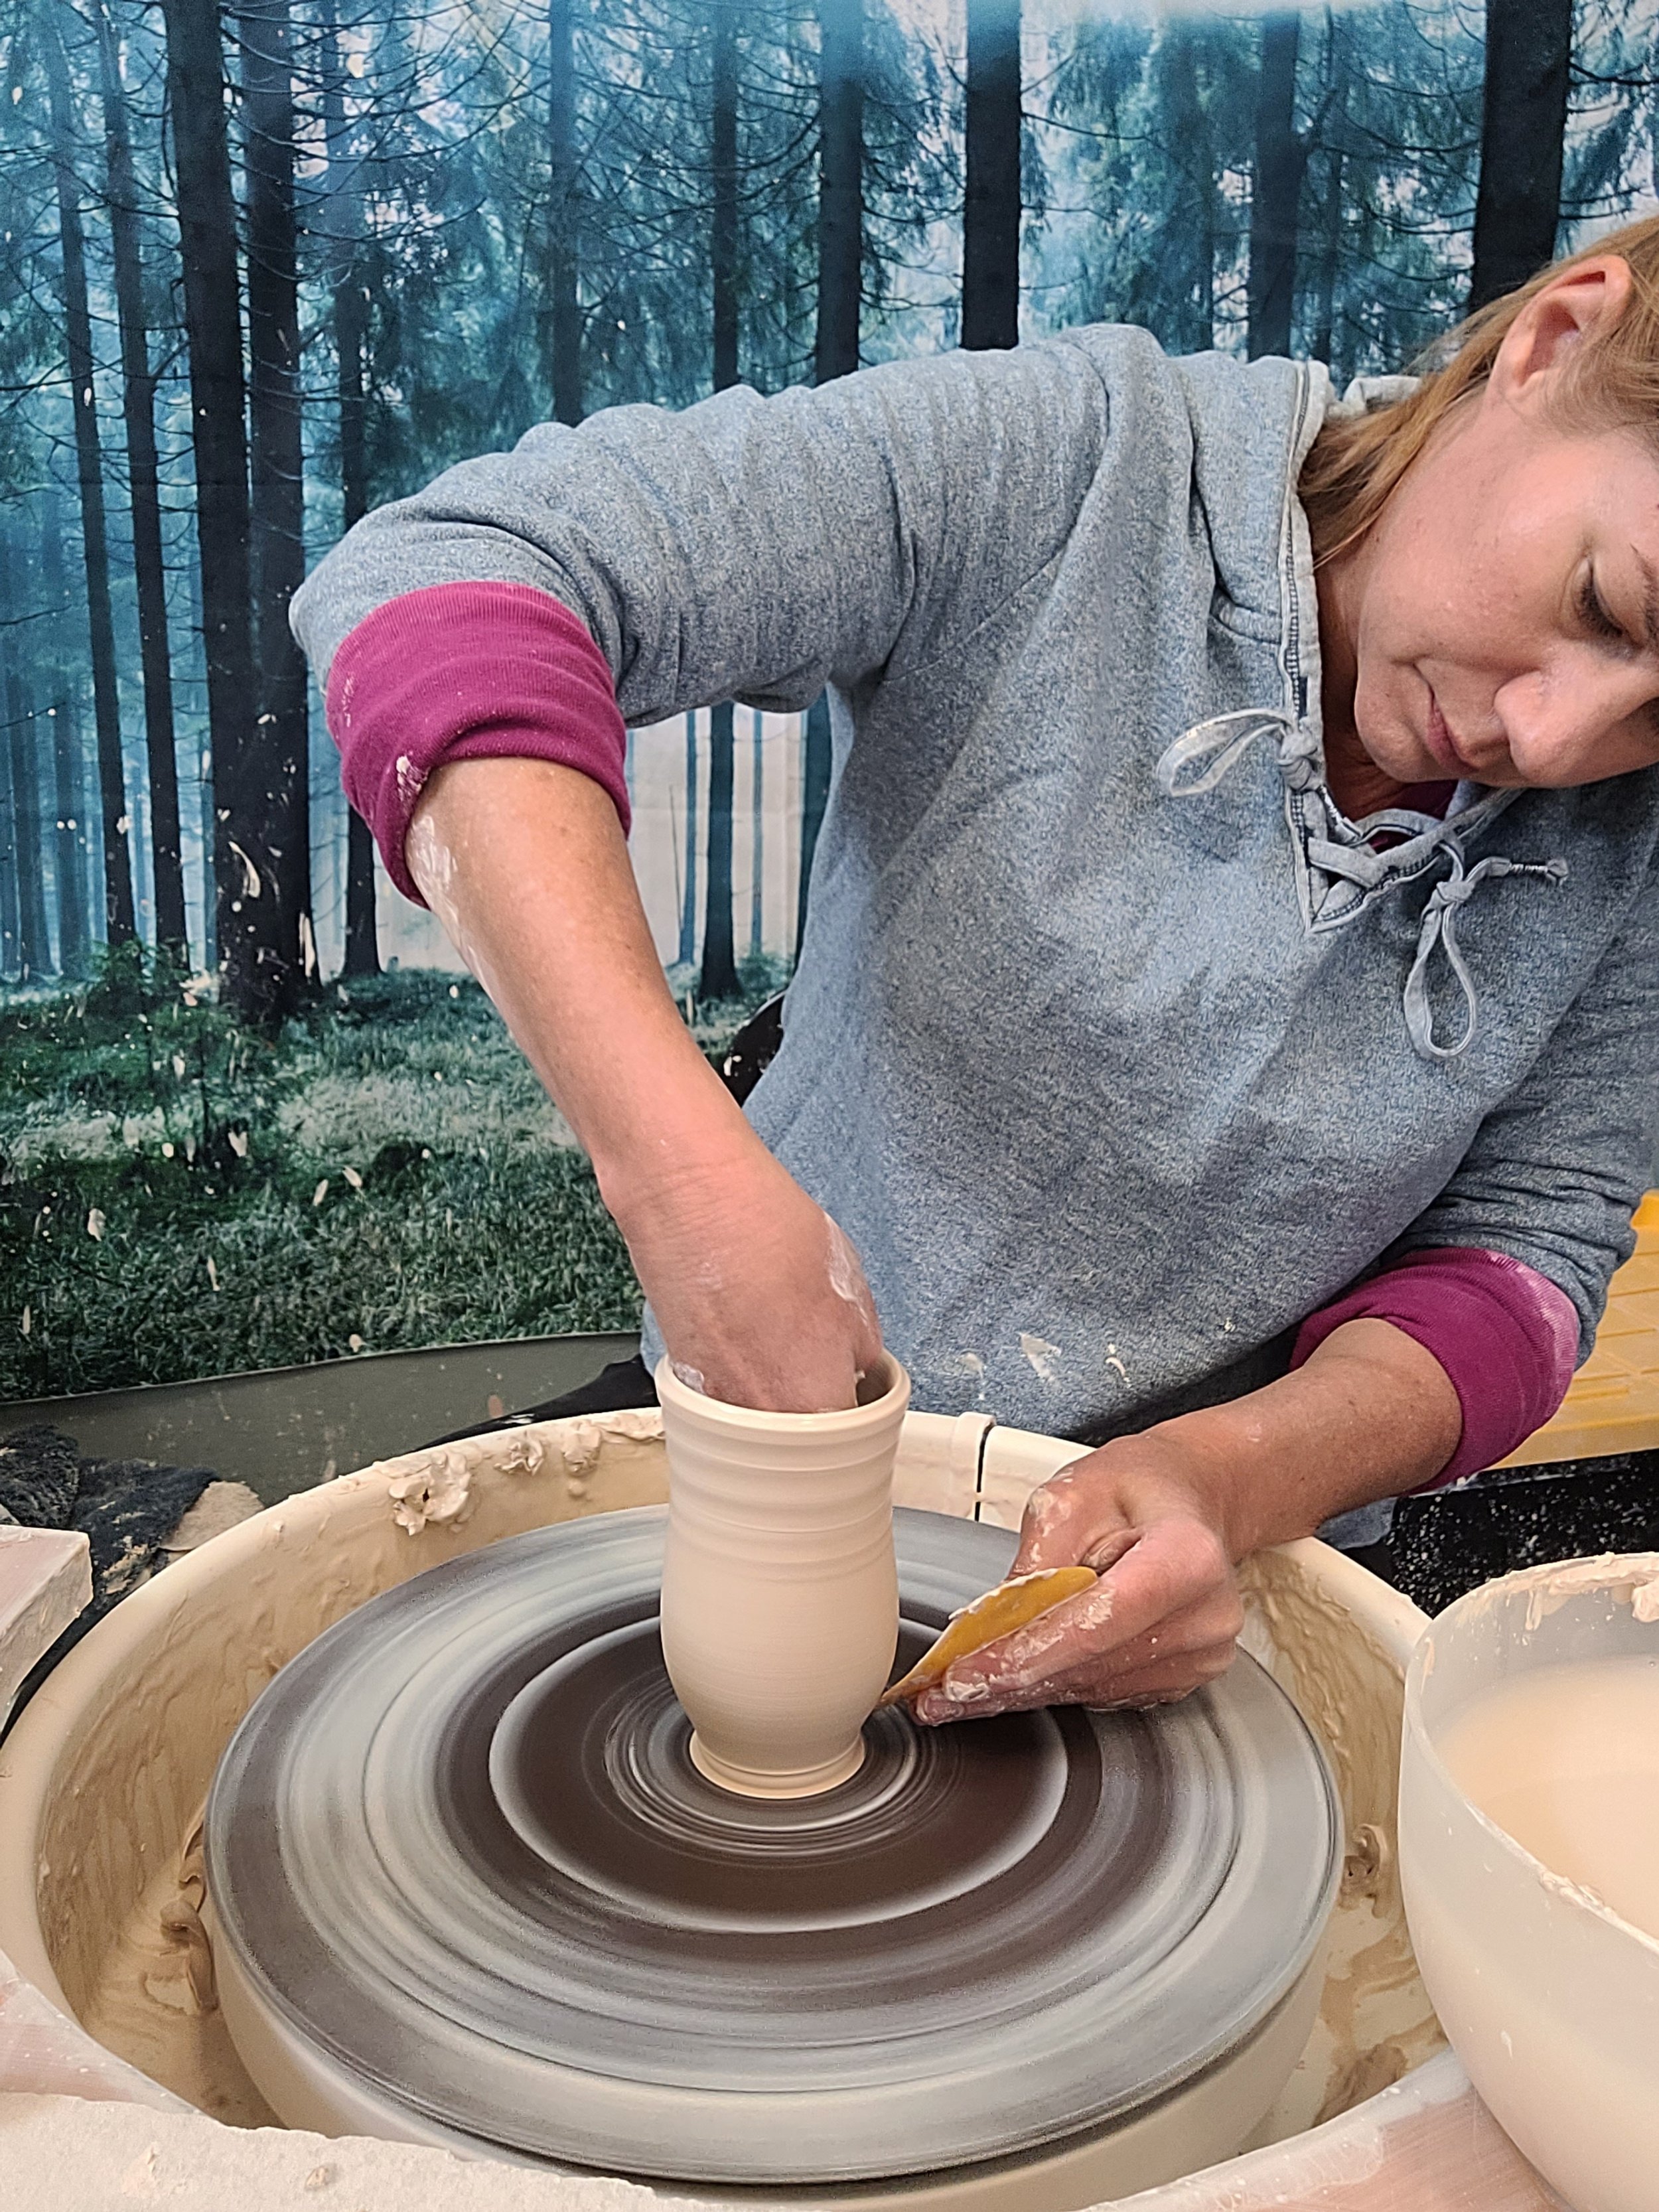
In the first version (shown below) I lead the swirl shape with my fingers pressing out from inside the vase, as the rib presses in from the outside. Before I made the swirl, the belly of the vase rose up in a very gentle curve from the narrowed section above the foot up to the shoulder (the widest part of the vase). It was nearly straight, which is ideal for this type of mark. I added the swirl mark by pressing the fingers of my left hand out from the inside as I pressed the rib in from the outside of the vase, a bit below the inside hand. As the wheel (and pot) is spinning, I press out from the inside and in from the outside, as I move my hands up the side of the pot to the shoulder. (This will happen about 1:05 into the video.)
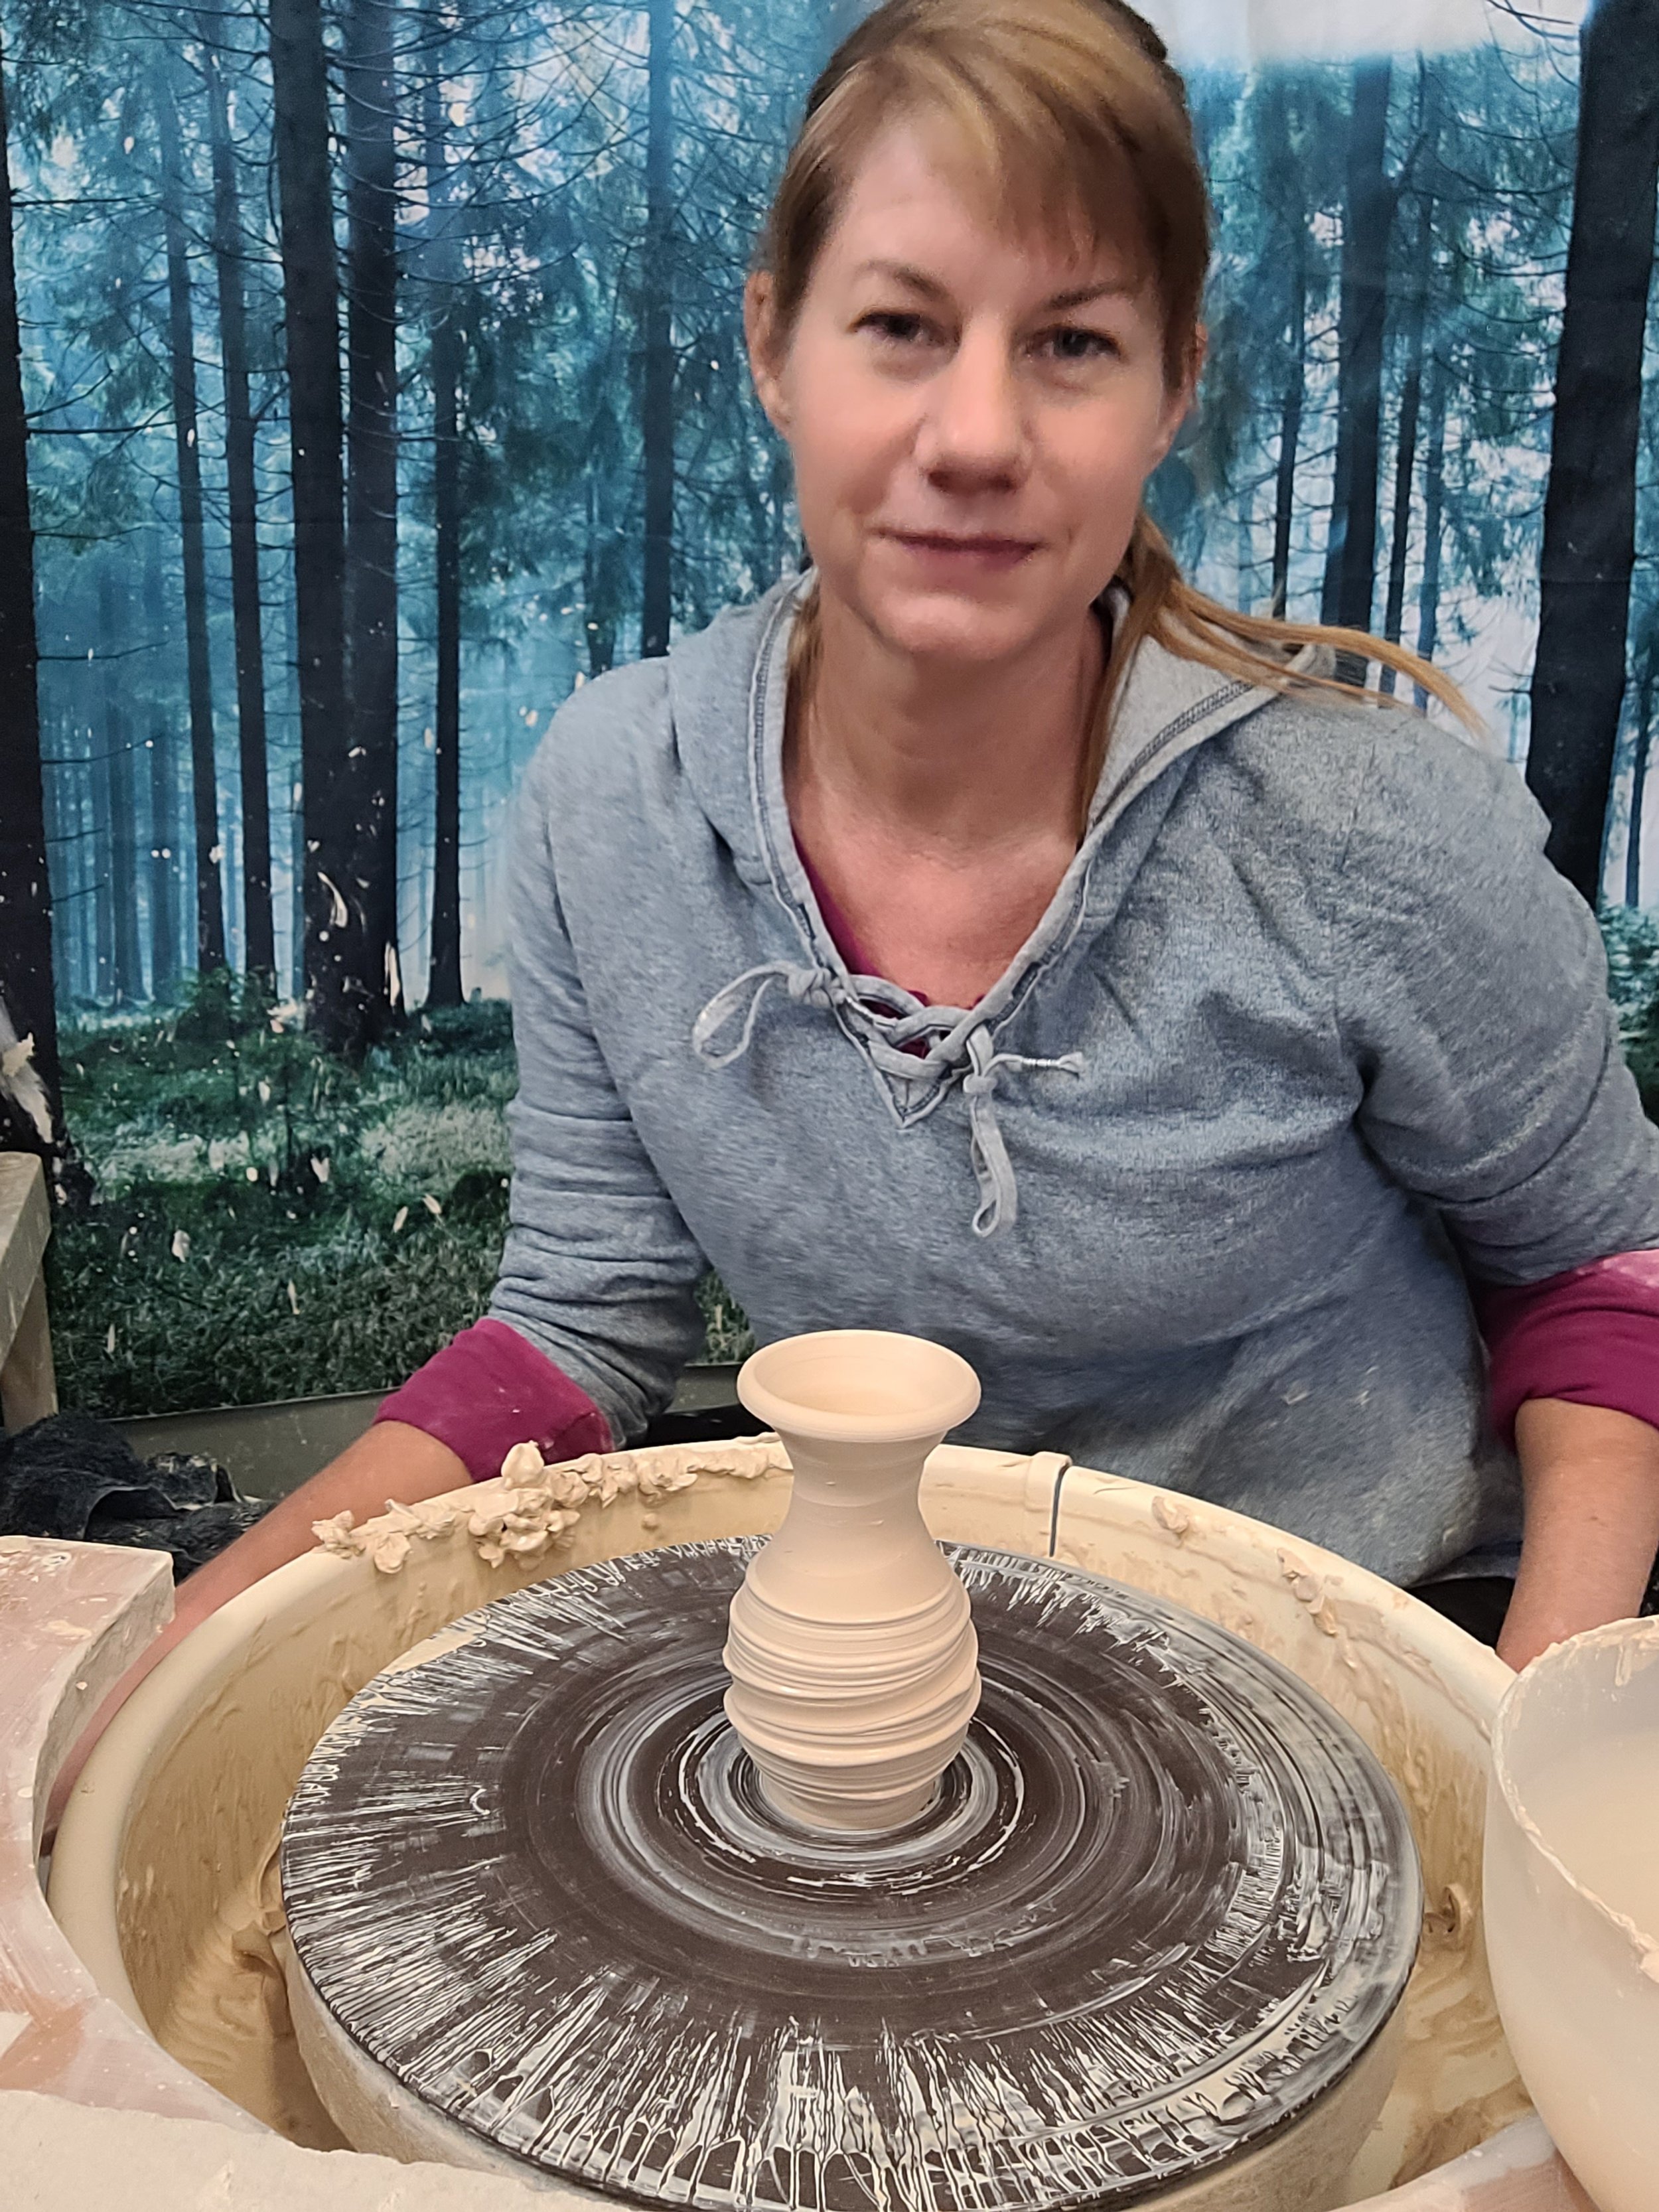
I’m not after a perfect swirl, I want a lively, dynamic shape, so this all has to happen with one quick motion. Ideally, this changes the shape of the pot by adding a ripple up the side. That mark does vary depending on how stiff the clay is, how thick the pot’s wall is, how fast the wheel was spinning, and how firmly I pressed from each side. The clay I was using here was plenty soft, so the vase wall wasn’t super thin, but it all worked well. I was able to use some force without knocking the vase completely out of whack, and I got a nice bold swirl shape.
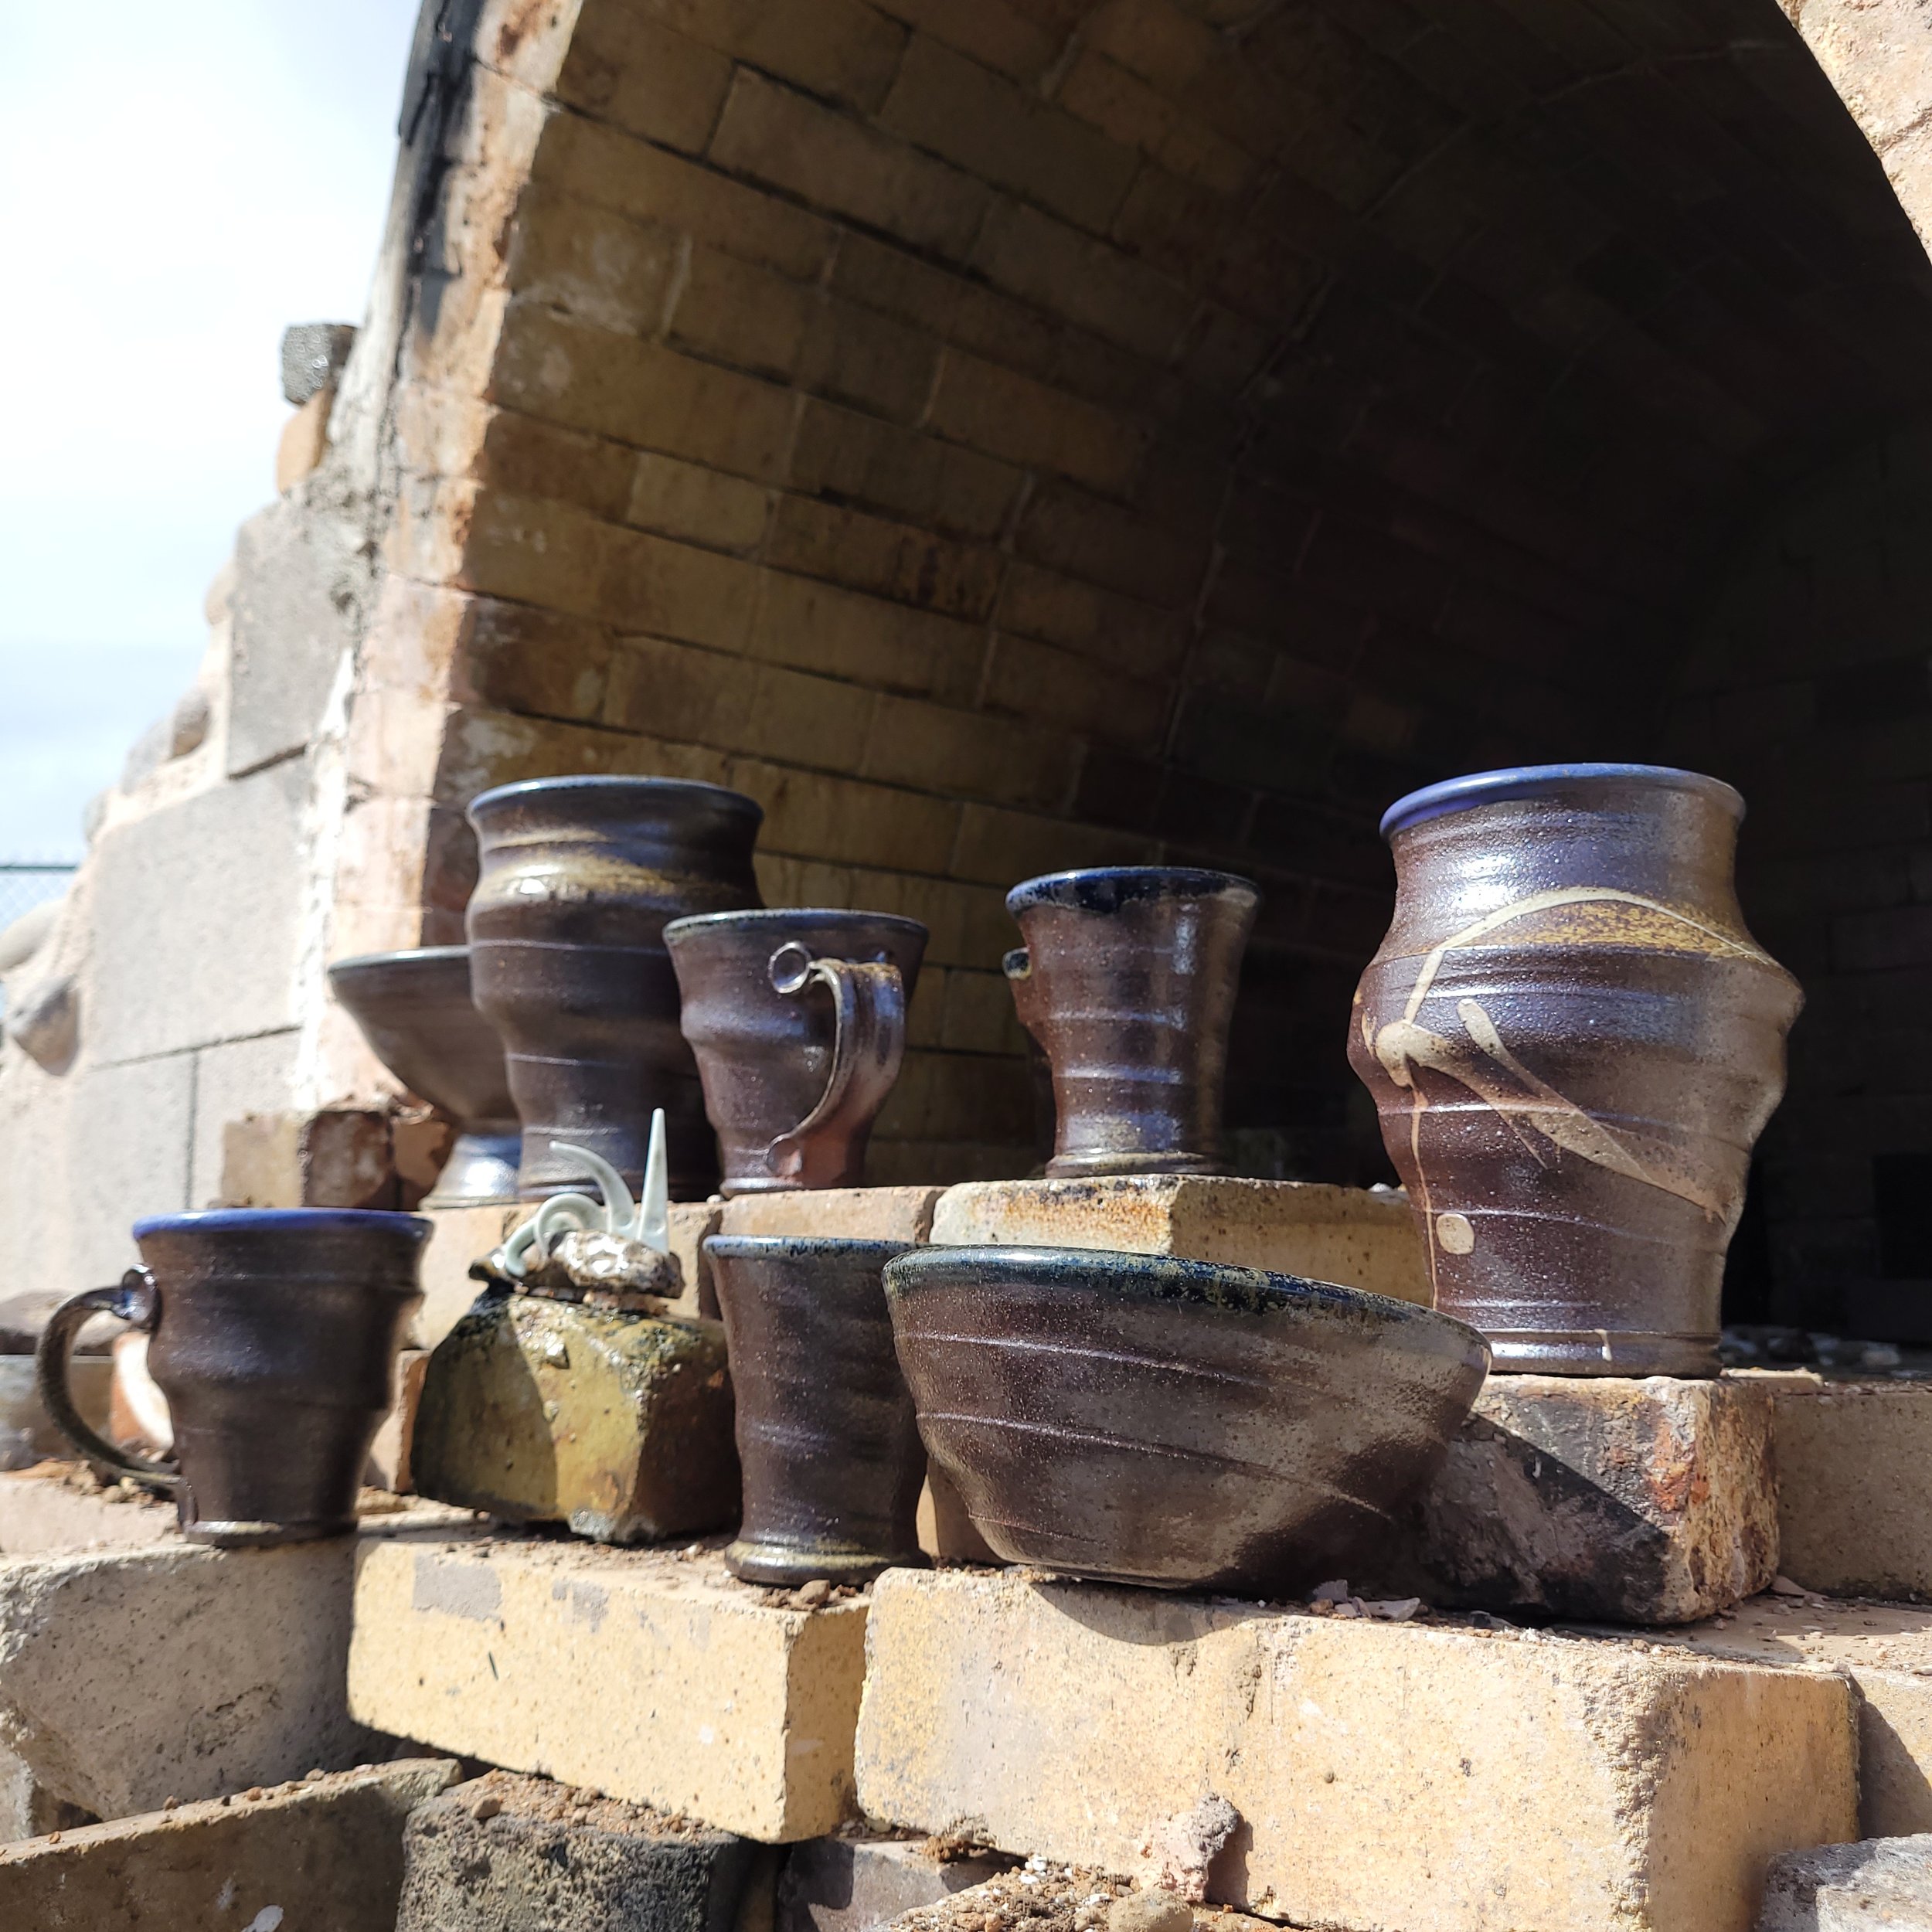
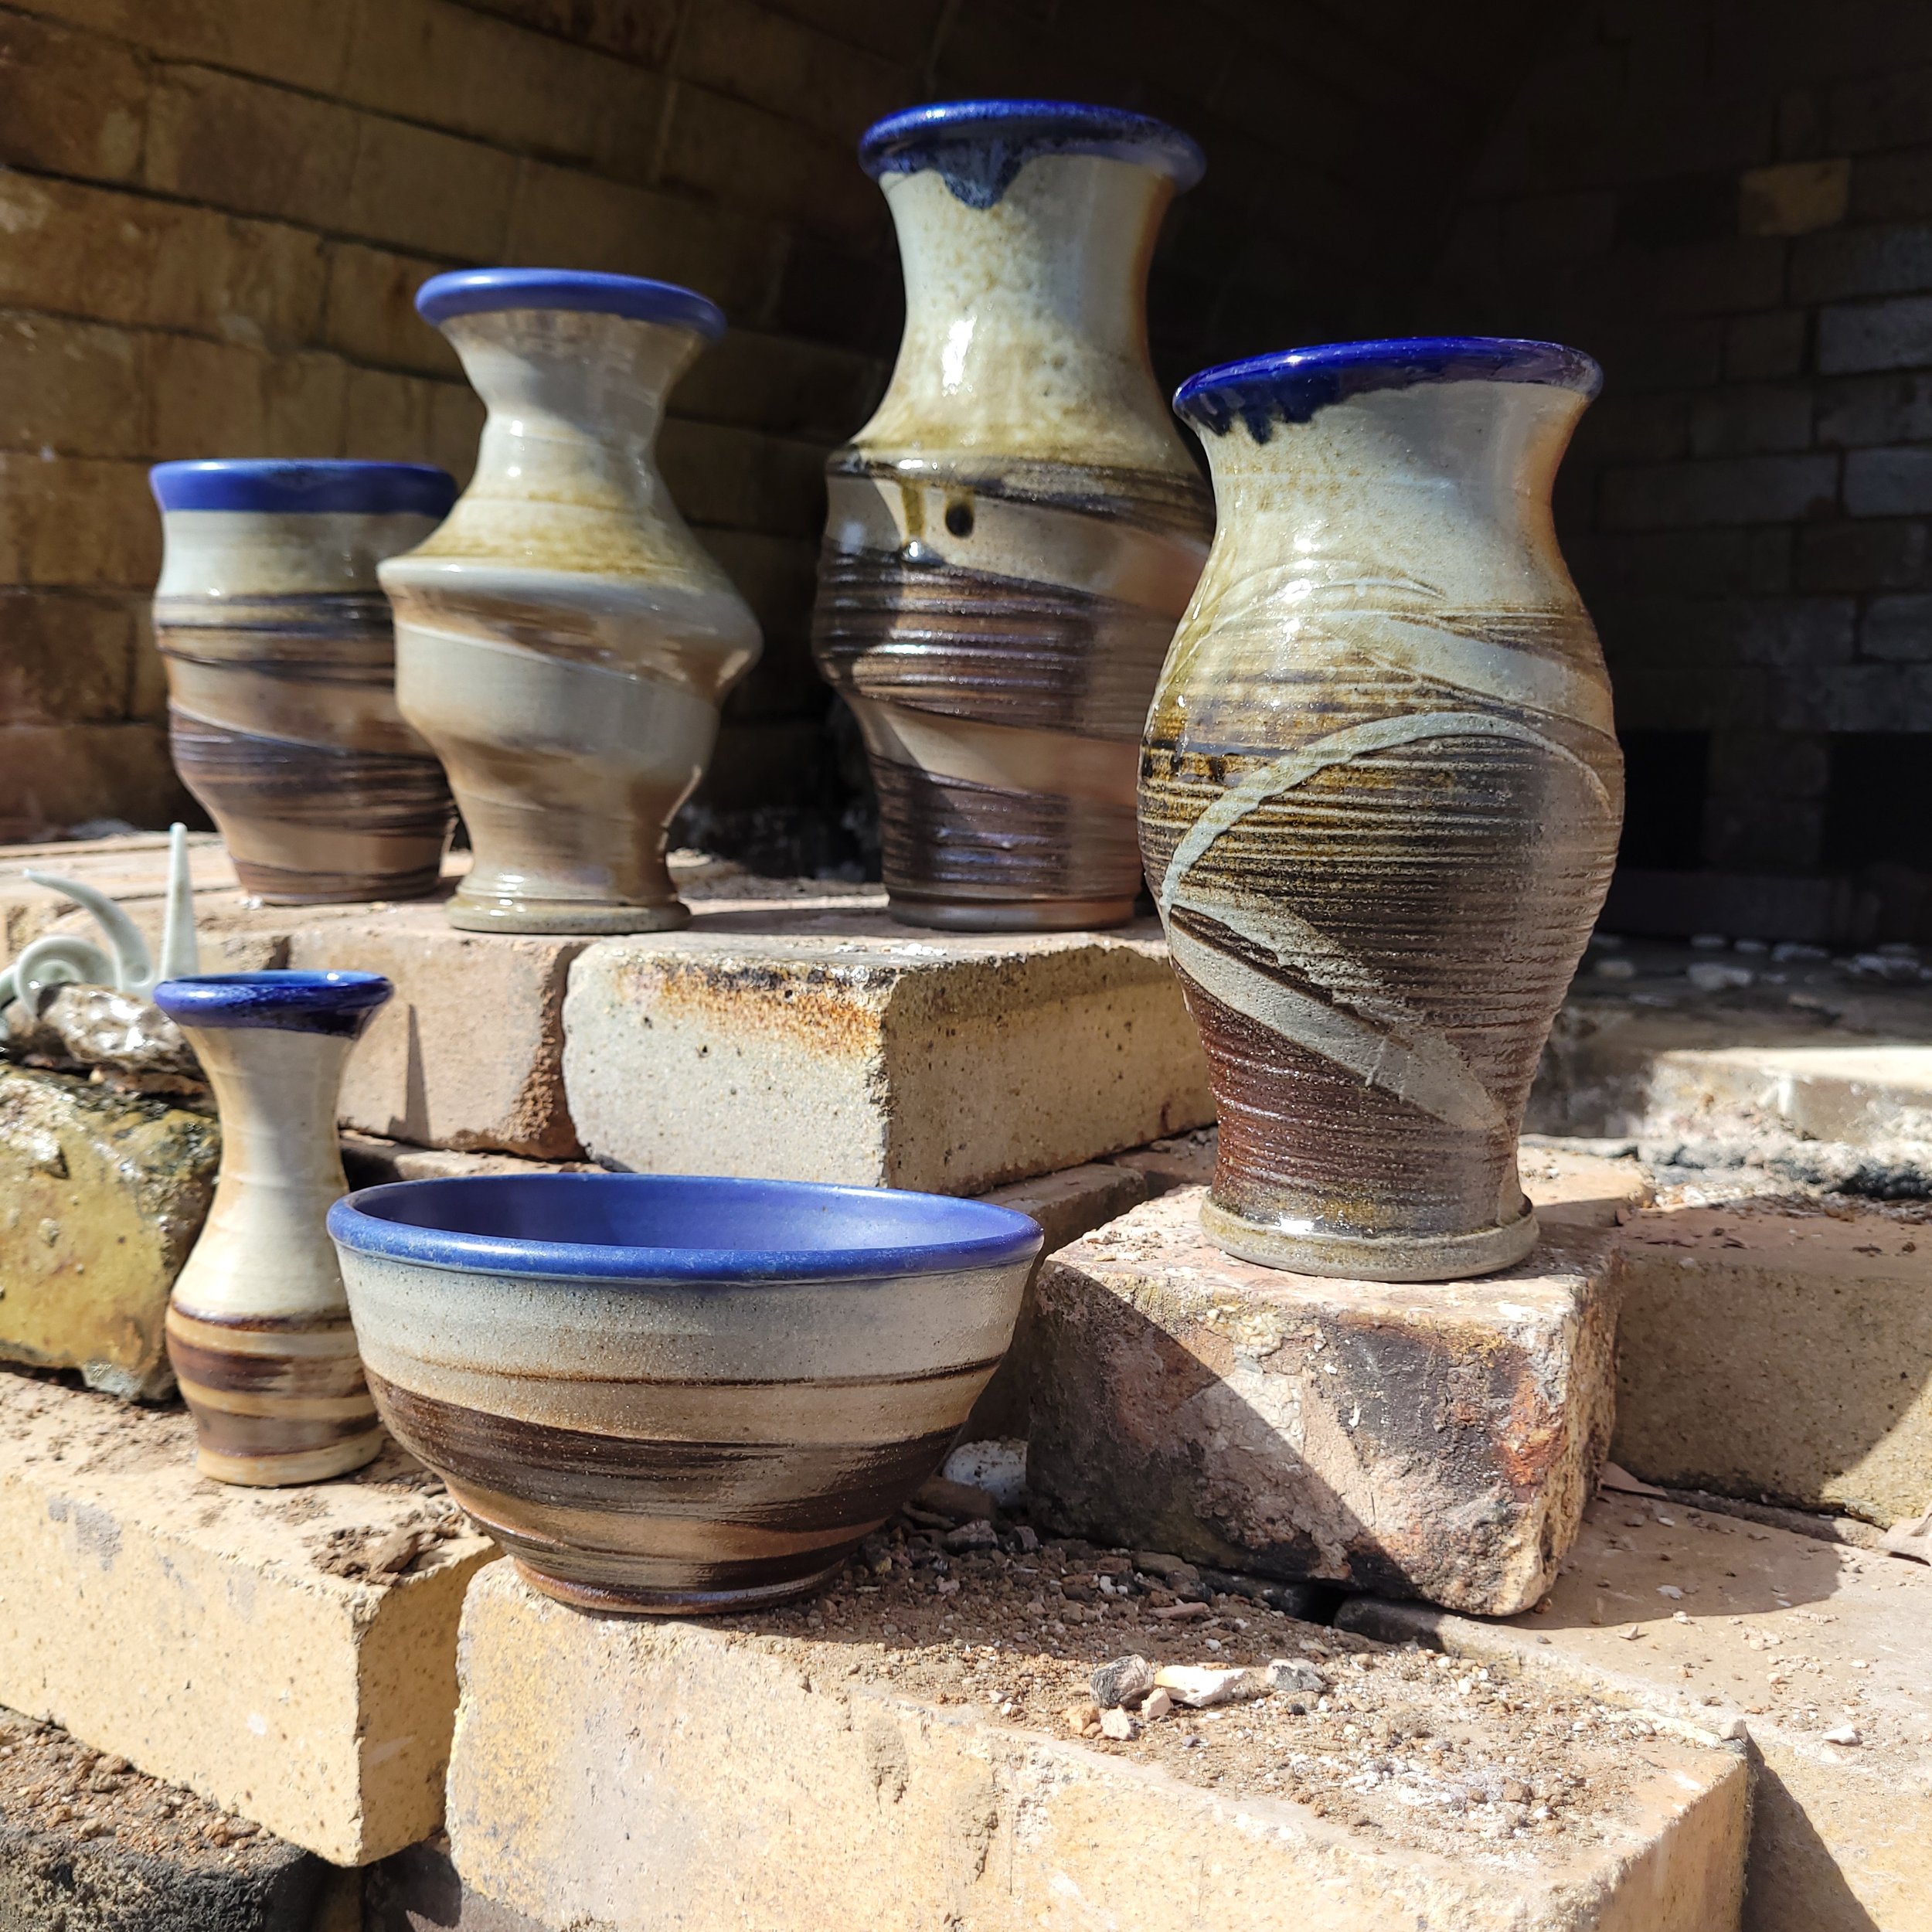
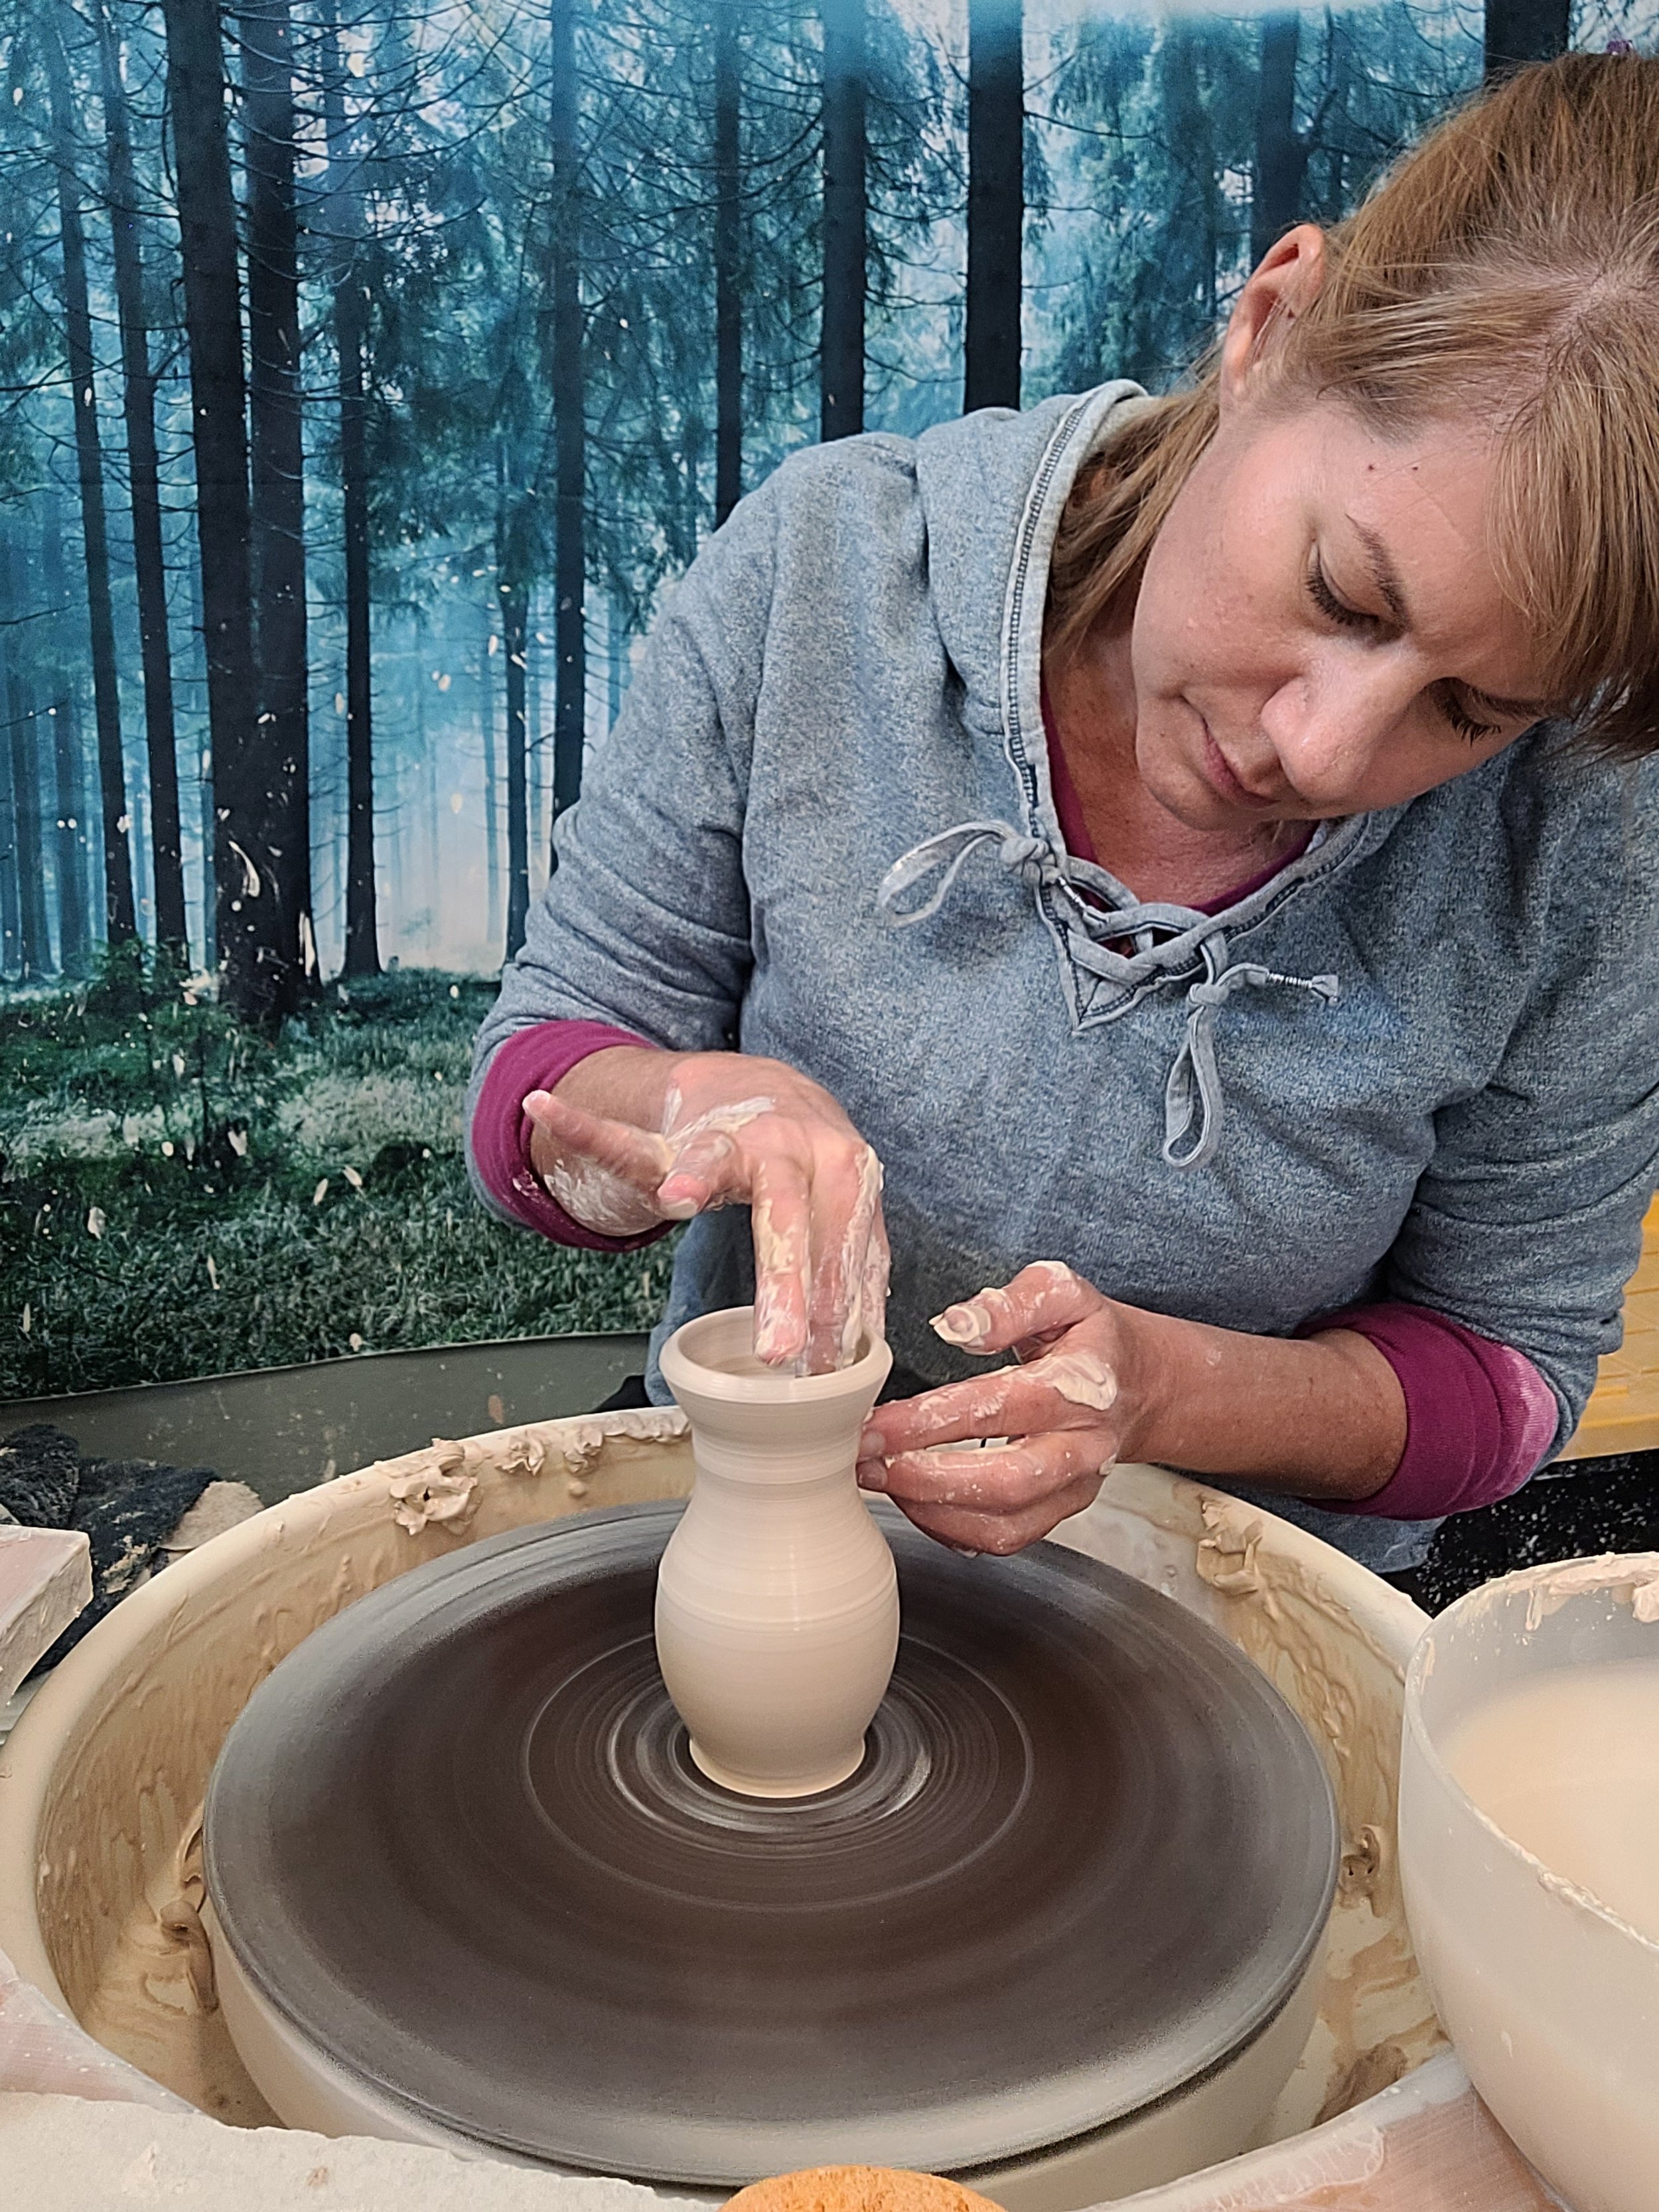
For the second example, this is a rounder, wider vase. It has a wide sloping belly that starts, again, at that narrowed spot above the foot. It curves all the way up to the neck - this pot doesn’t really have a shoulder. (The swirl will happen about 1:20 into this video.)

Again I’ve slowed the swirl step down here to about 2X actual speed.
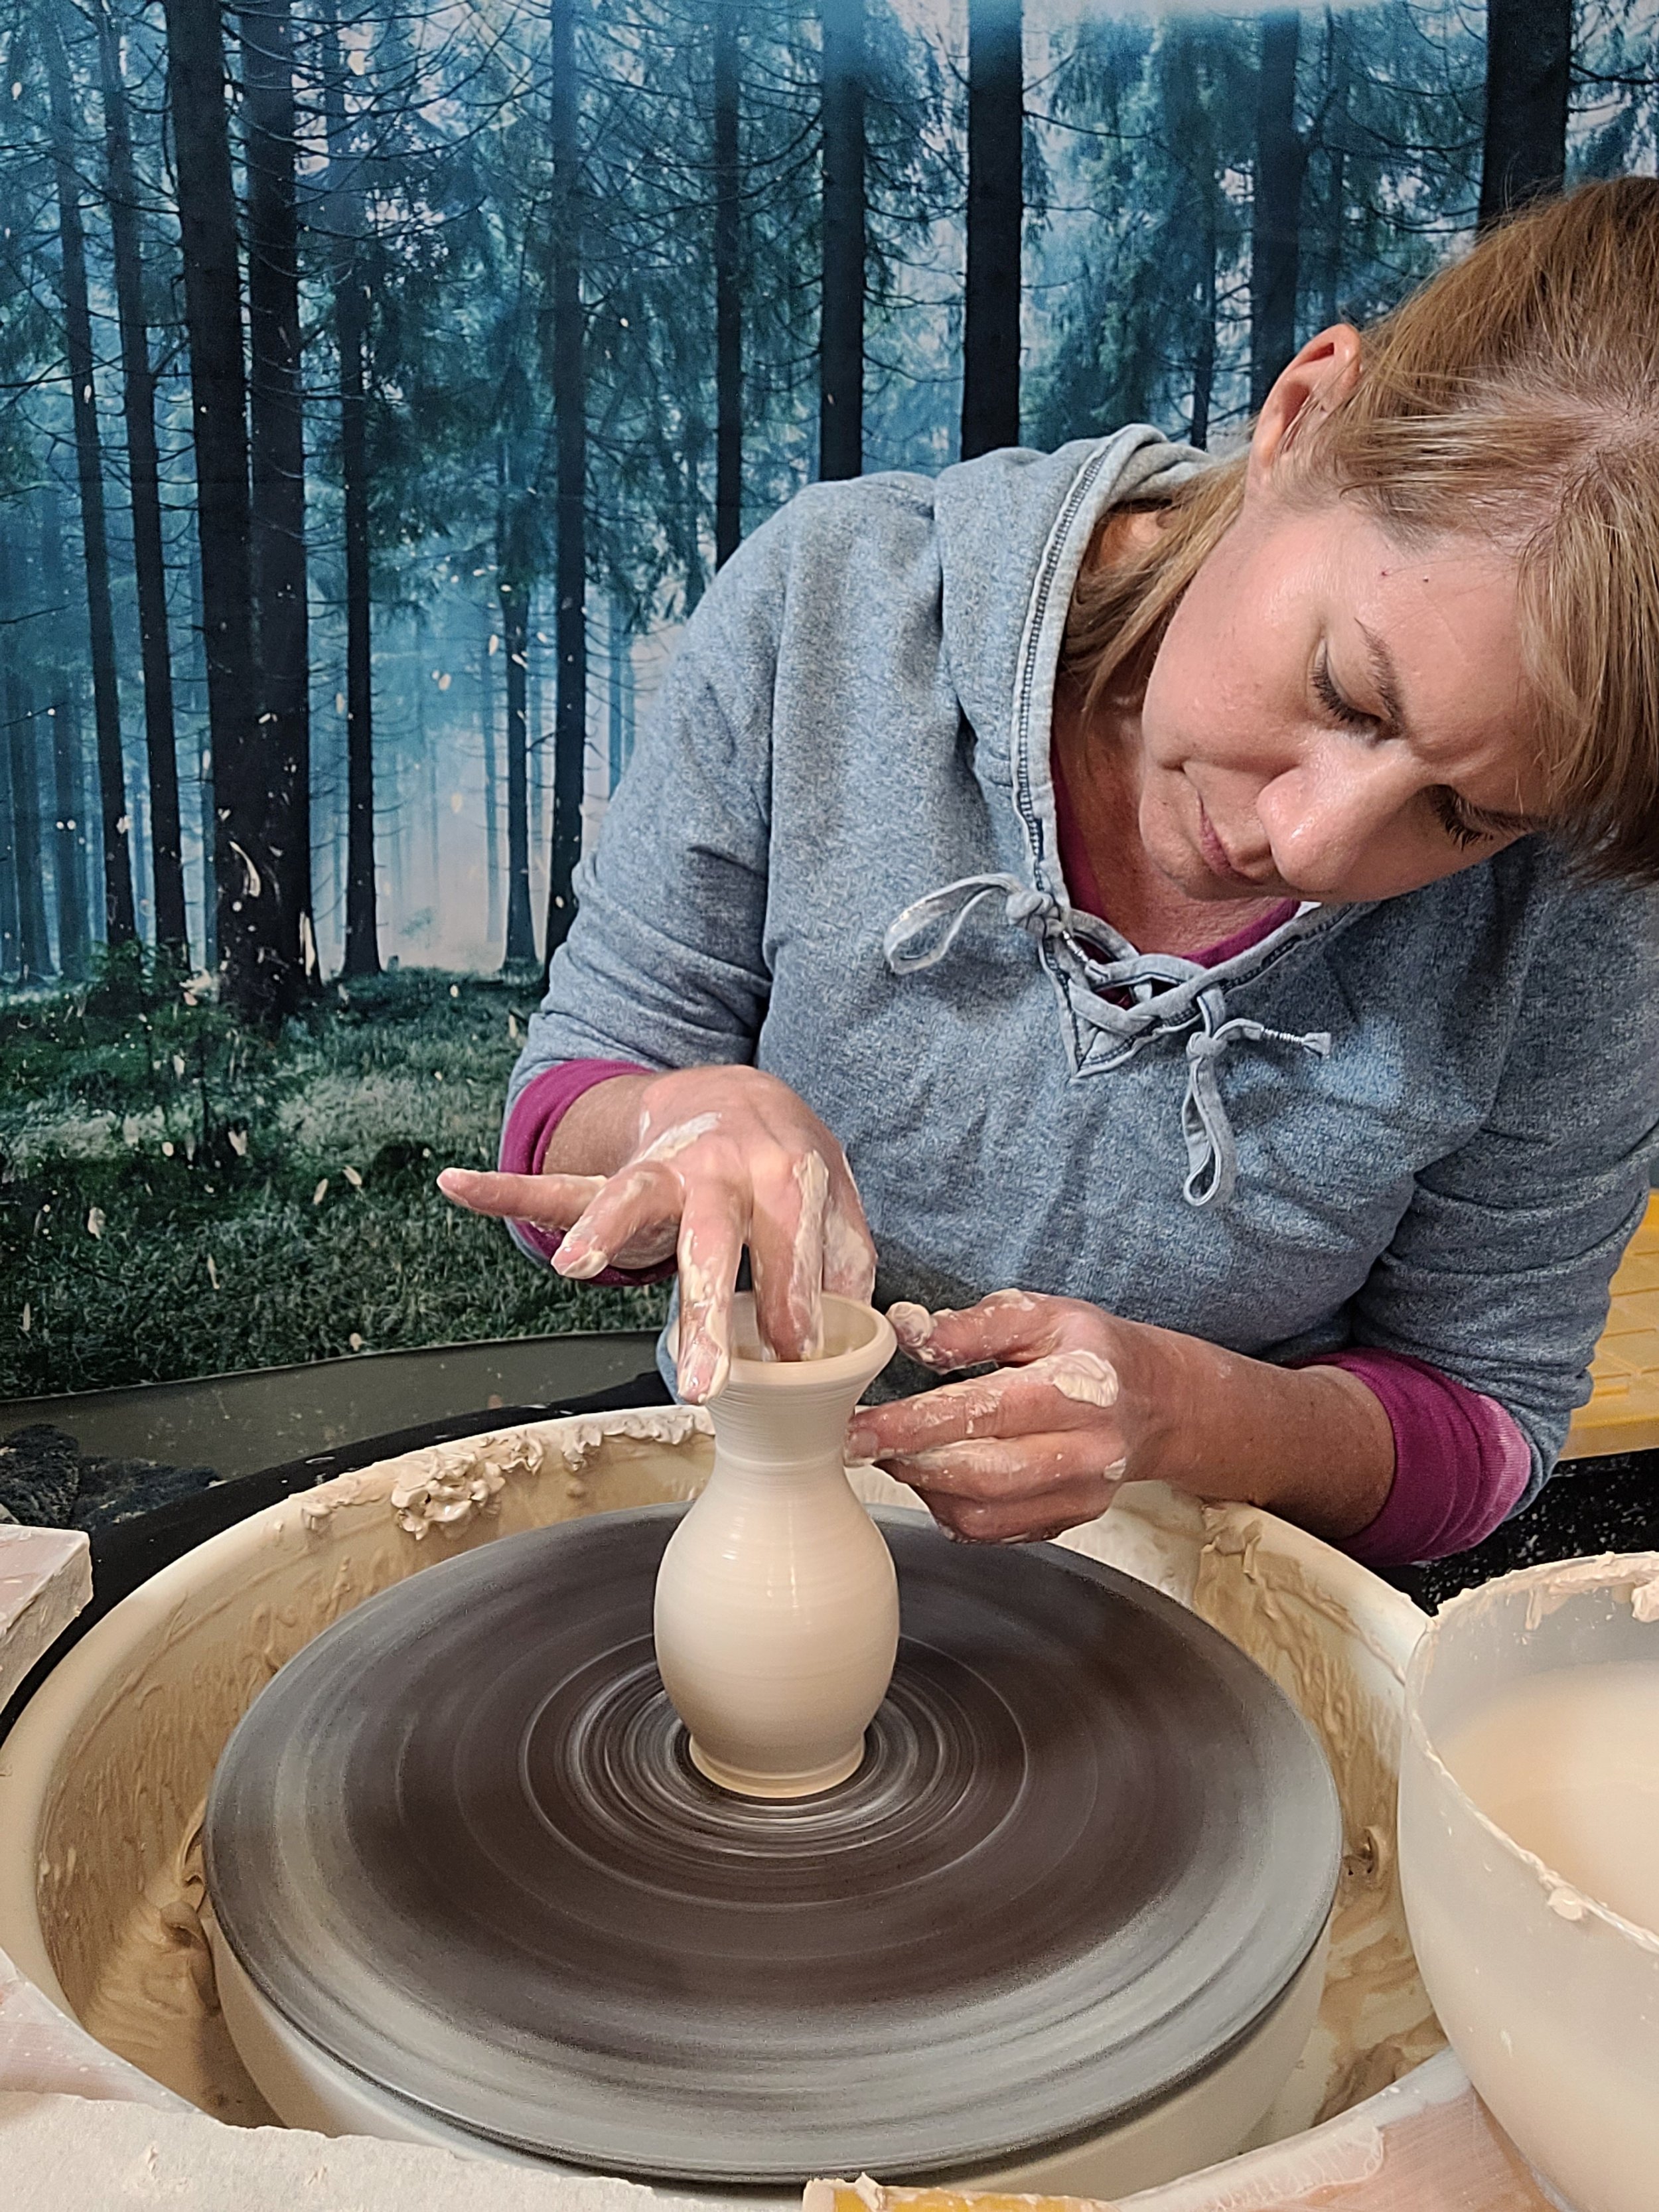
To my eye, pots with these definite rounded curves don’t look right when you try to aggressively press in the additional swirl shape to the form. I’ve found that, for me, it’s best just to press in a strong mark from the outside only, and let the change to the pots profile be very subtle (the slip texture facilitates a bit of a surface bump).
These minor differences in how the swirl is achieved make a big impact in the finished piece. It’s taken some trial and error (some ugly pots) for me to understand that the swirl needs to be done a bit differently depending on the shape. I hope you’ve enjoyed learning a little more about this detail!