Puff the Desert Dragon is the name of the wood kiln out at the Desert Dragon Pottery Studio, in North Phoenix. A group of artists, led by John Manley and Tom Bivens, built the kiln in the winter of 2017, based on John's design. (Here is a link to my blog post about the initial build: Building Puff the Desert Dragon Wood Kiln)
We had used big rocks as the outer layer of insulation on the kiln, mostly out of convenience (they were available, and free). But John felt the rocks on the outer layer were not sufficient for insulation. We had completed quite a few successful firings since 2017, but they were taking a bit longer than we had hoped. This past winter, John suggested we replace that outer layer of rock with something better. John normally lives in Nevada, since he would be staying at the studio for a bit in March, we decided it was a good time to tackle the project.
The first step was to remove the rock. John had learned that a material called Diatomaceous earth (DT) could be used to create an insular shell over the kiln. A common use for this material is soaking up oil spills, so we found some at our local Napa Auto Parts and bought about 12 bags.

A close-up of Puff, after the river rock was removed.
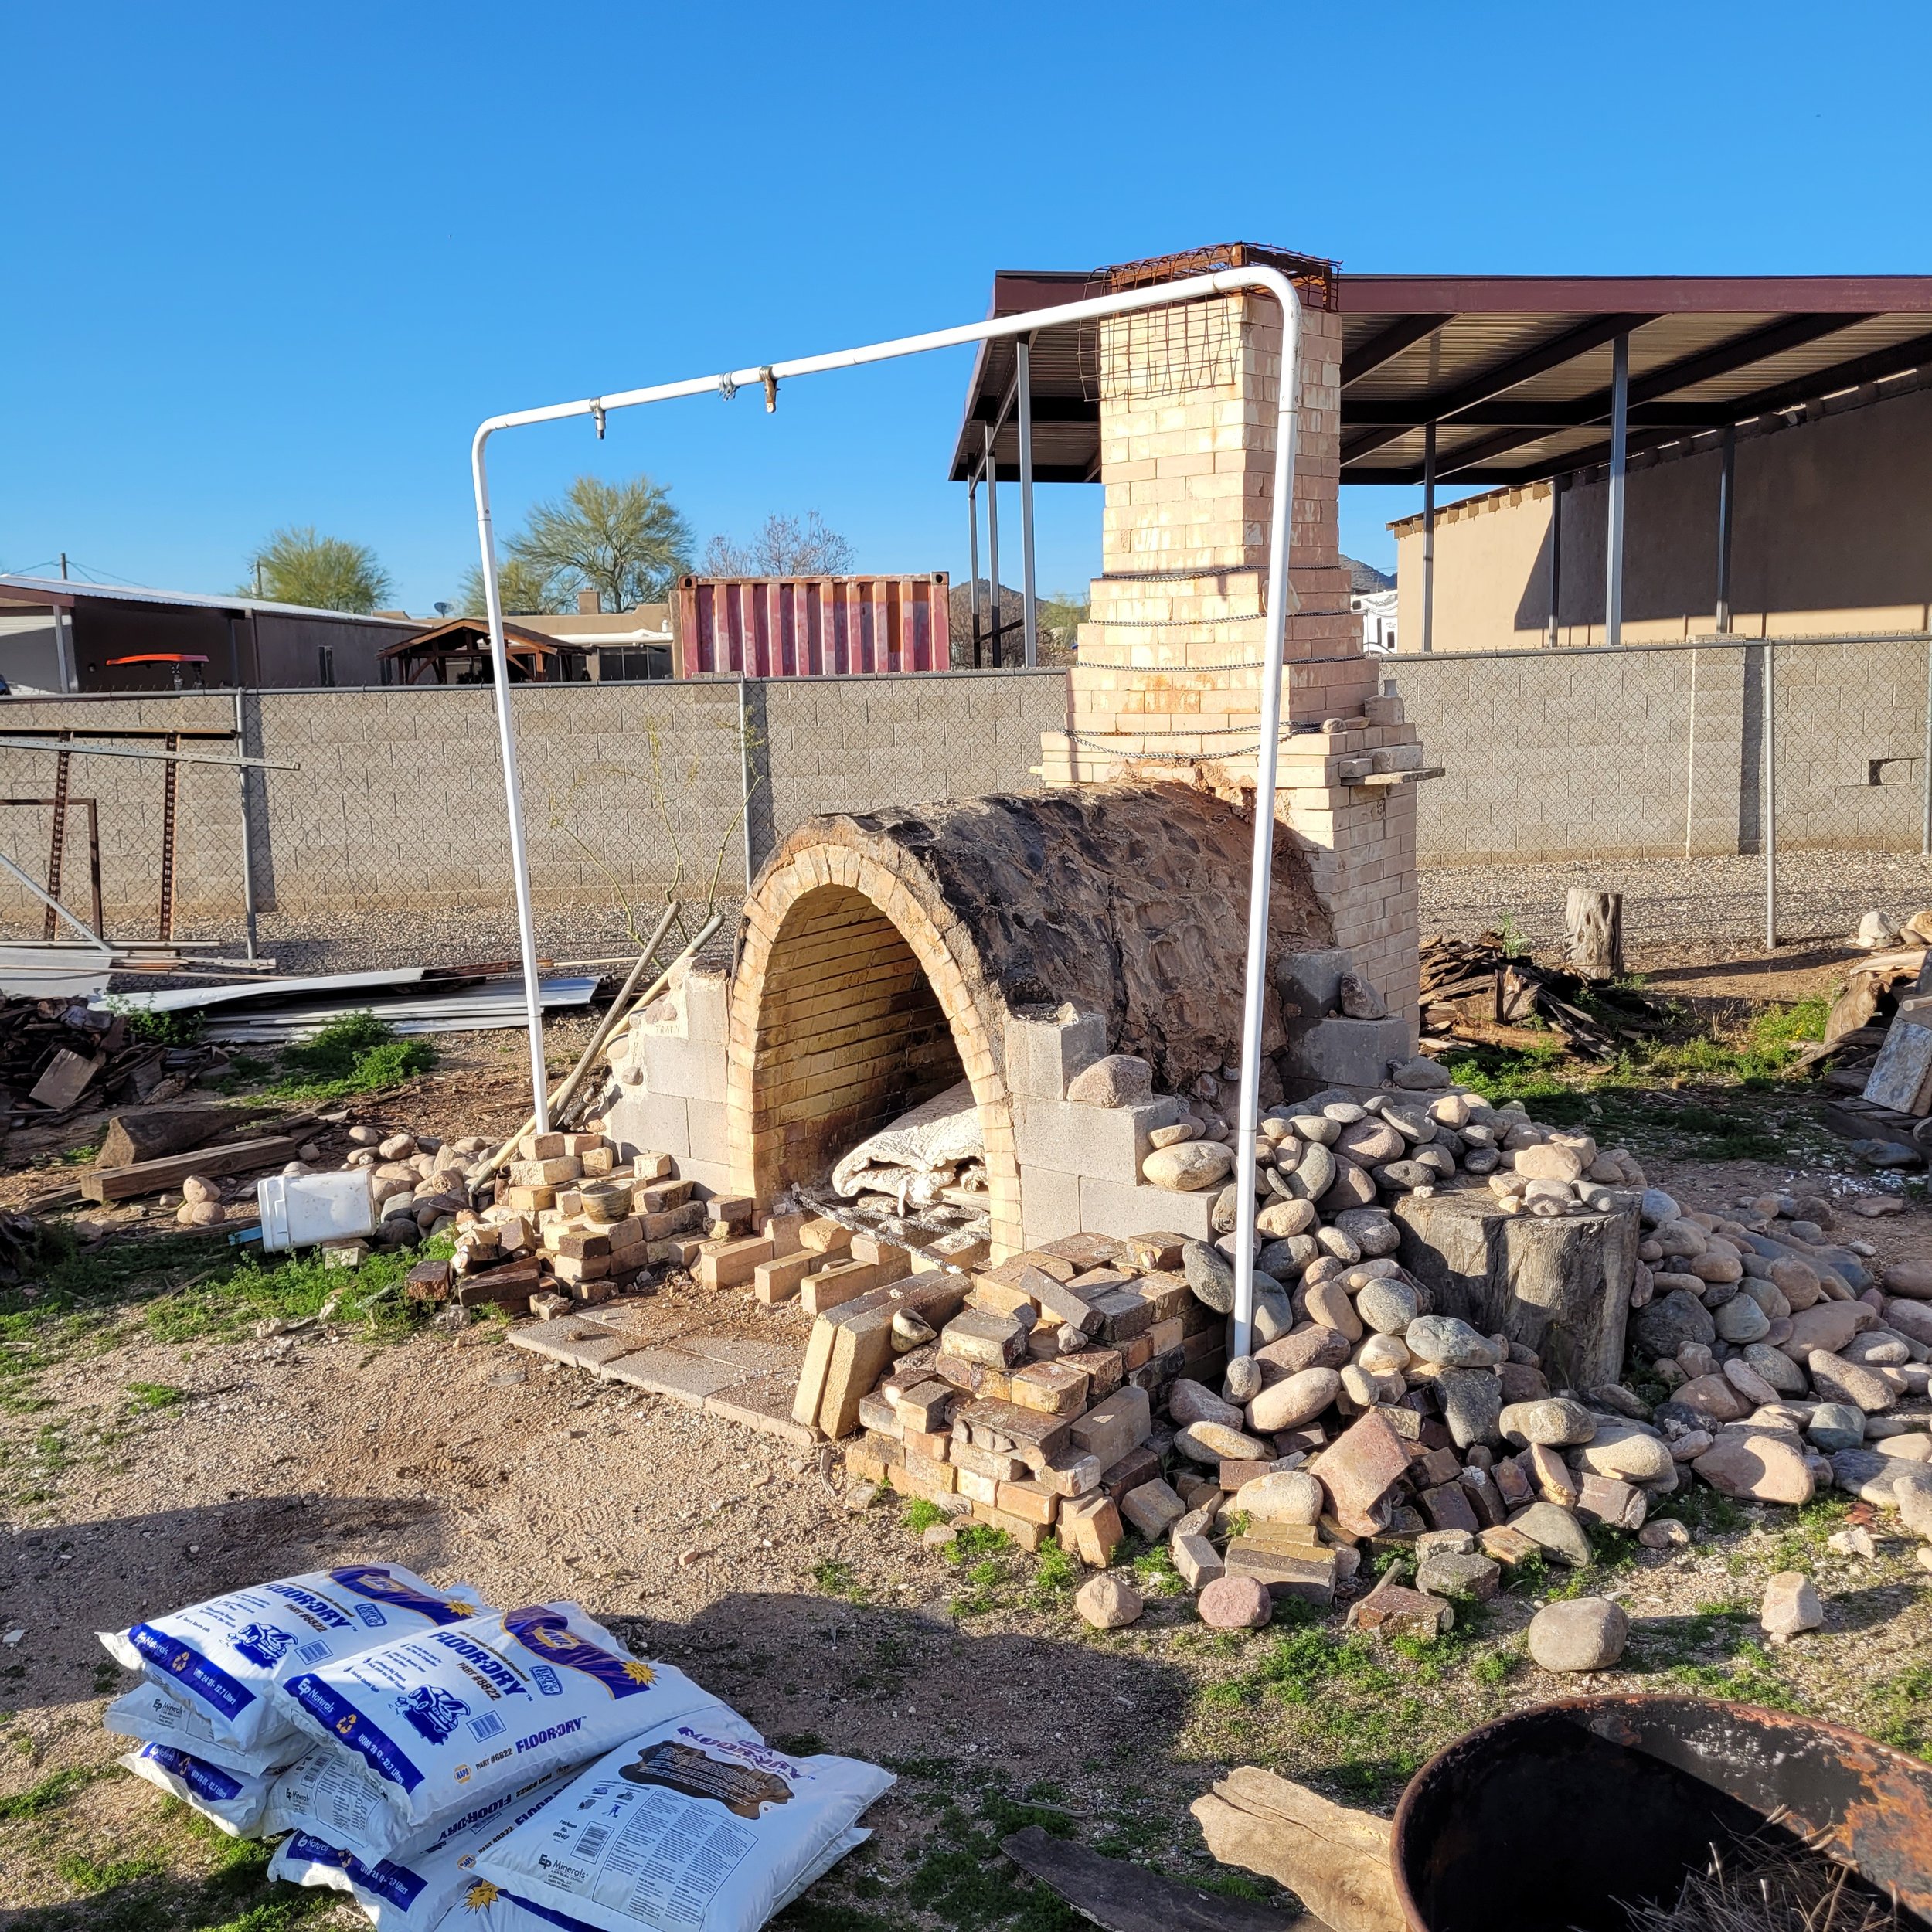
Puff has been stripped of her outer shell of rock, and the DT bags are waiting to be torn open and used.
We blended the DT with some clay slop from the studios reclaim buckets (basically used/leftover clay). And then we built up a nice thick layer over the top of the kiln. We painted a thin layer of Sodium Silicate over the entire thing once done, to help reduce cracking as the DT and Clay mixture dried.
I didn’t get many pictures of this step, but John posted about it on his Instagram. The post should be linked below so you can see his pics. Below that is the few pics I had of this first layer in progress.

John evens out the first layer of insulation - DT and clay.
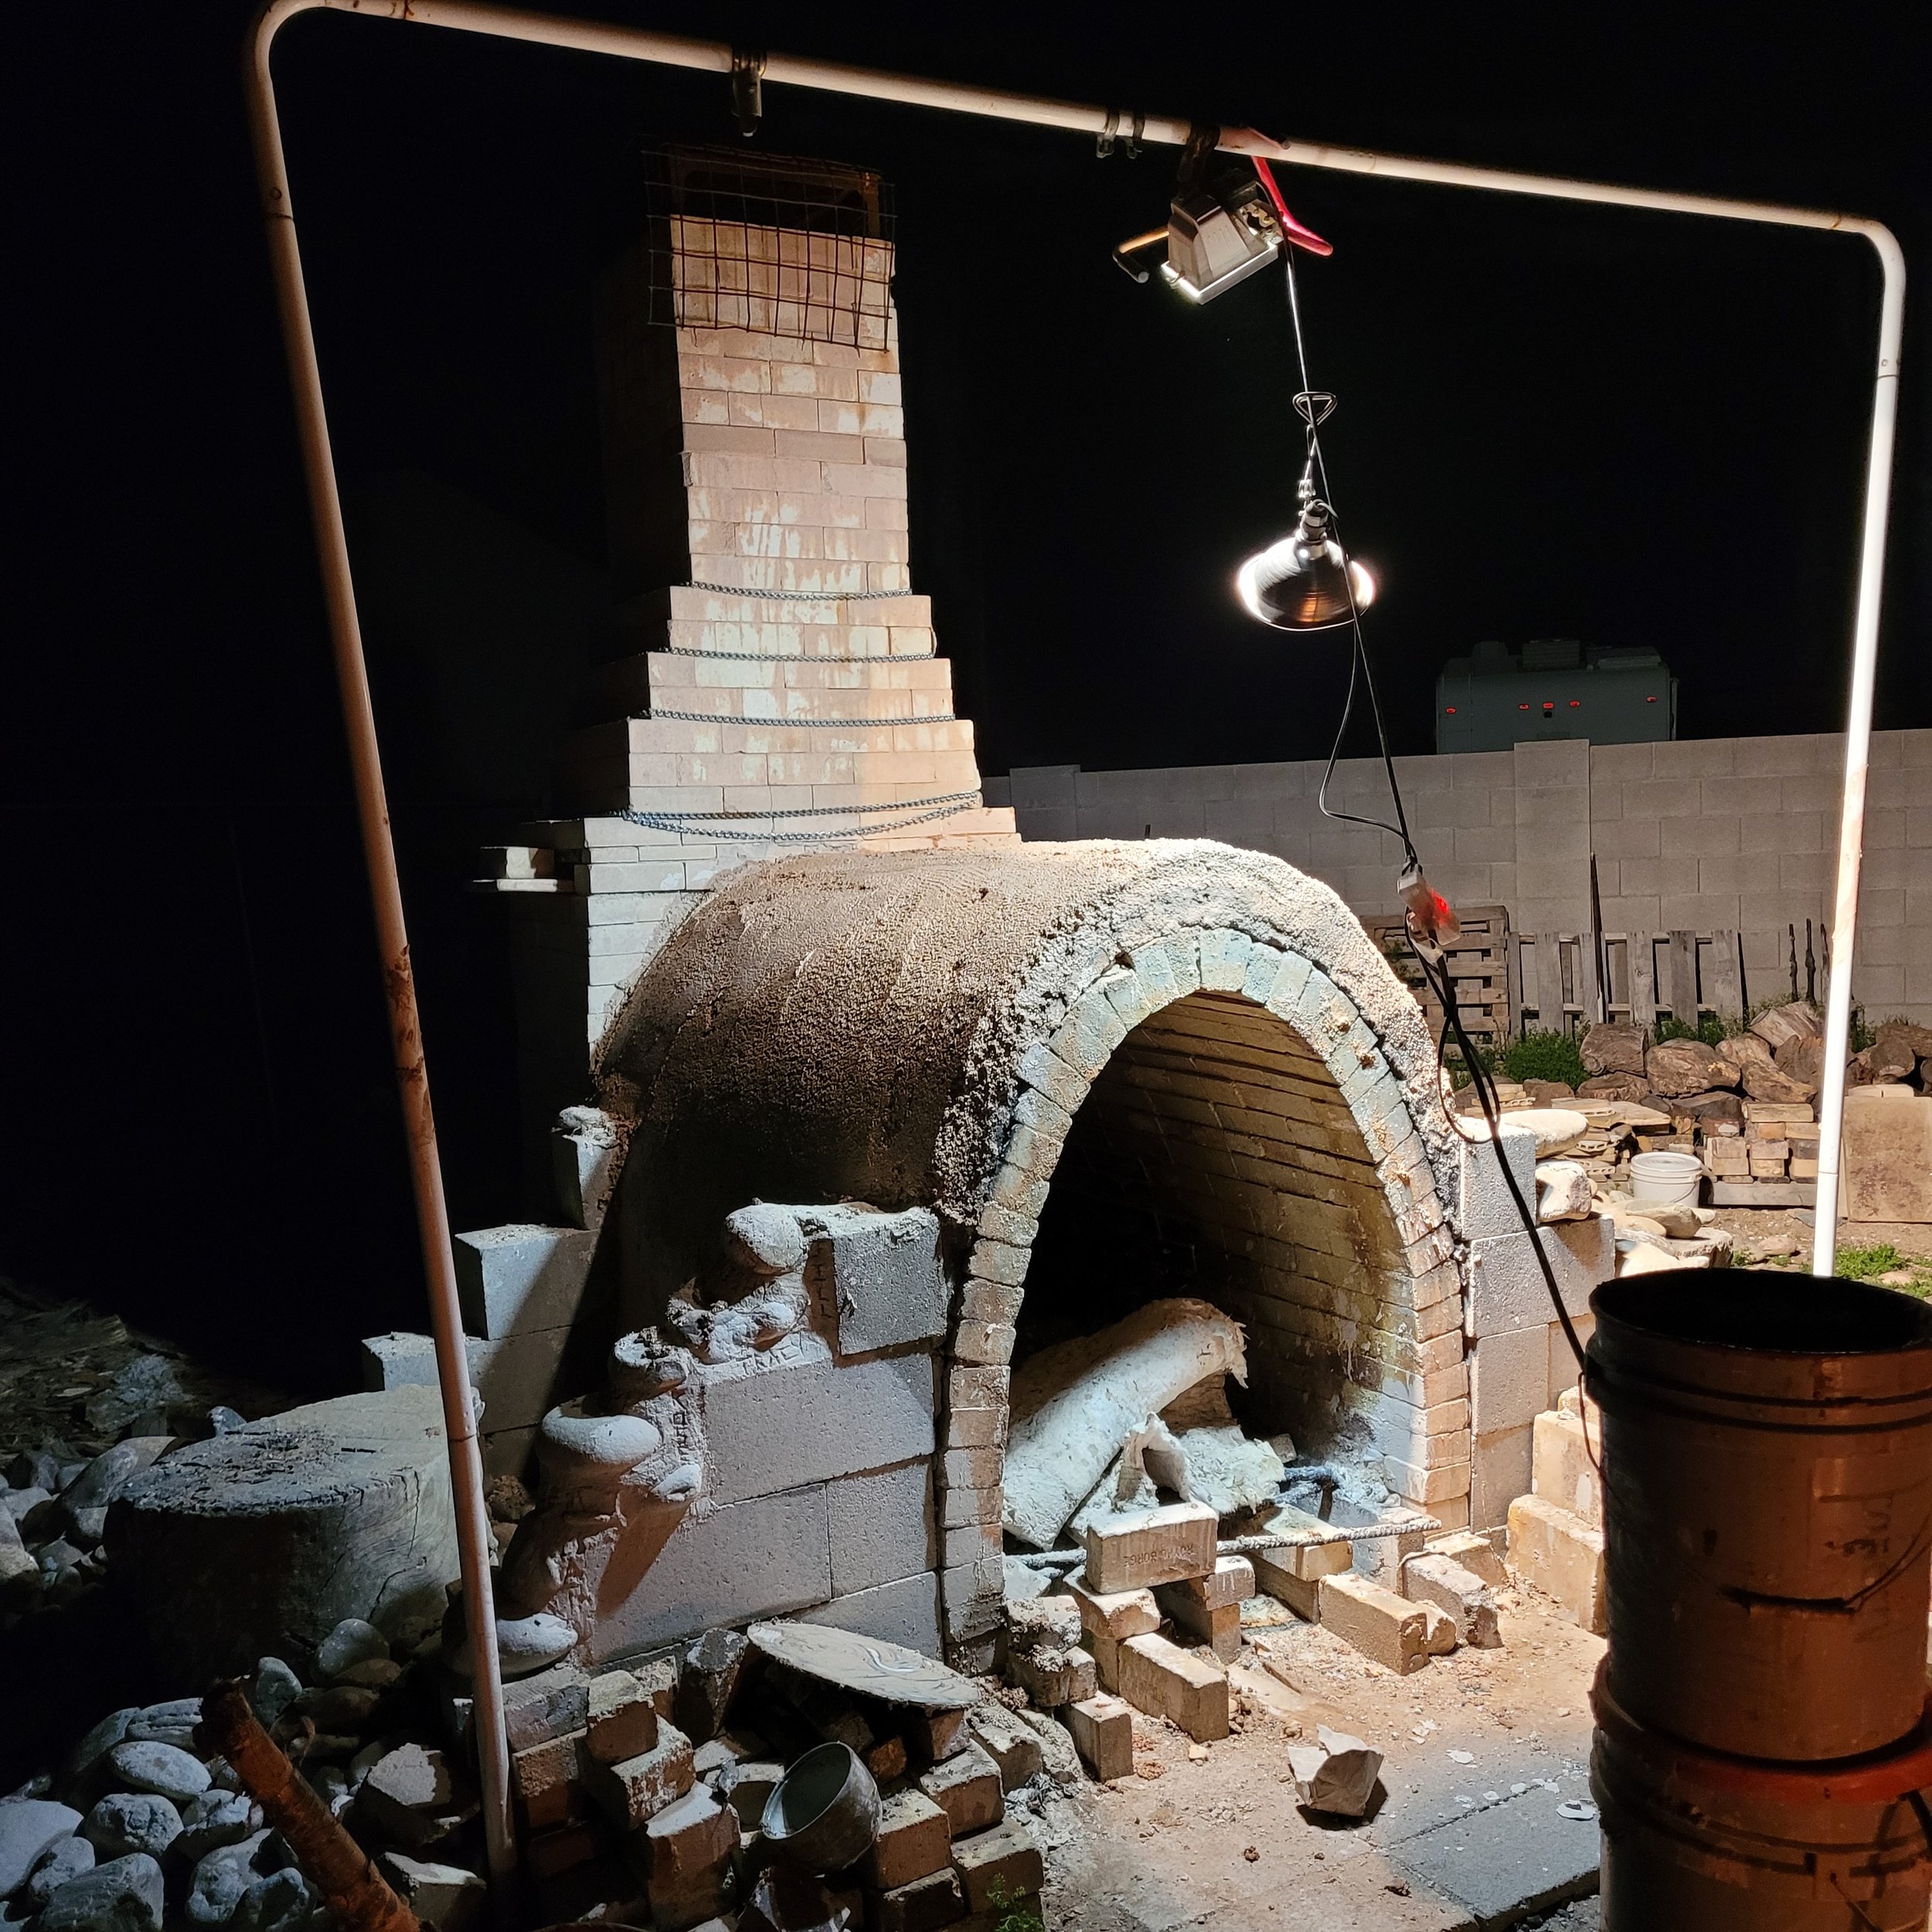
The first layer is done and drying.
The second and final layer is made up of more DT and more clay, plus cement and more sodium silicate. We mixed it all up in a wheel barrel, and started slathering it over the first layer of DT and clay.

John mixes the cement, clay, DT and sodium silicate, as I apply some to the front of the kiln

Compressing the final layer.

Relieved to be almost done with the project.
We’re very happy to be almost done here! We finished up this layer well before dark, and we were tired but pleased. The big test would come in about a month - in mid-April we fired Puff up for the first time since this modification. I will post more about that soon.