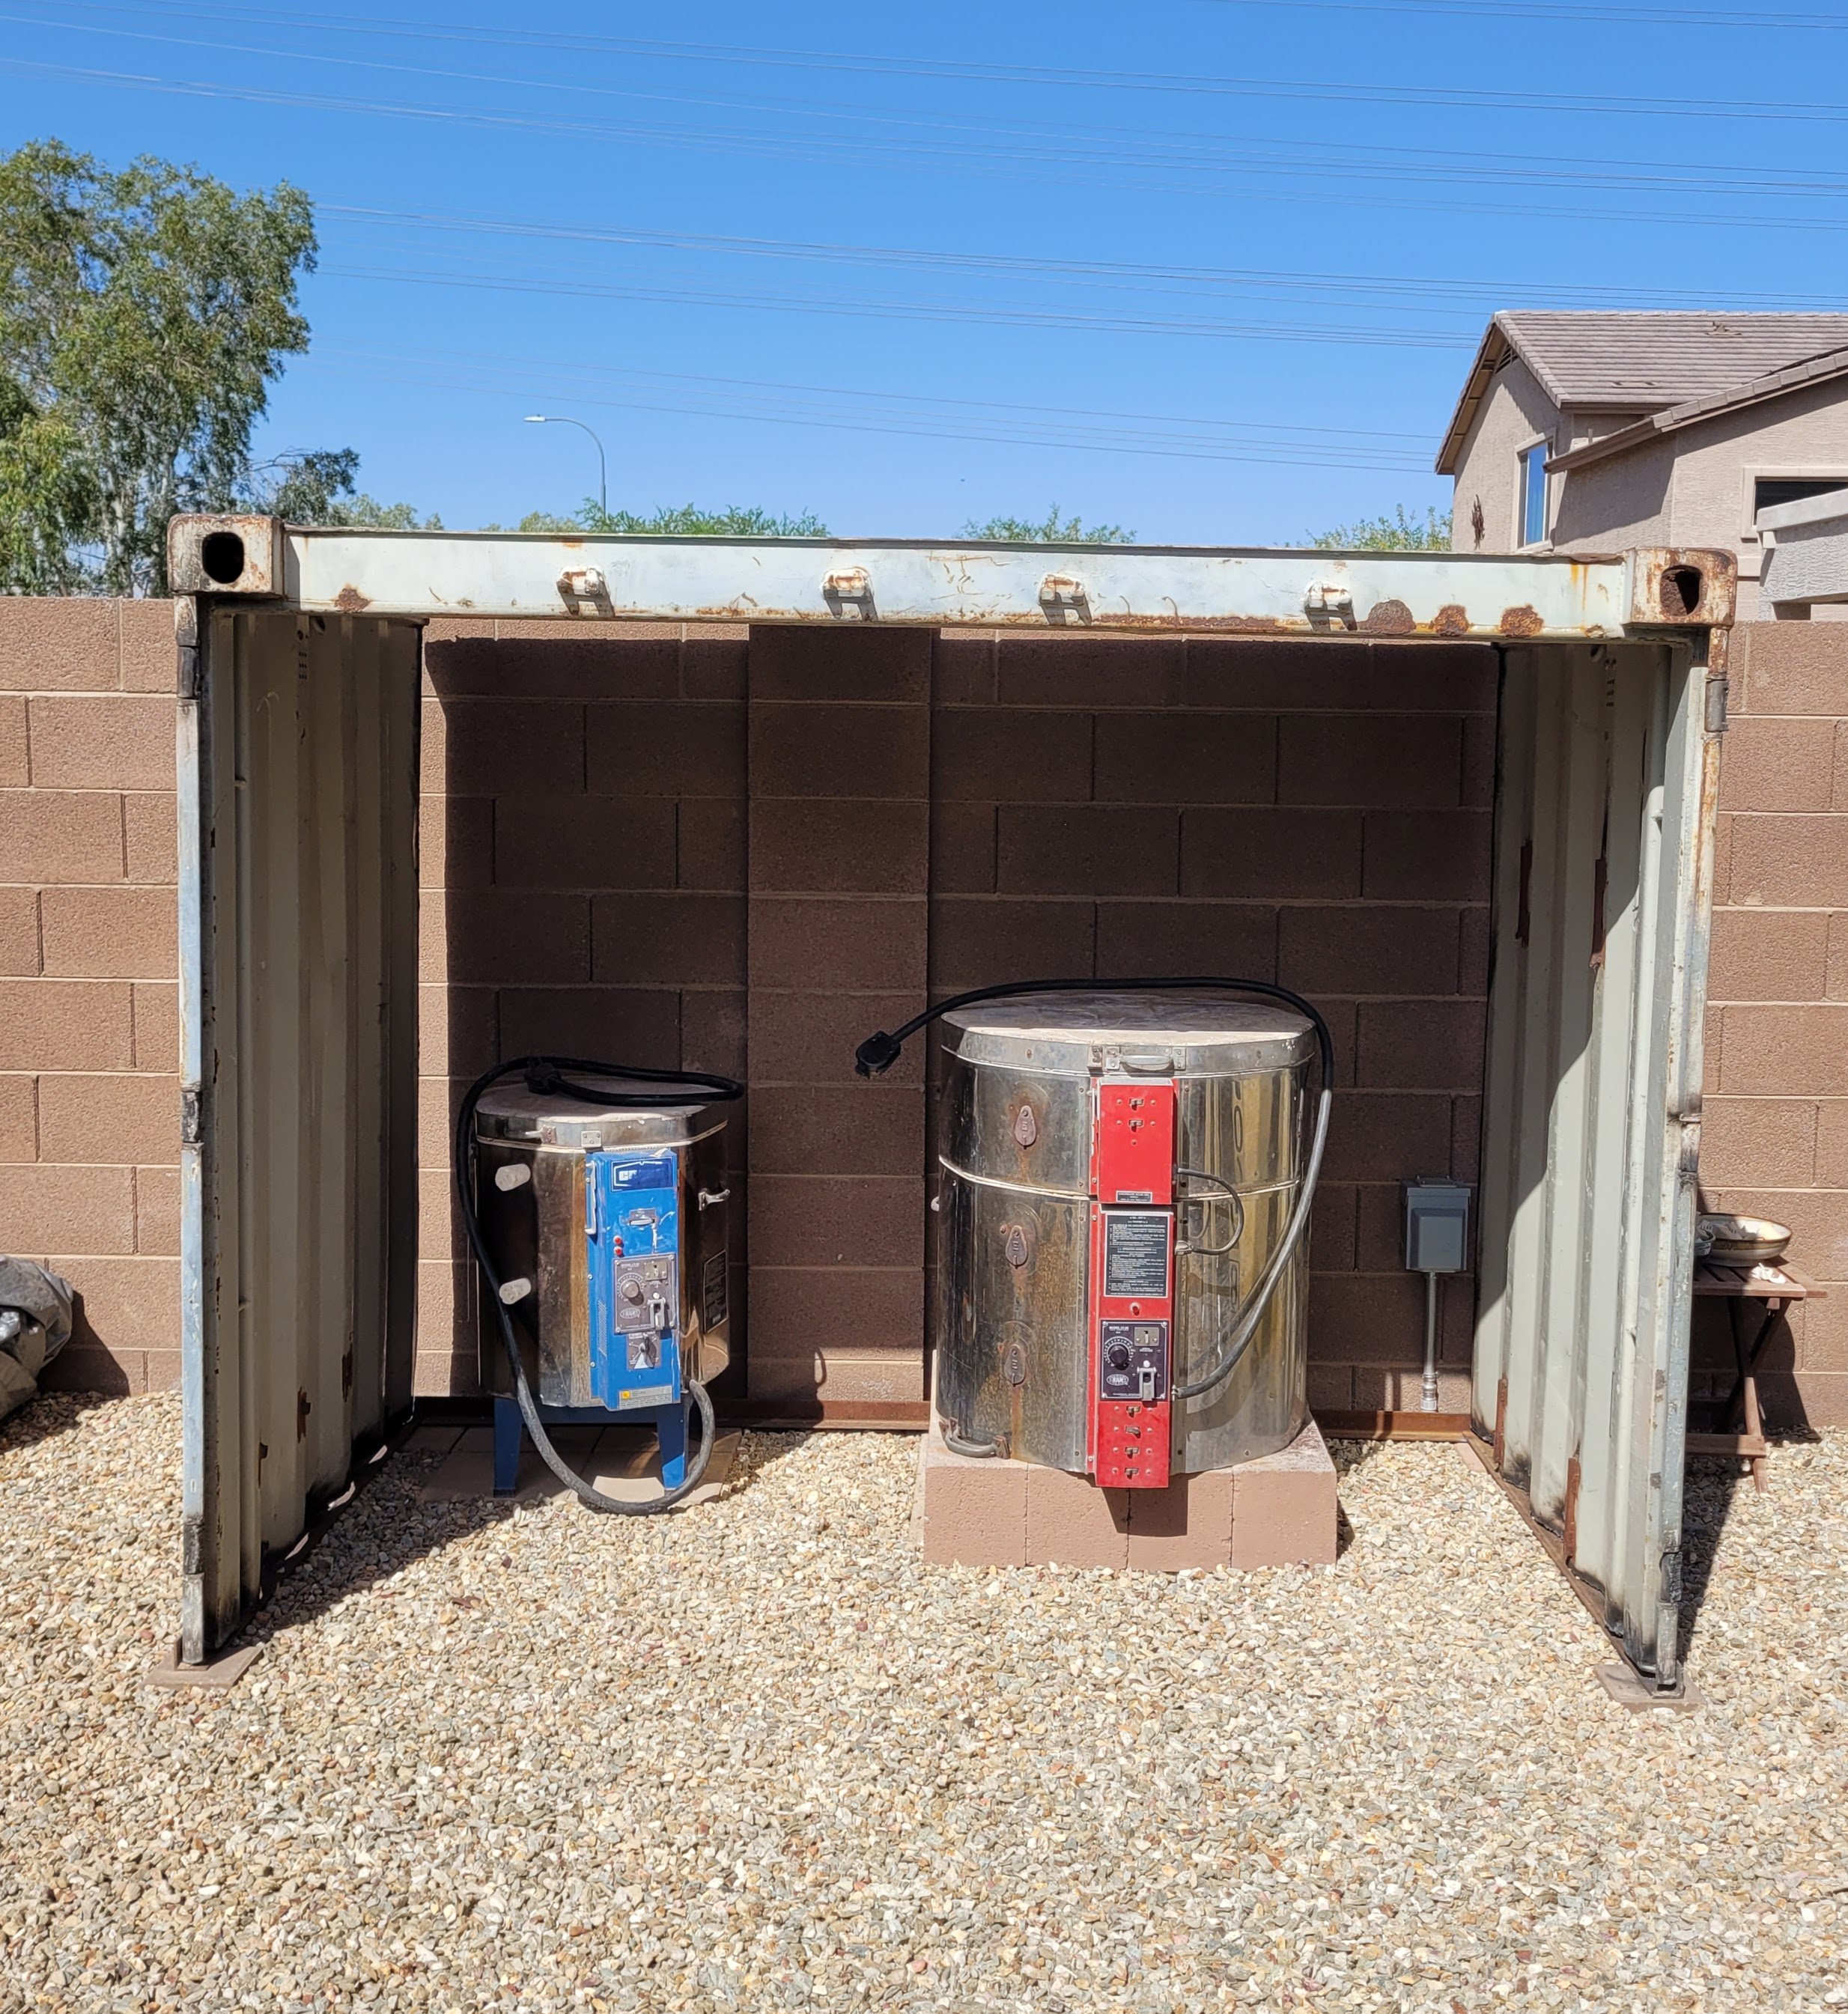
I have 2 electric kilns at my studio that sit in the back corner of our property. I’ve always kept them well tarped up when they were not in use, but they really needed a shelter. My husband had access to a shipping container, and he had the great idea to simply cut a shed from that. Luckily he had access to the proper tools and a friend to lend a hand!
The slideshow below shows some highlights of the shed creation, before it was installed.
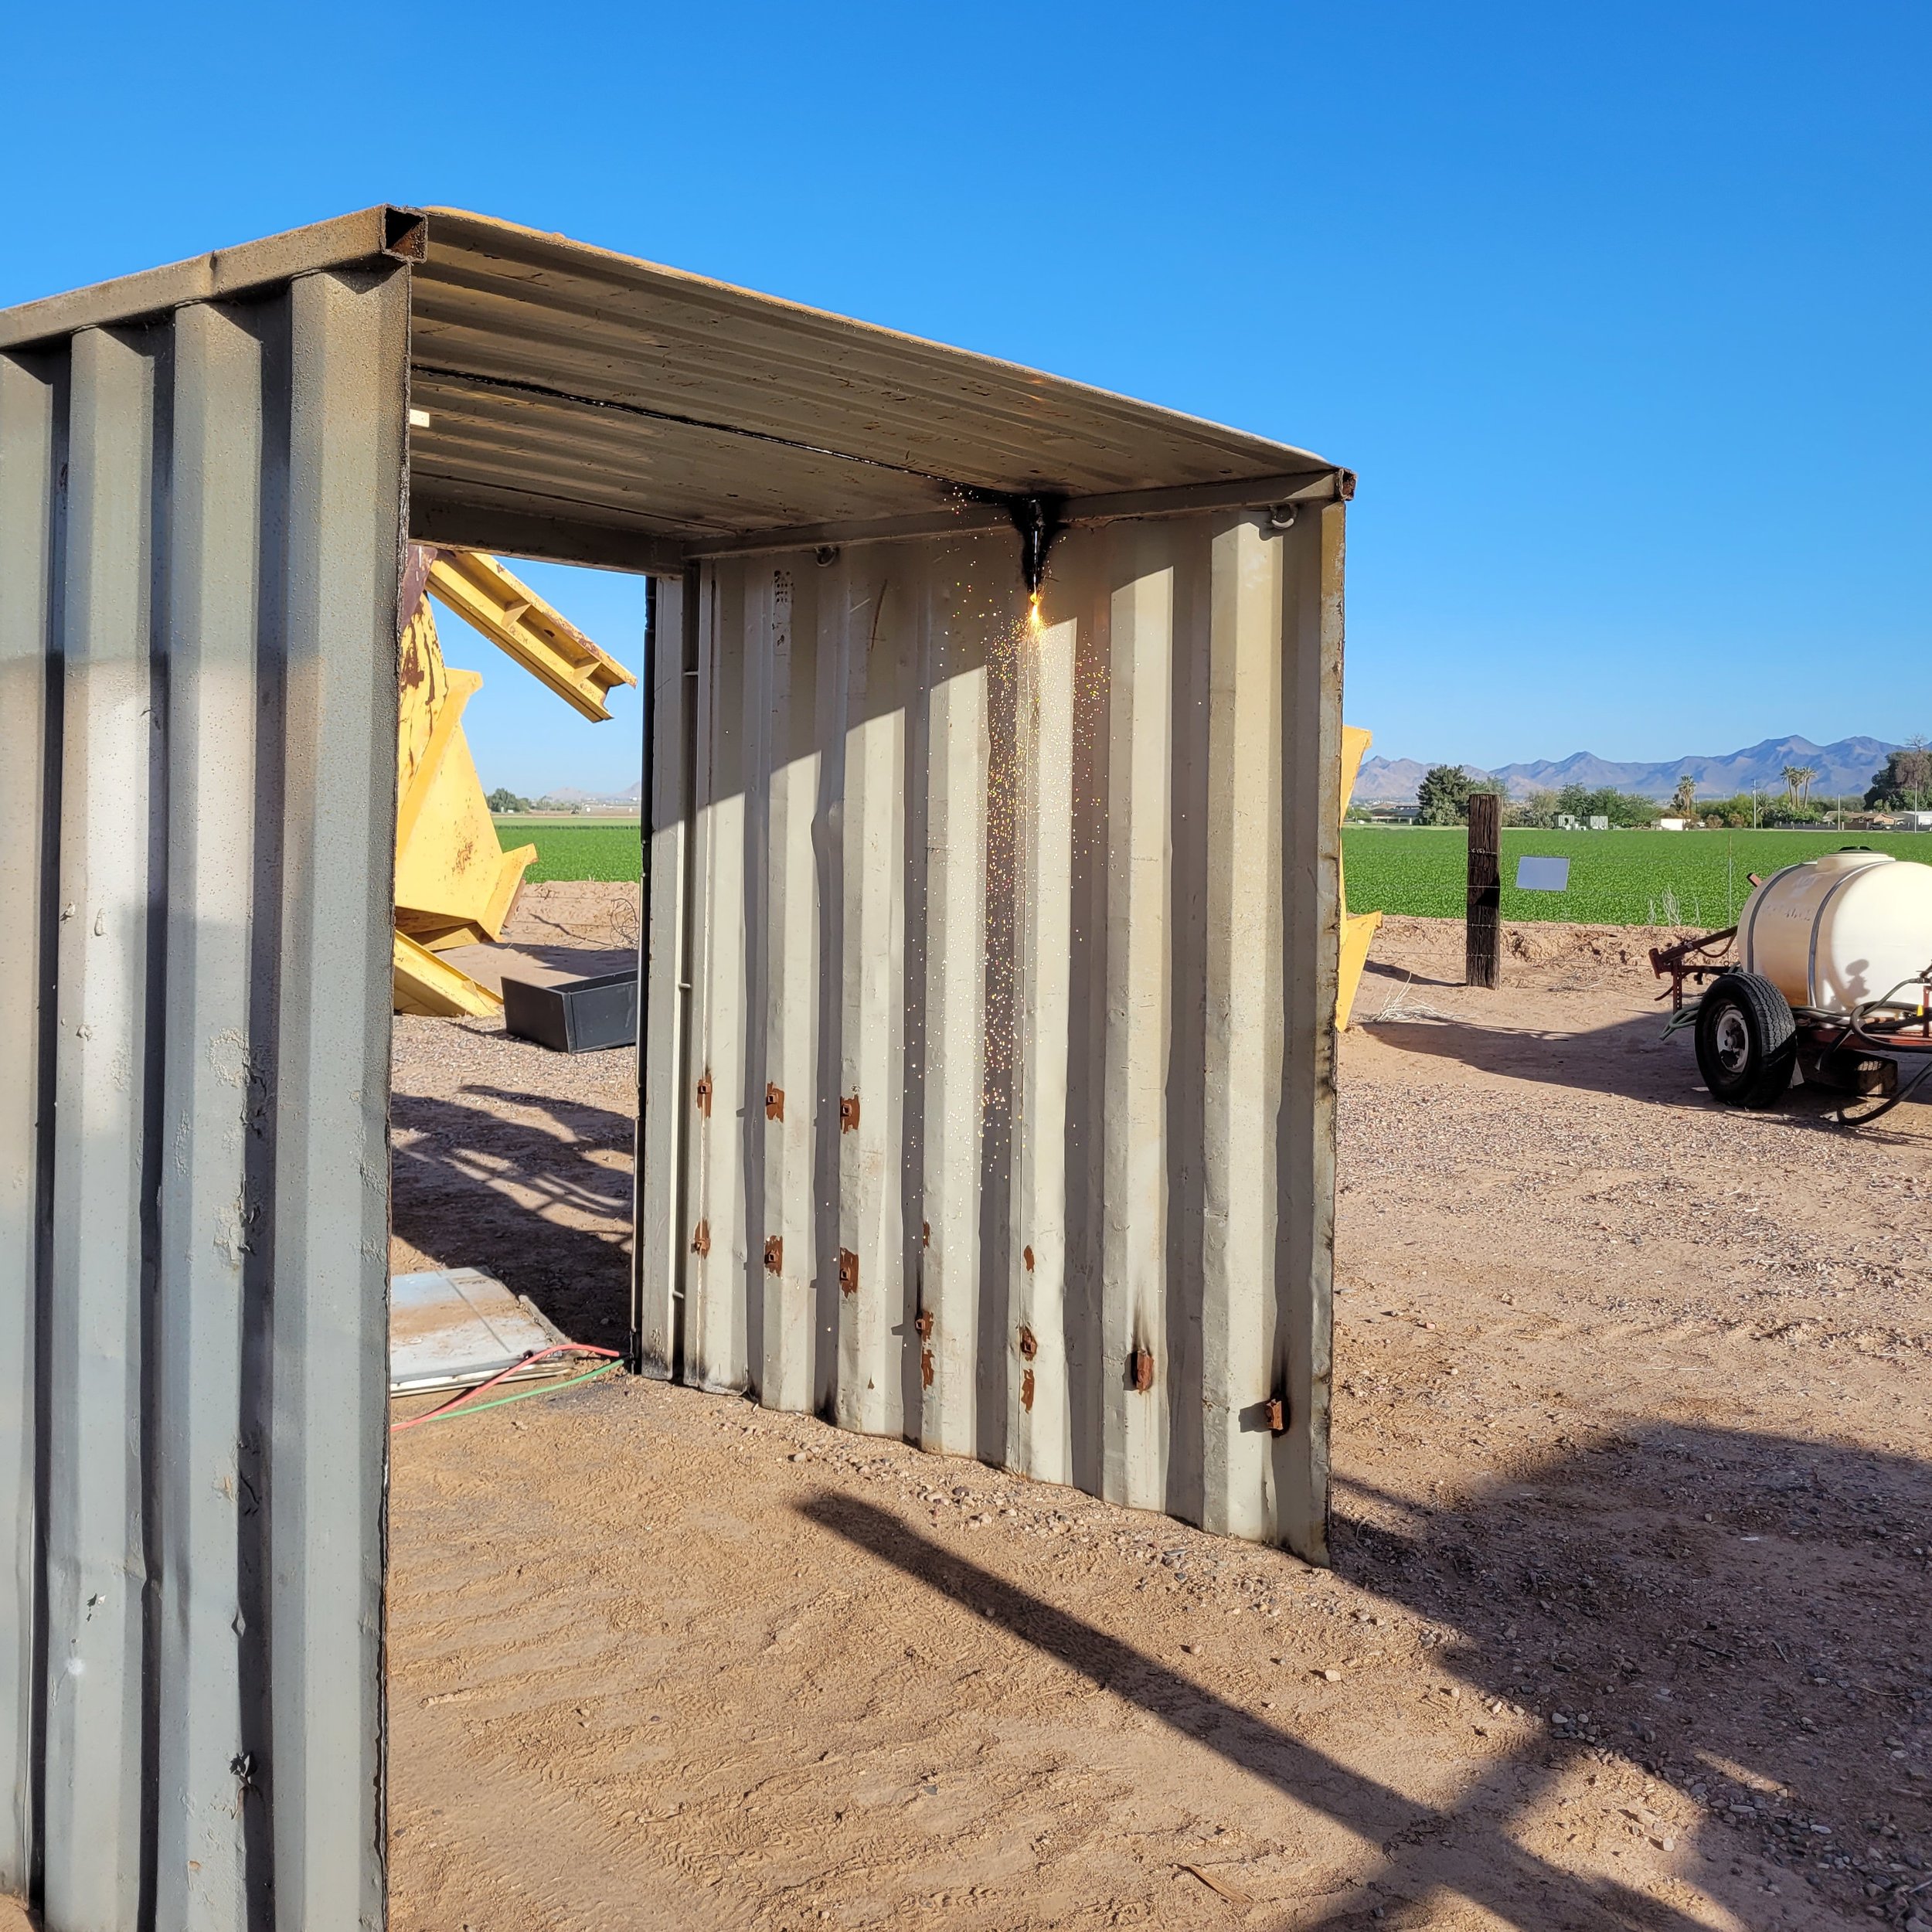
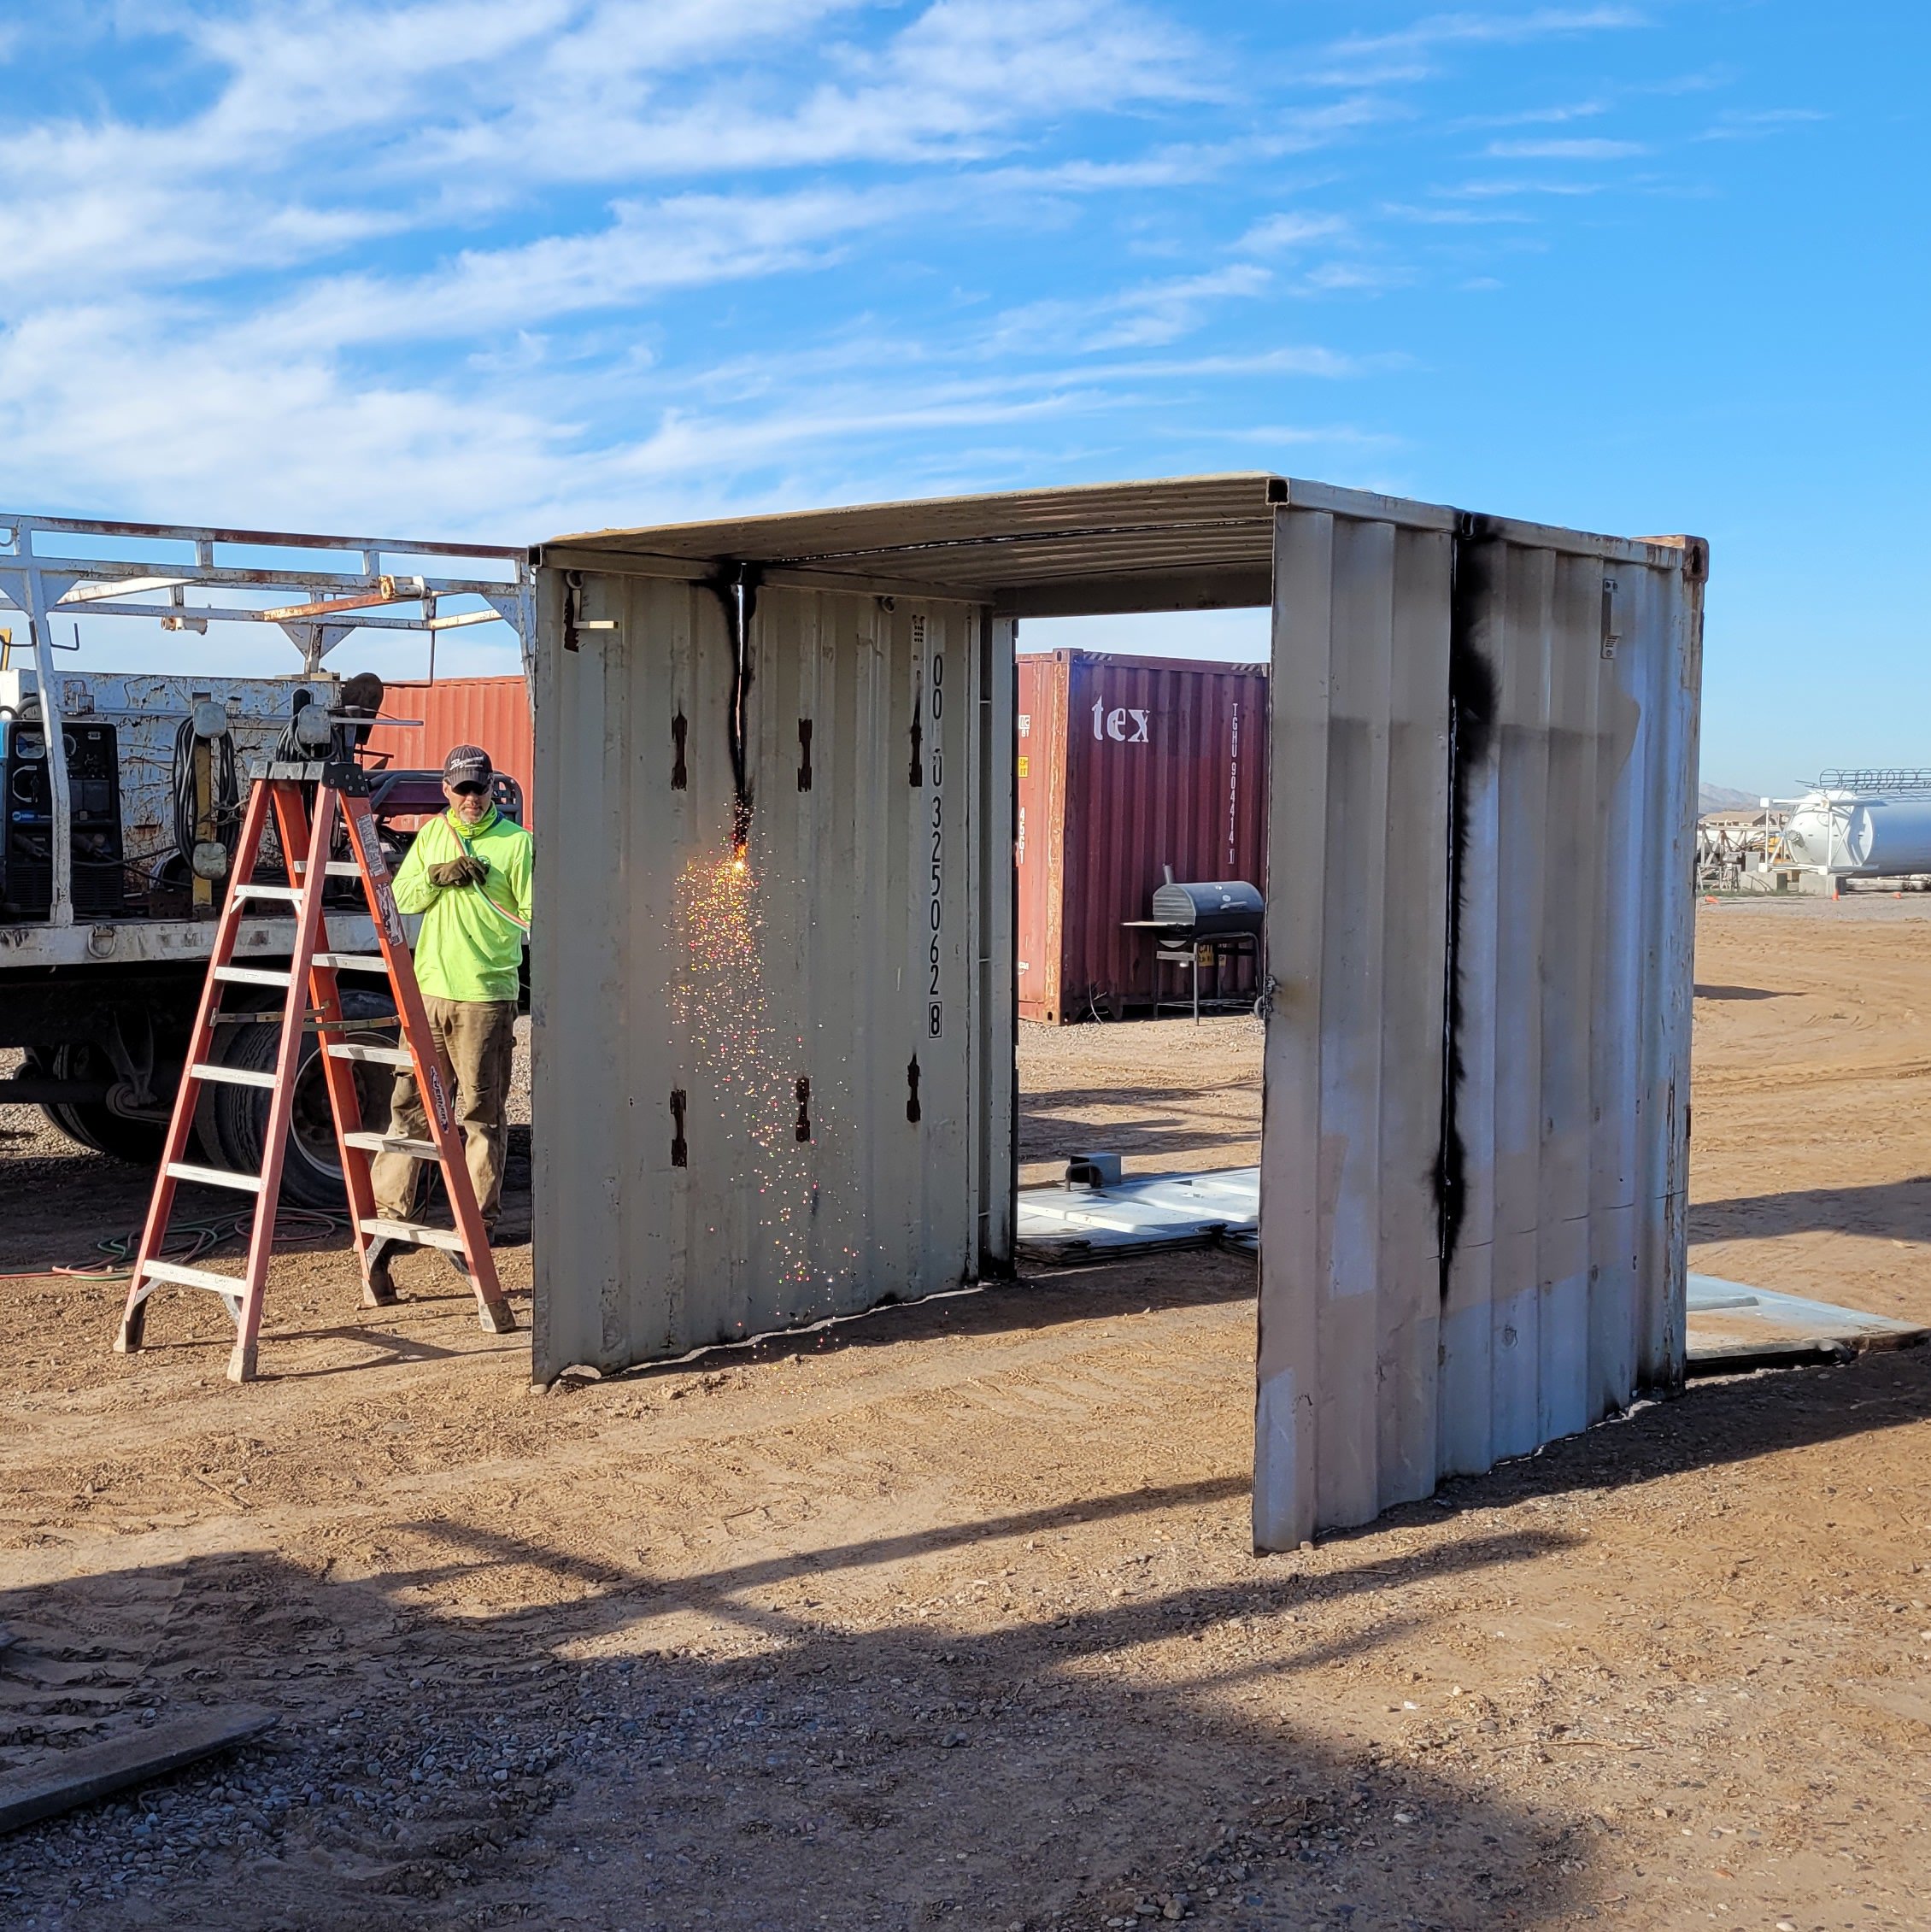
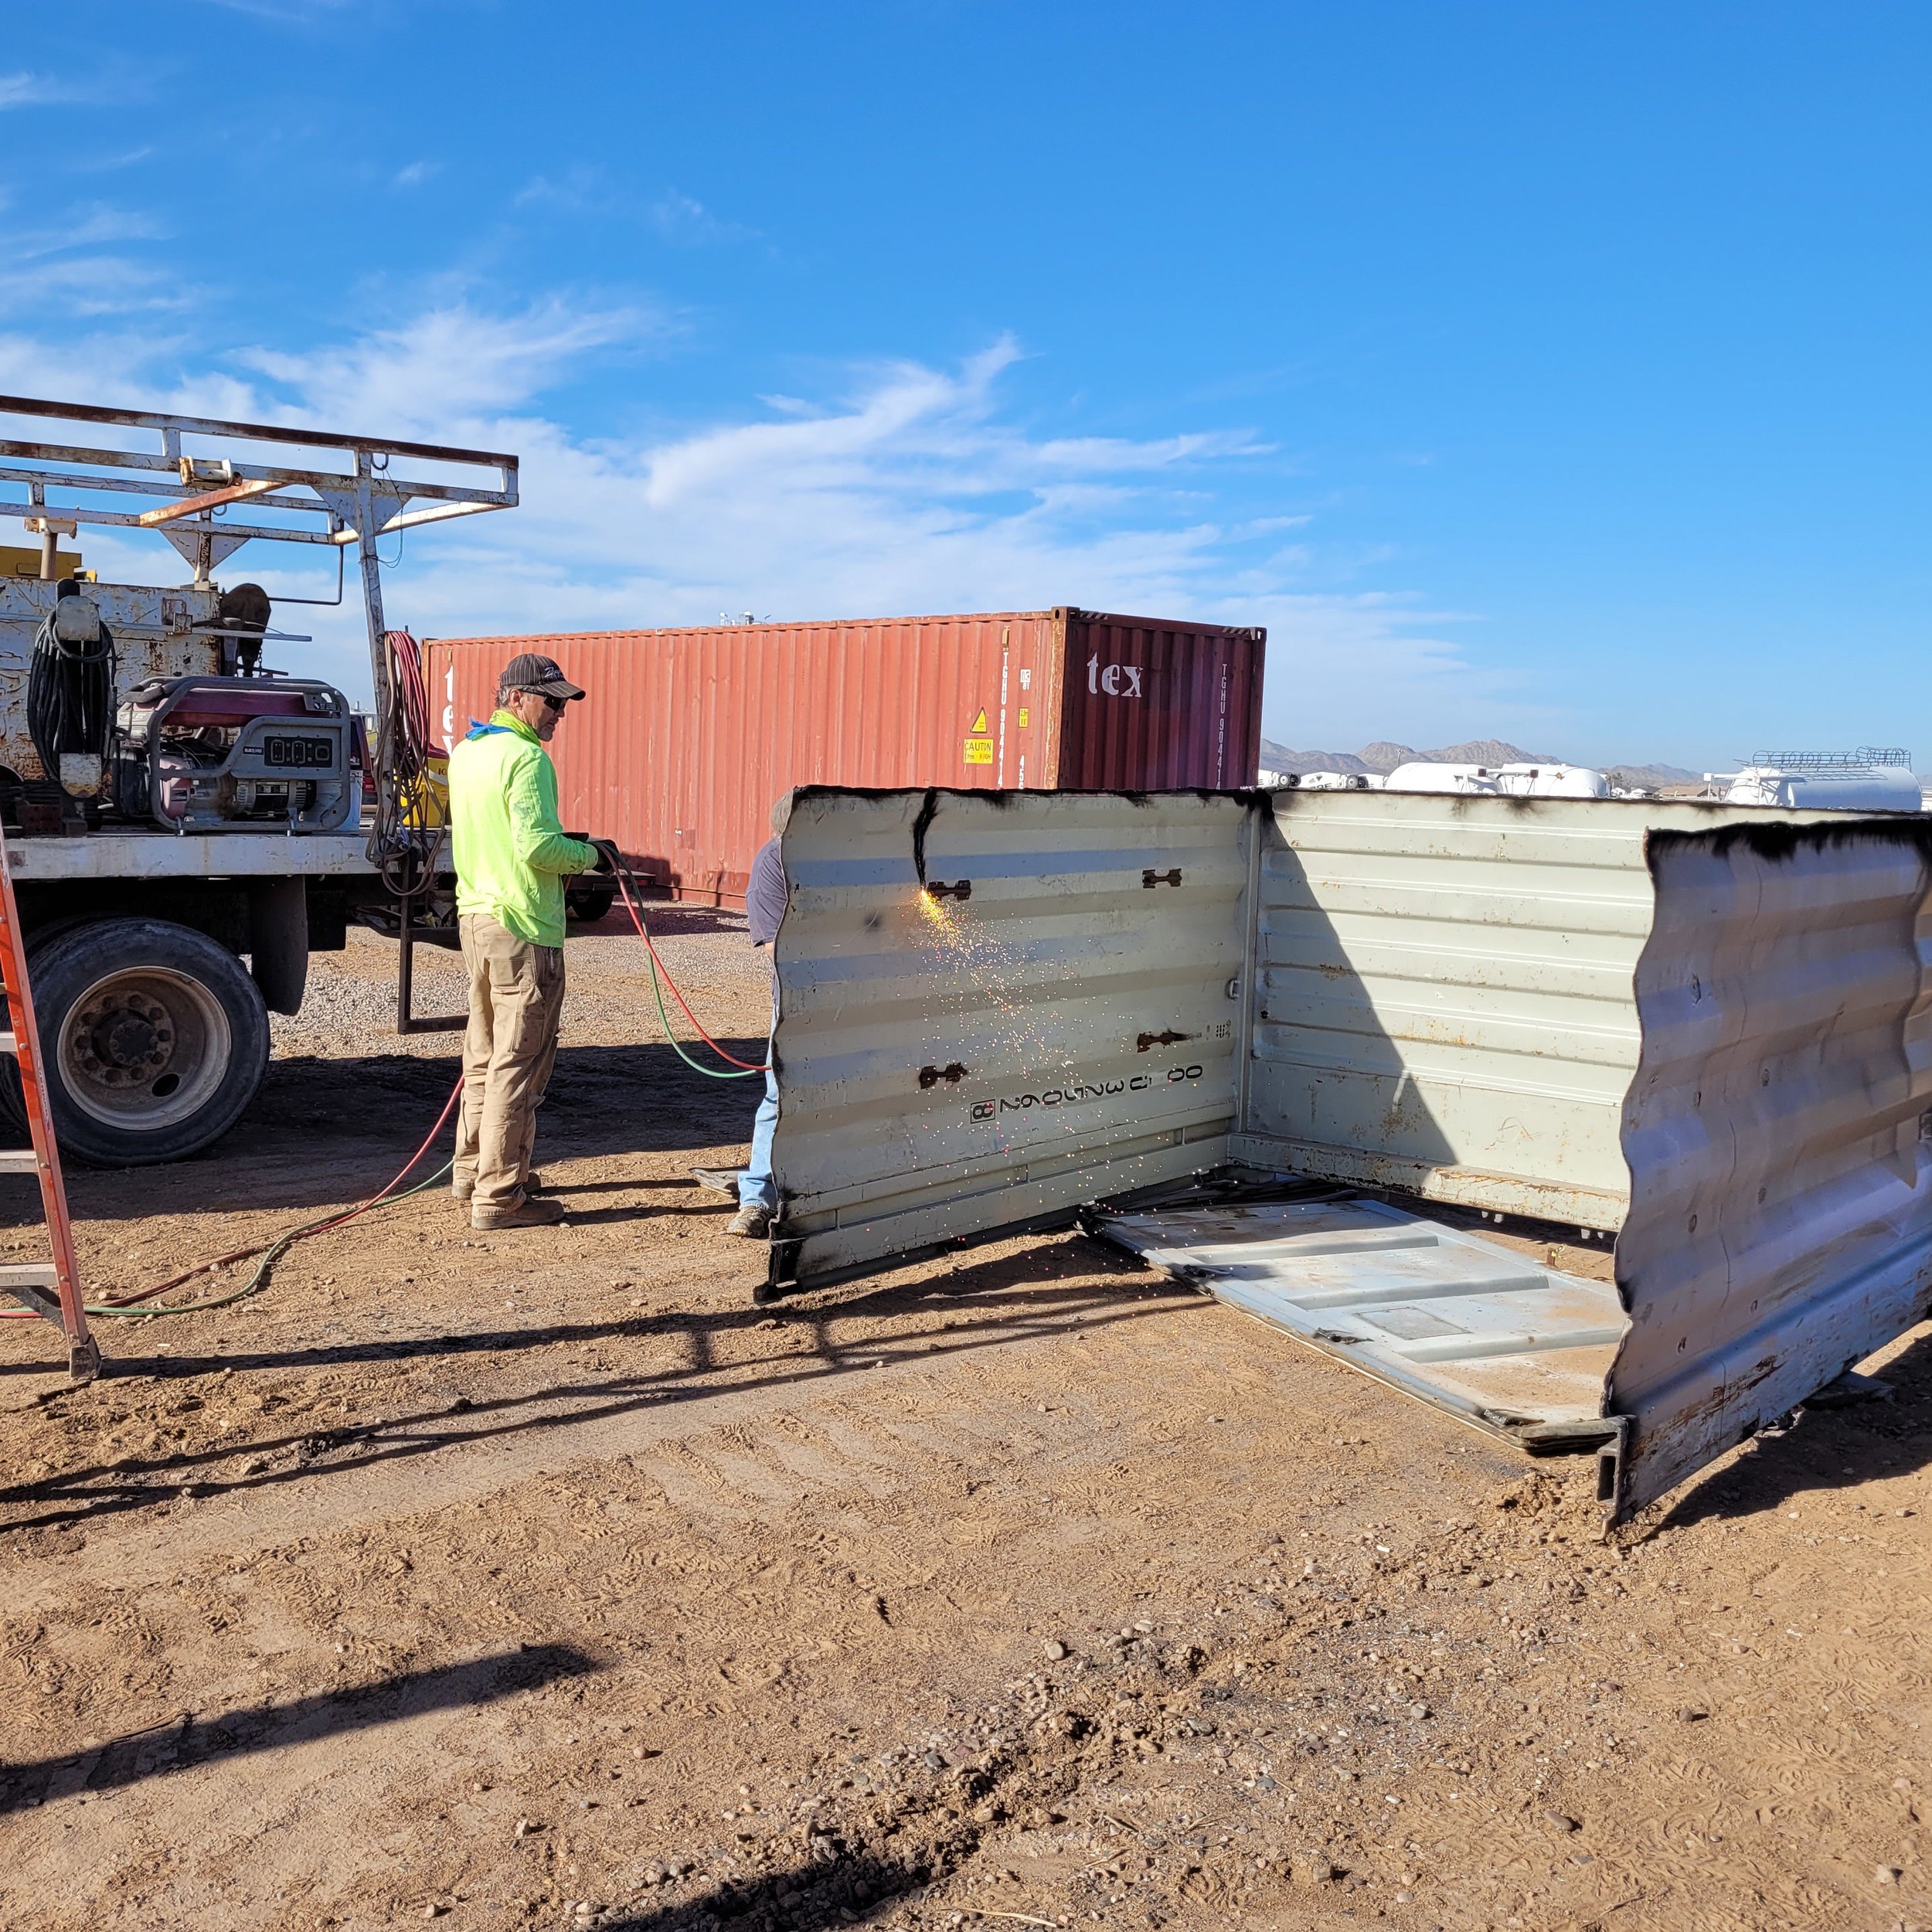

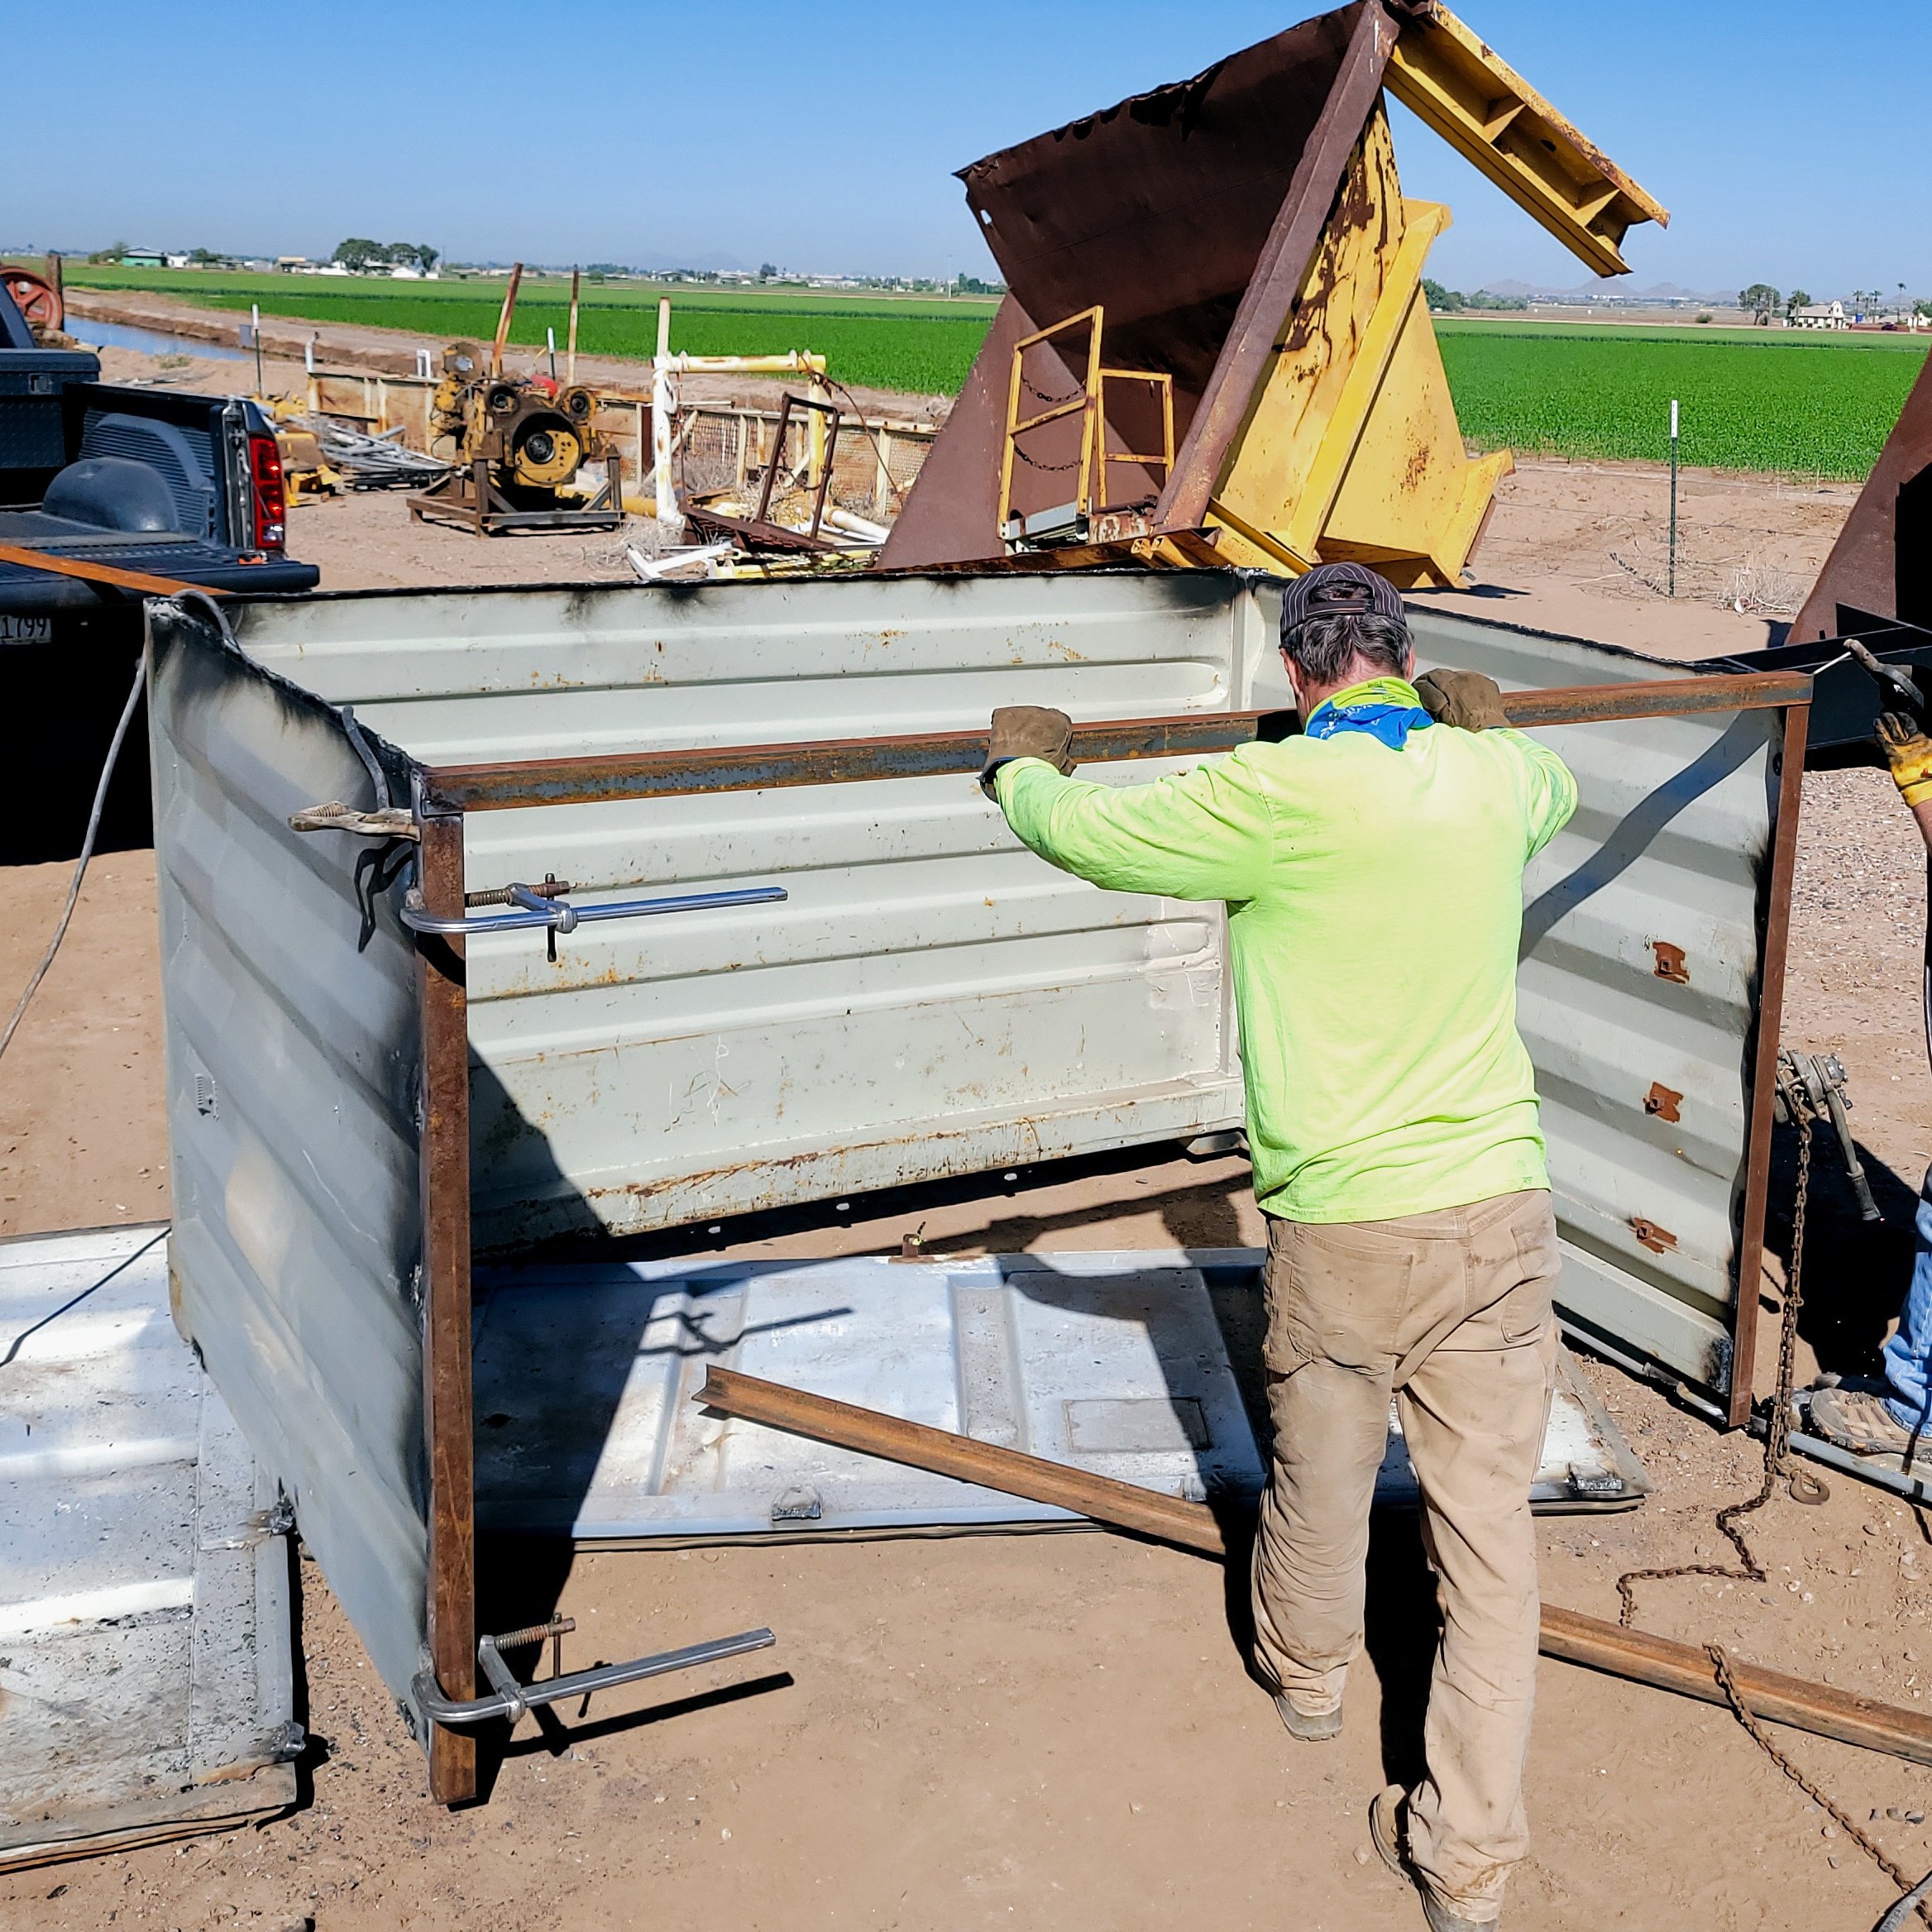
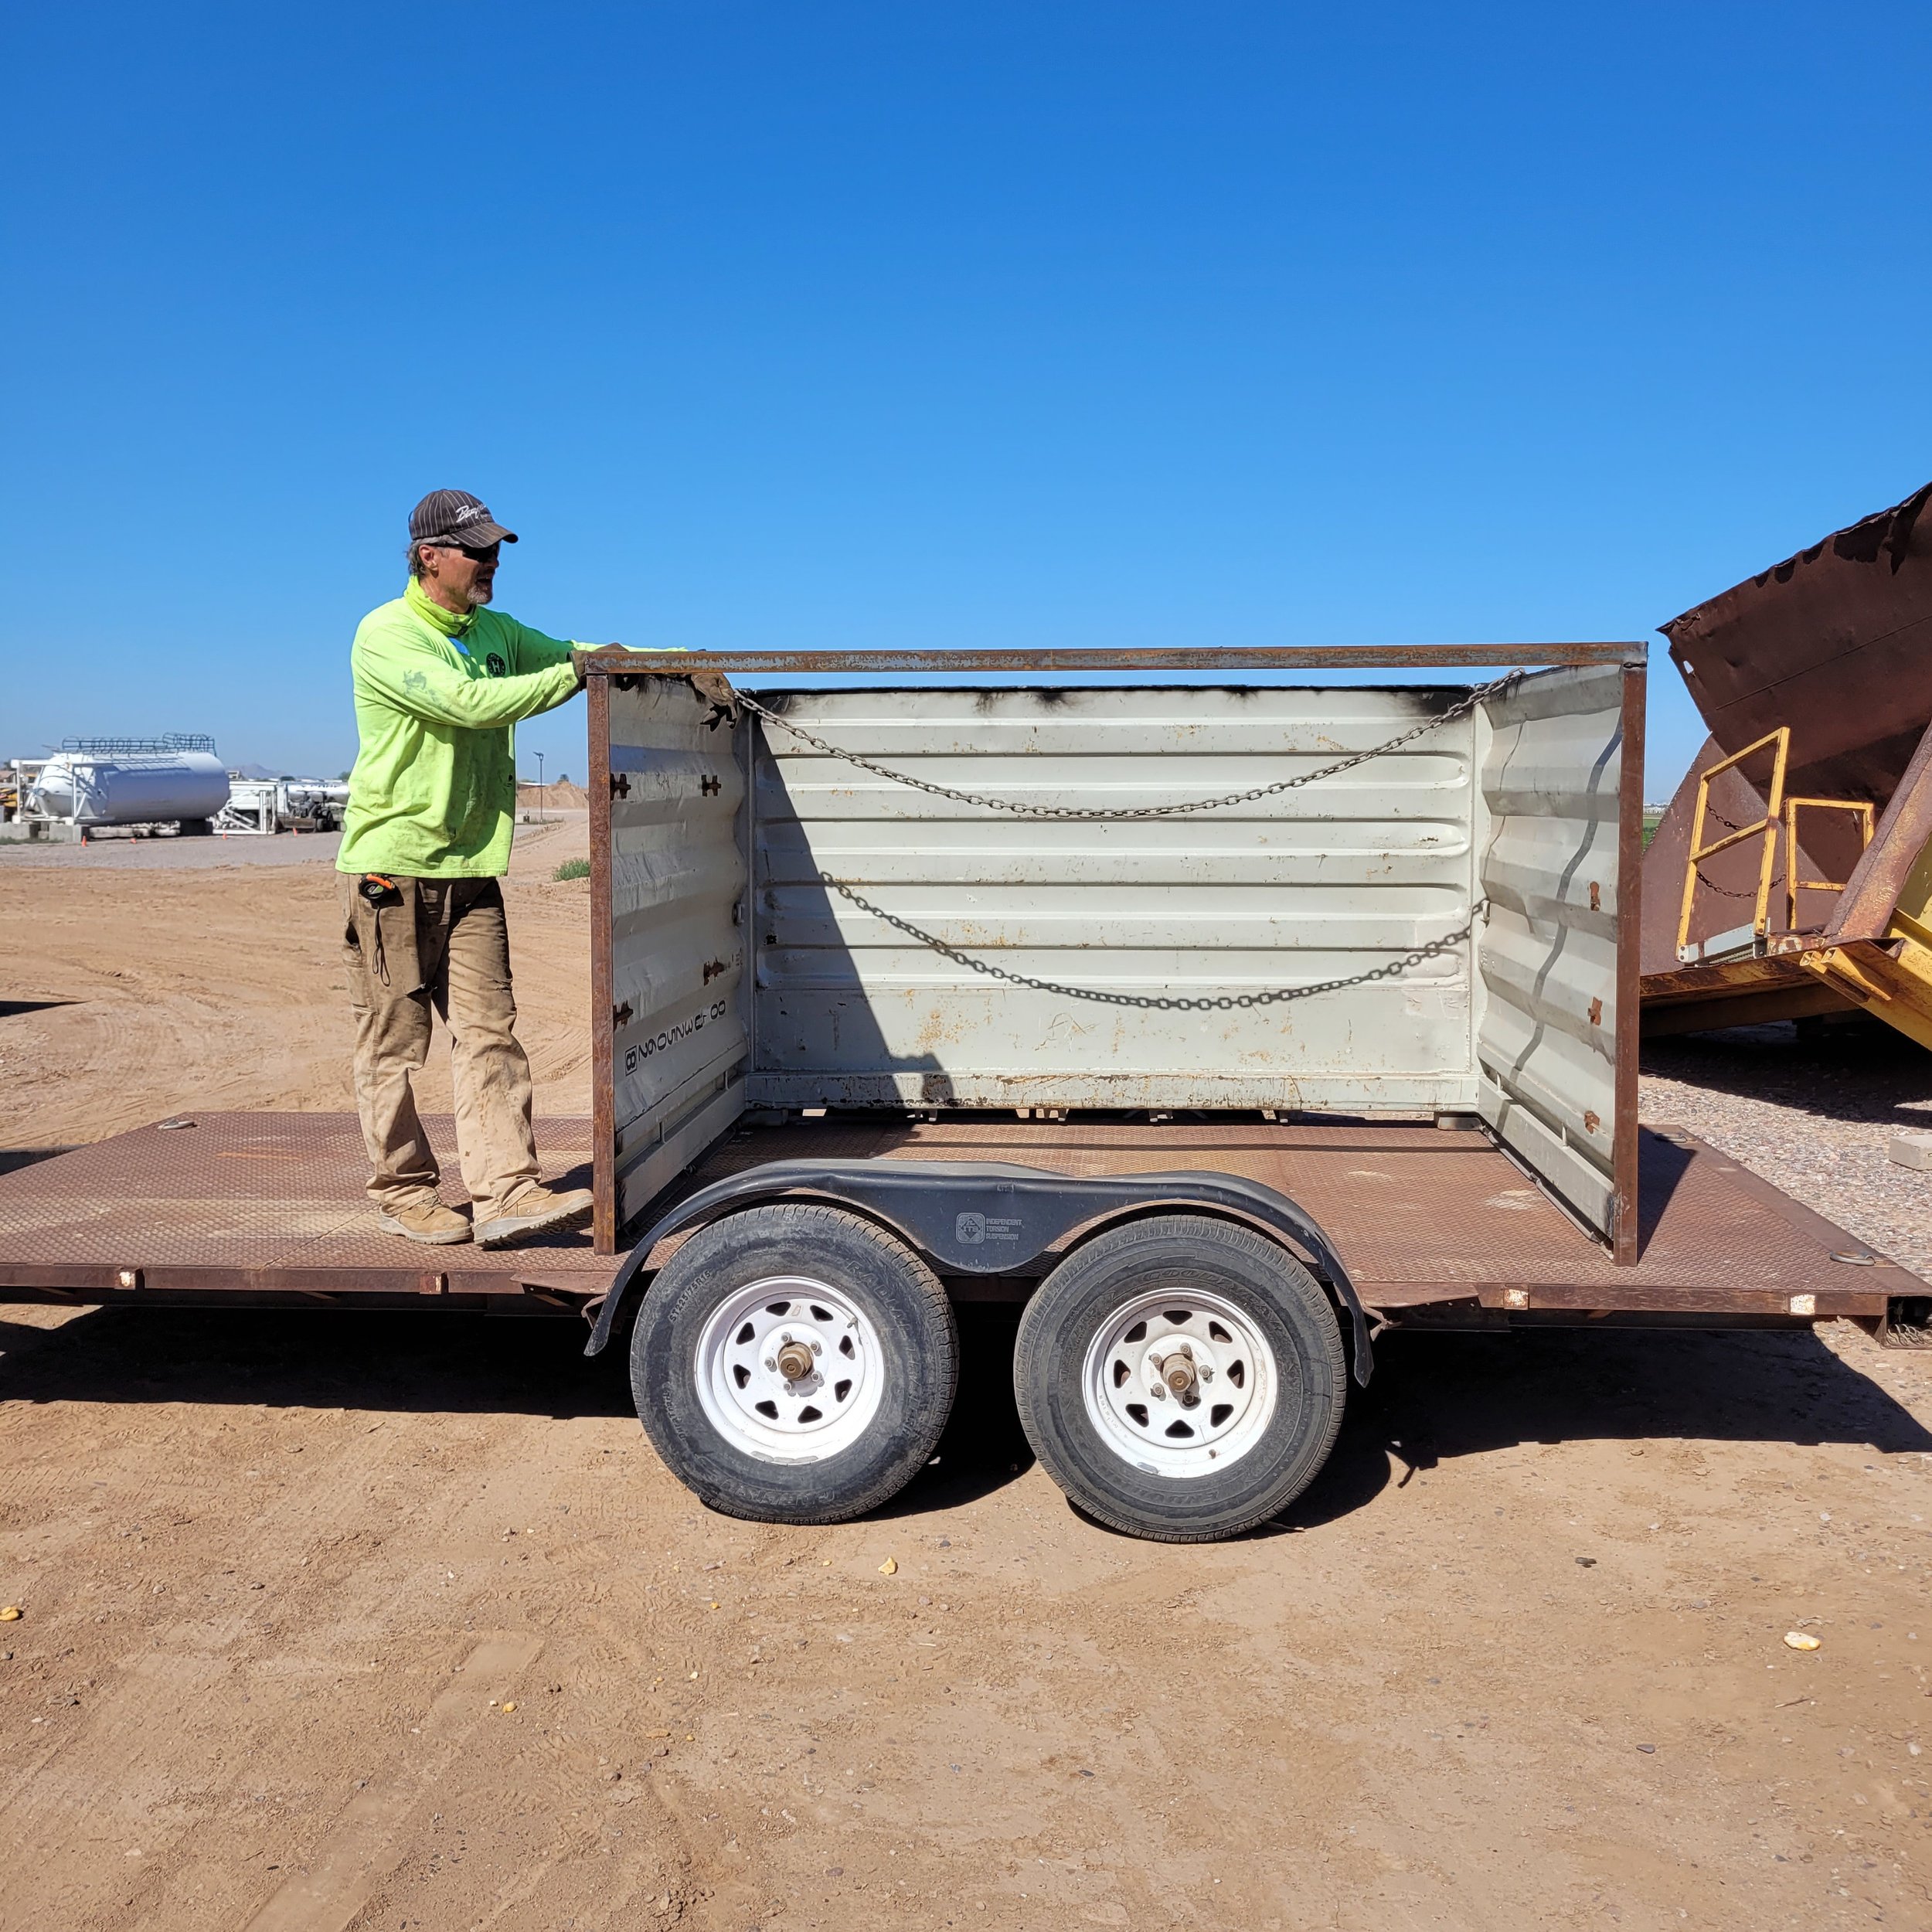
The shipping container had already been chopped up some, but there was plenty left for our purposes. We cut about 6 feet off of one end. Ideally, we did not want the shed to stick out above our property wall, so we flipped it on it’s side and cut a bit off the bottom. The bottom was reinforced with some steel angle bar. Then finally, we loaded it on a trailer and drove it to the house.
Getting the shed past the garage and house and installed in the back corner of our property was tough! It required everyone’s full attention, so I did not get any pictures. It was a massive relief when we finally got it into place with my kilns inside, and with no major disasters.
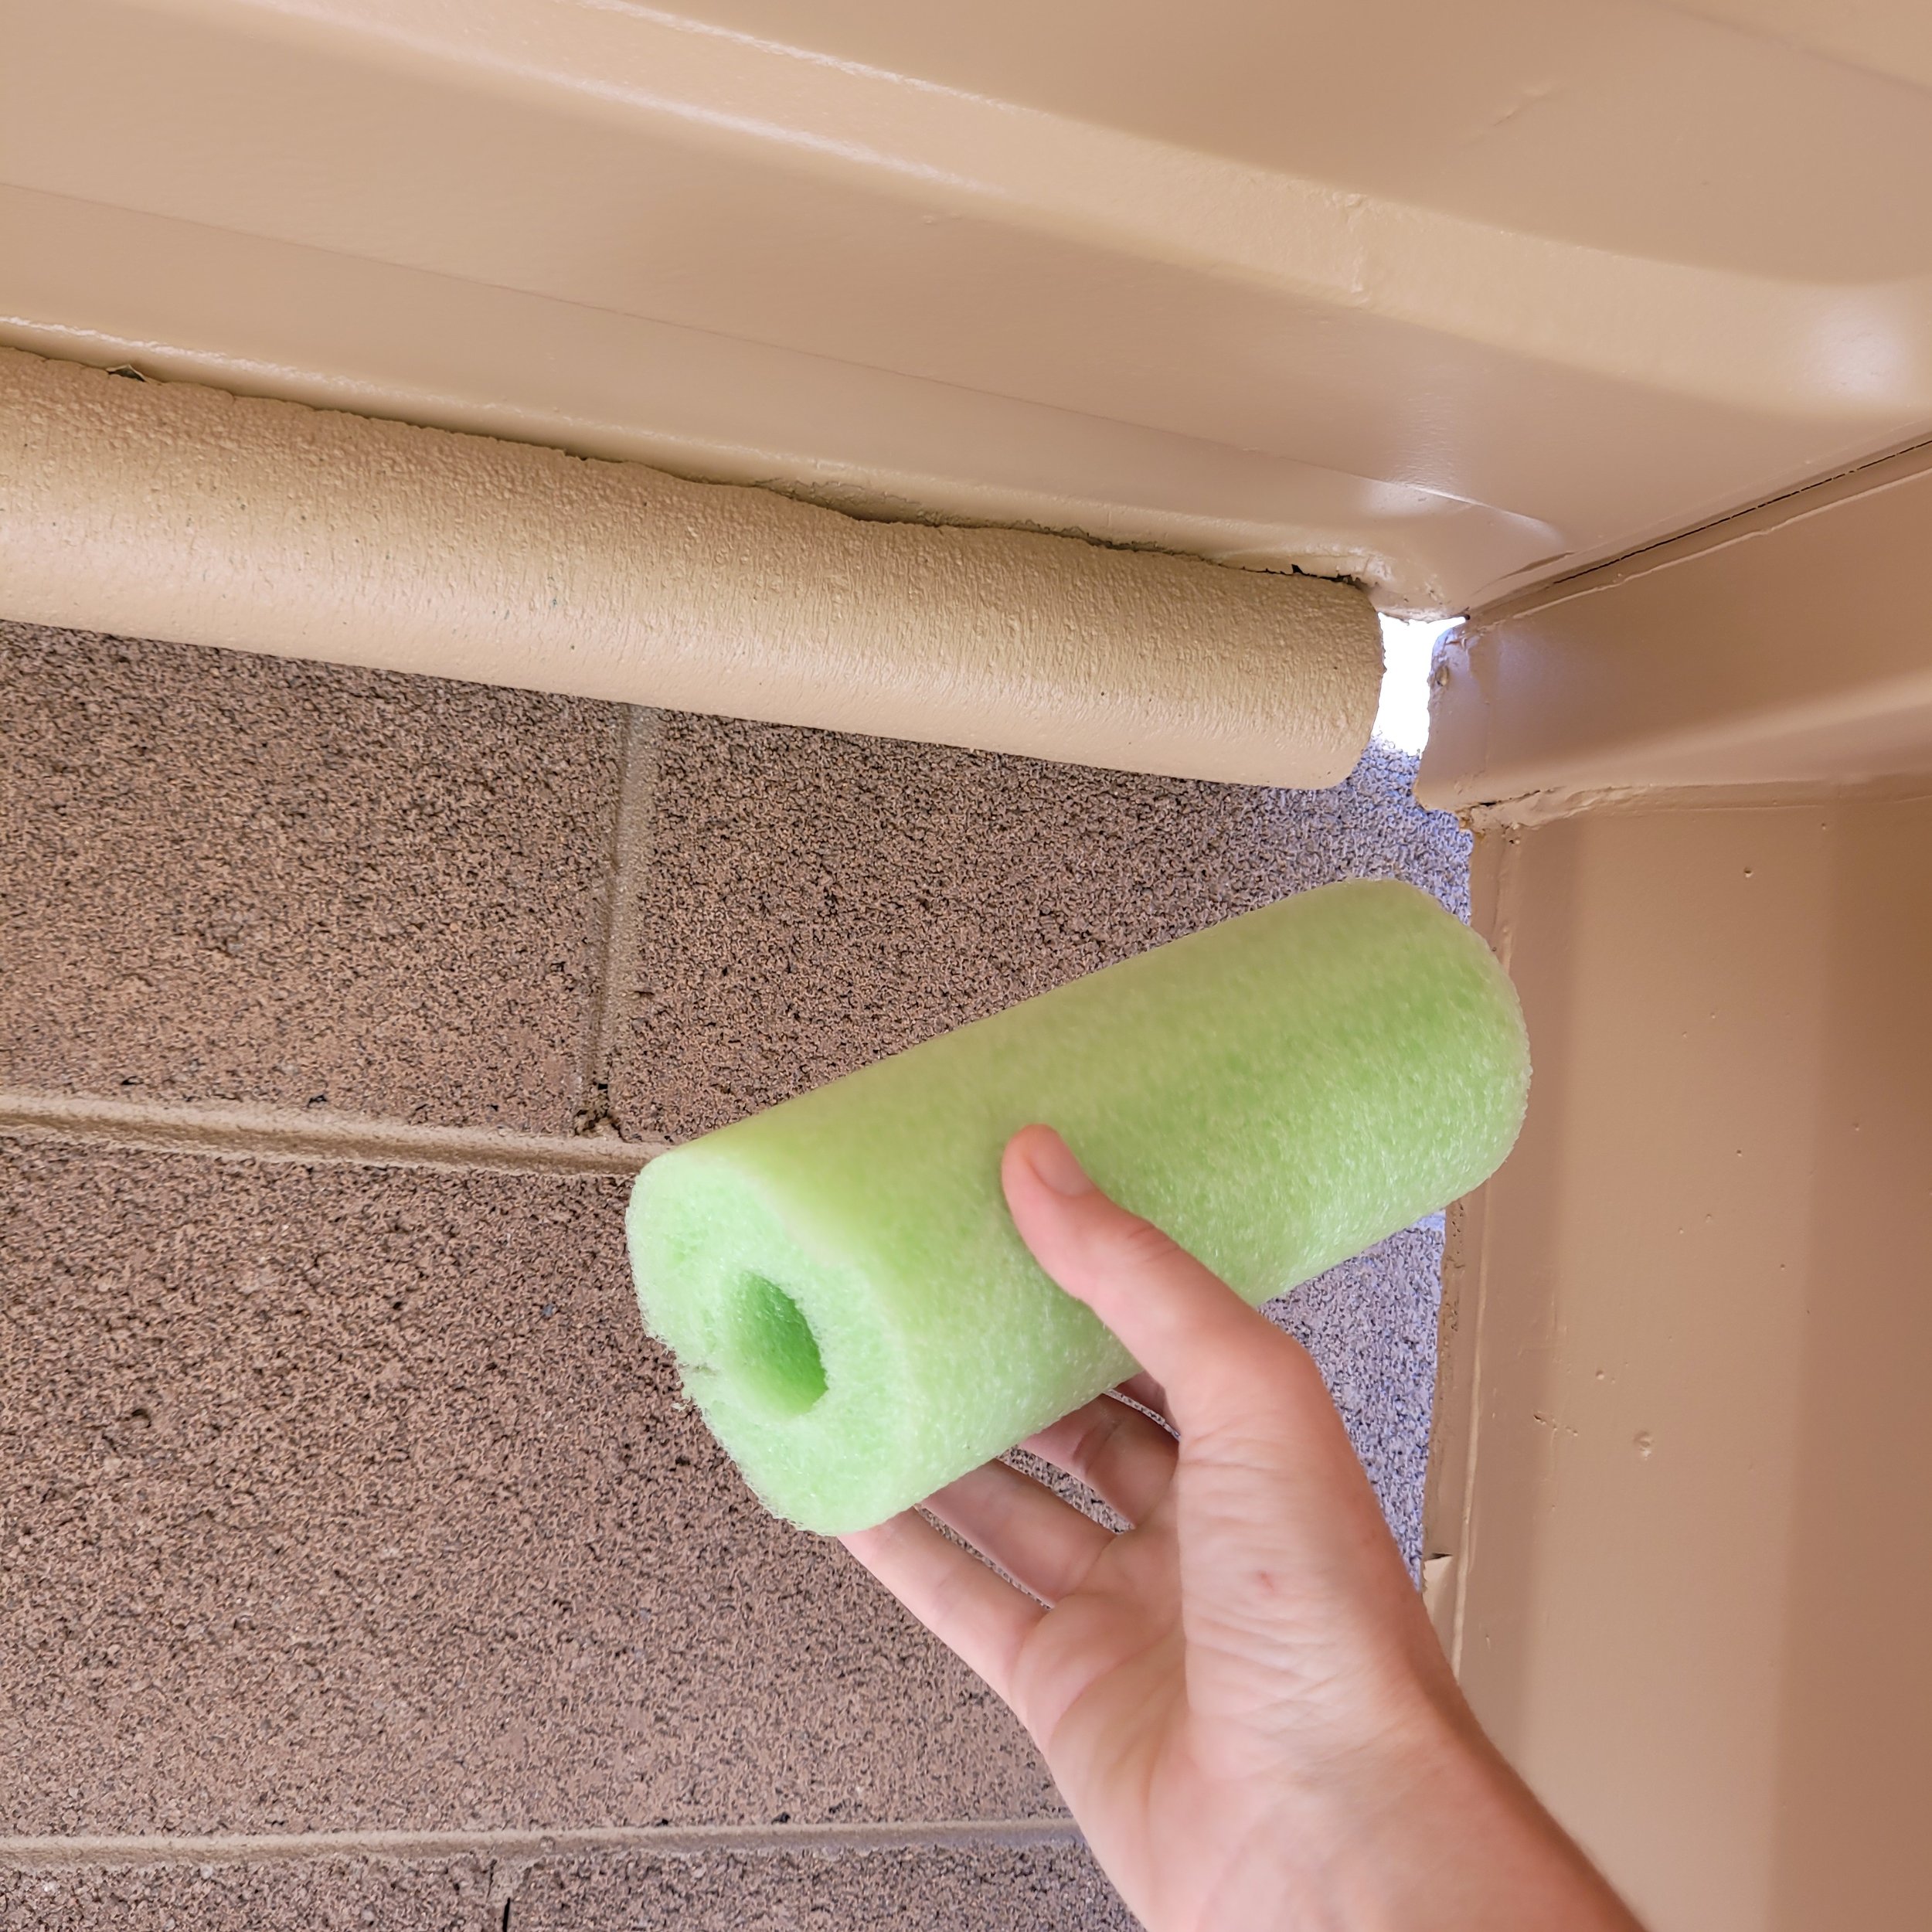
It was a bit rough looking at first, so we added a coat of paint to match the shed to the wall and our house (which is this same deserty tan color). We cut up a couple of pool noodles to fill in the gap along the top, between the wall and the back of the shed (see slide 2 below). We painted them to blend them in; time will tell how long that paint will last on a pool noodle. But it looks nice for now, and the kilns are well protected.
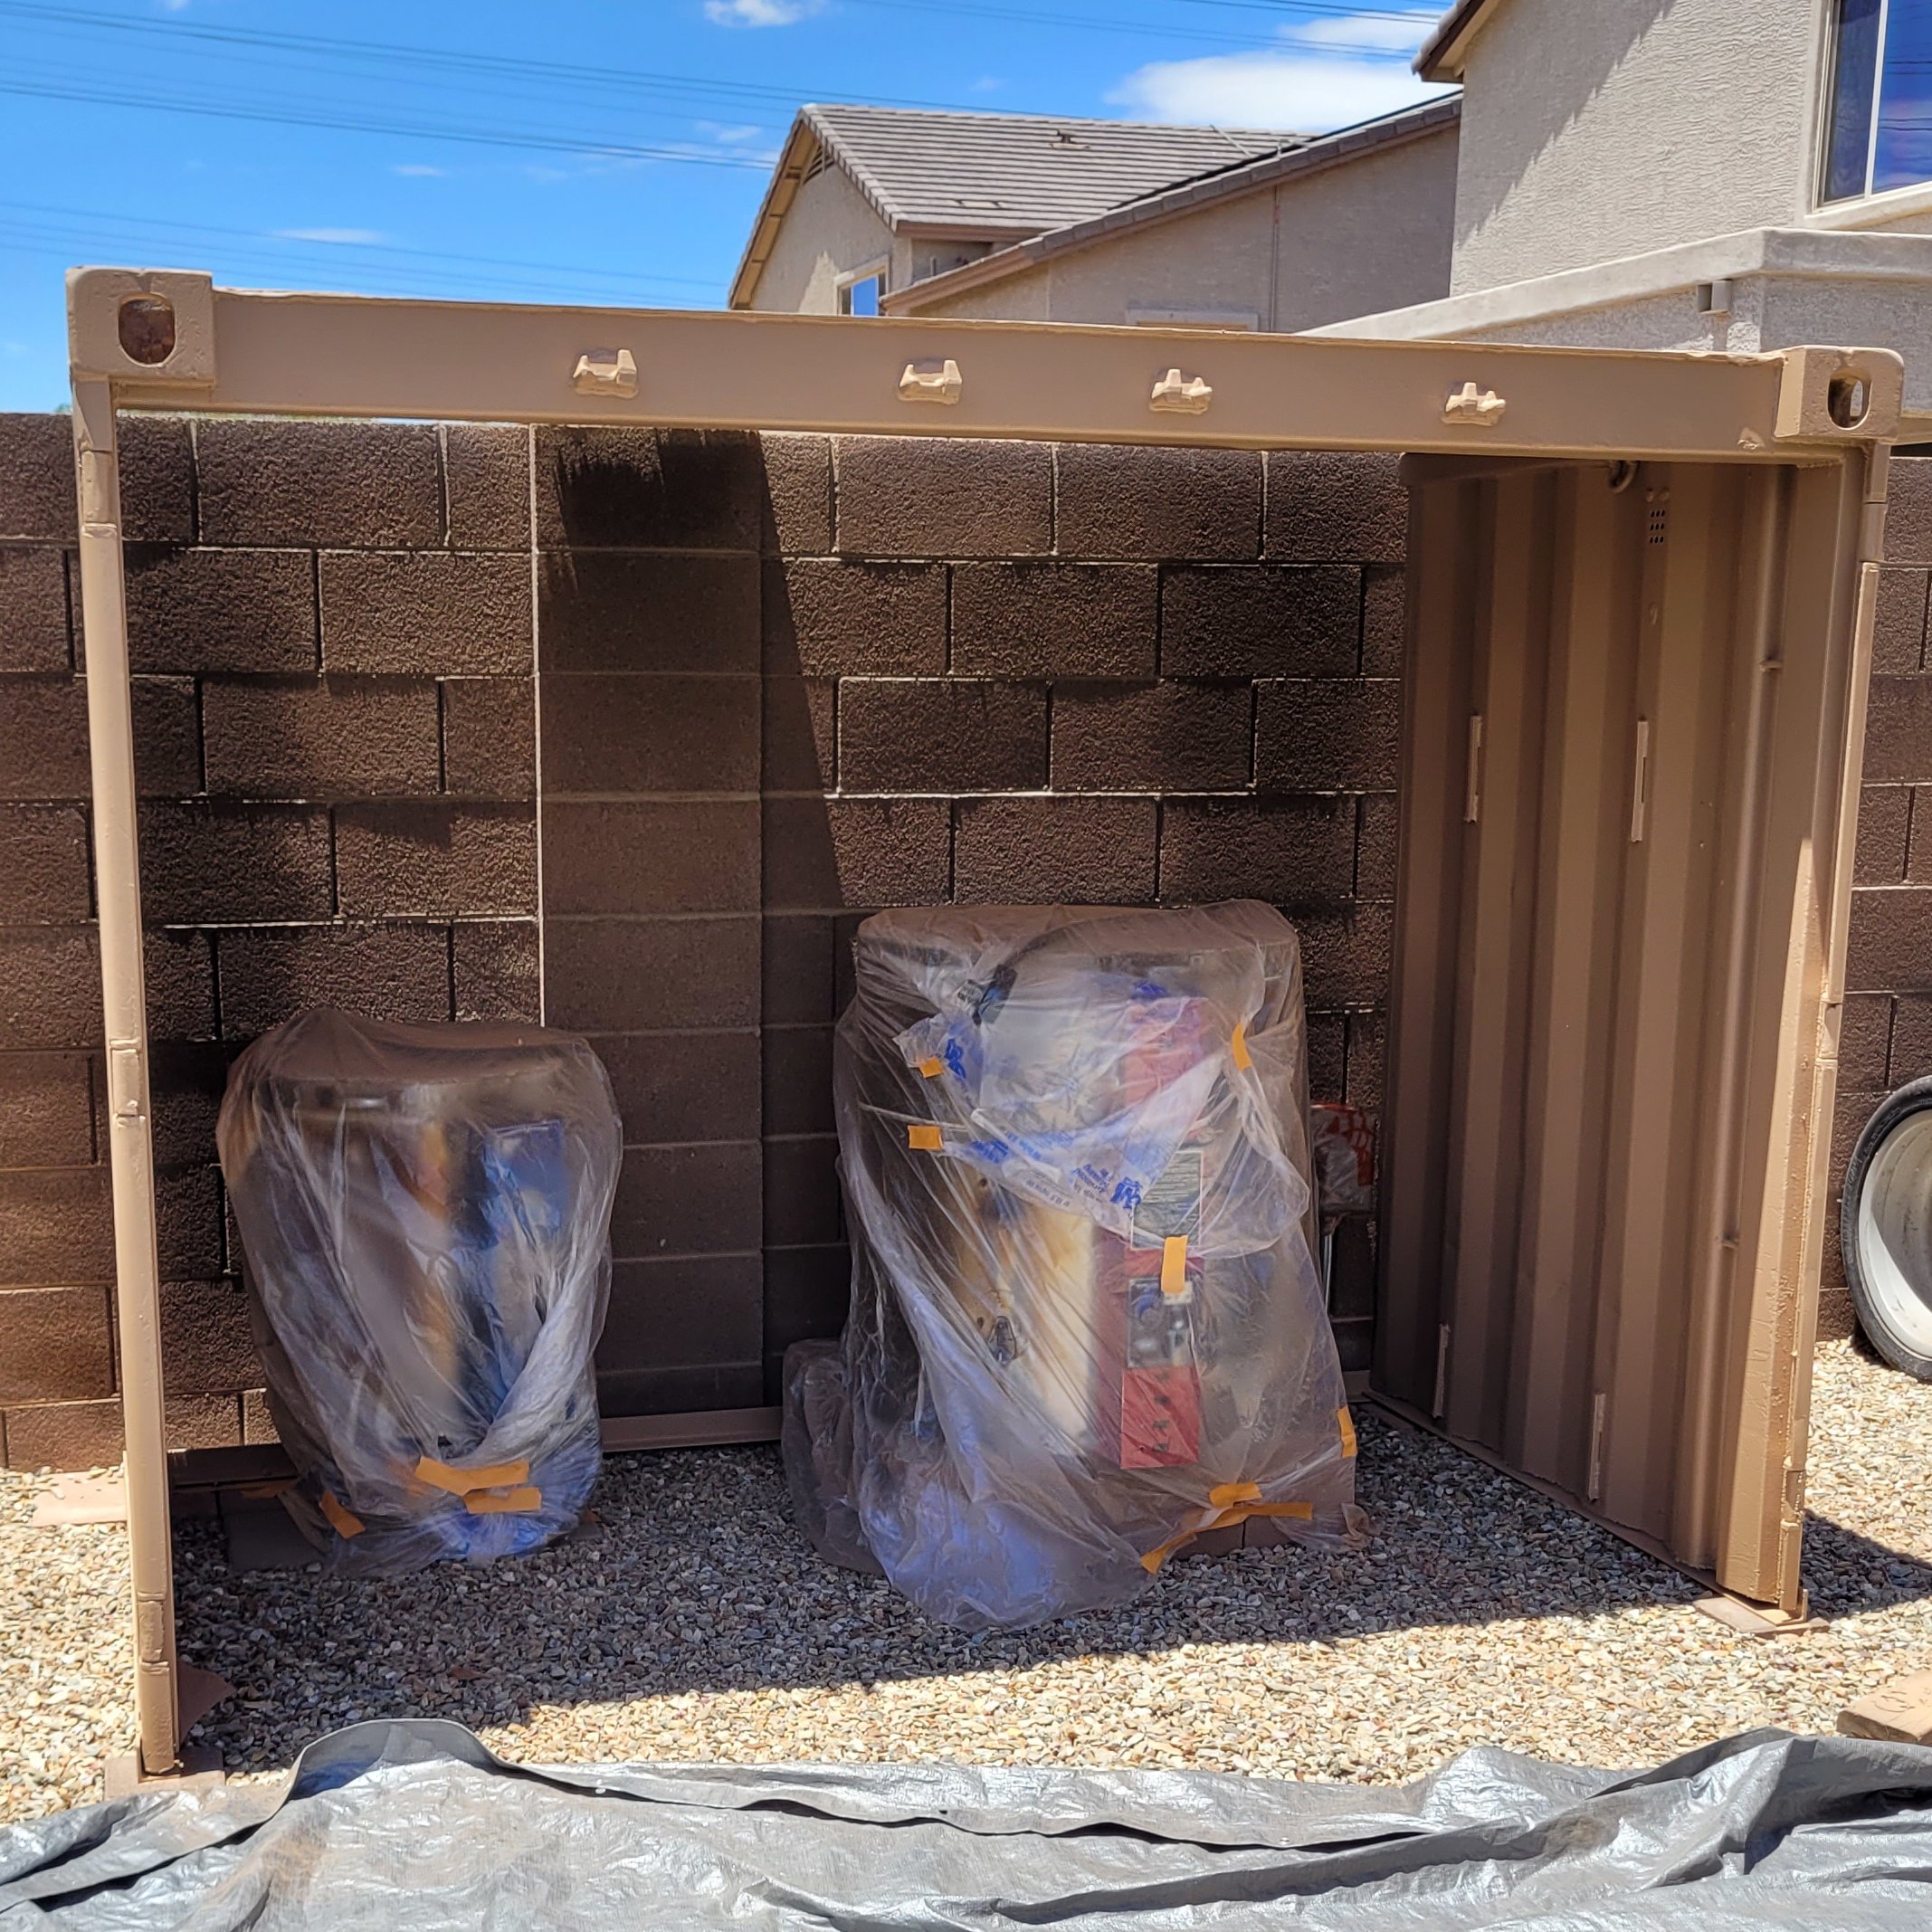
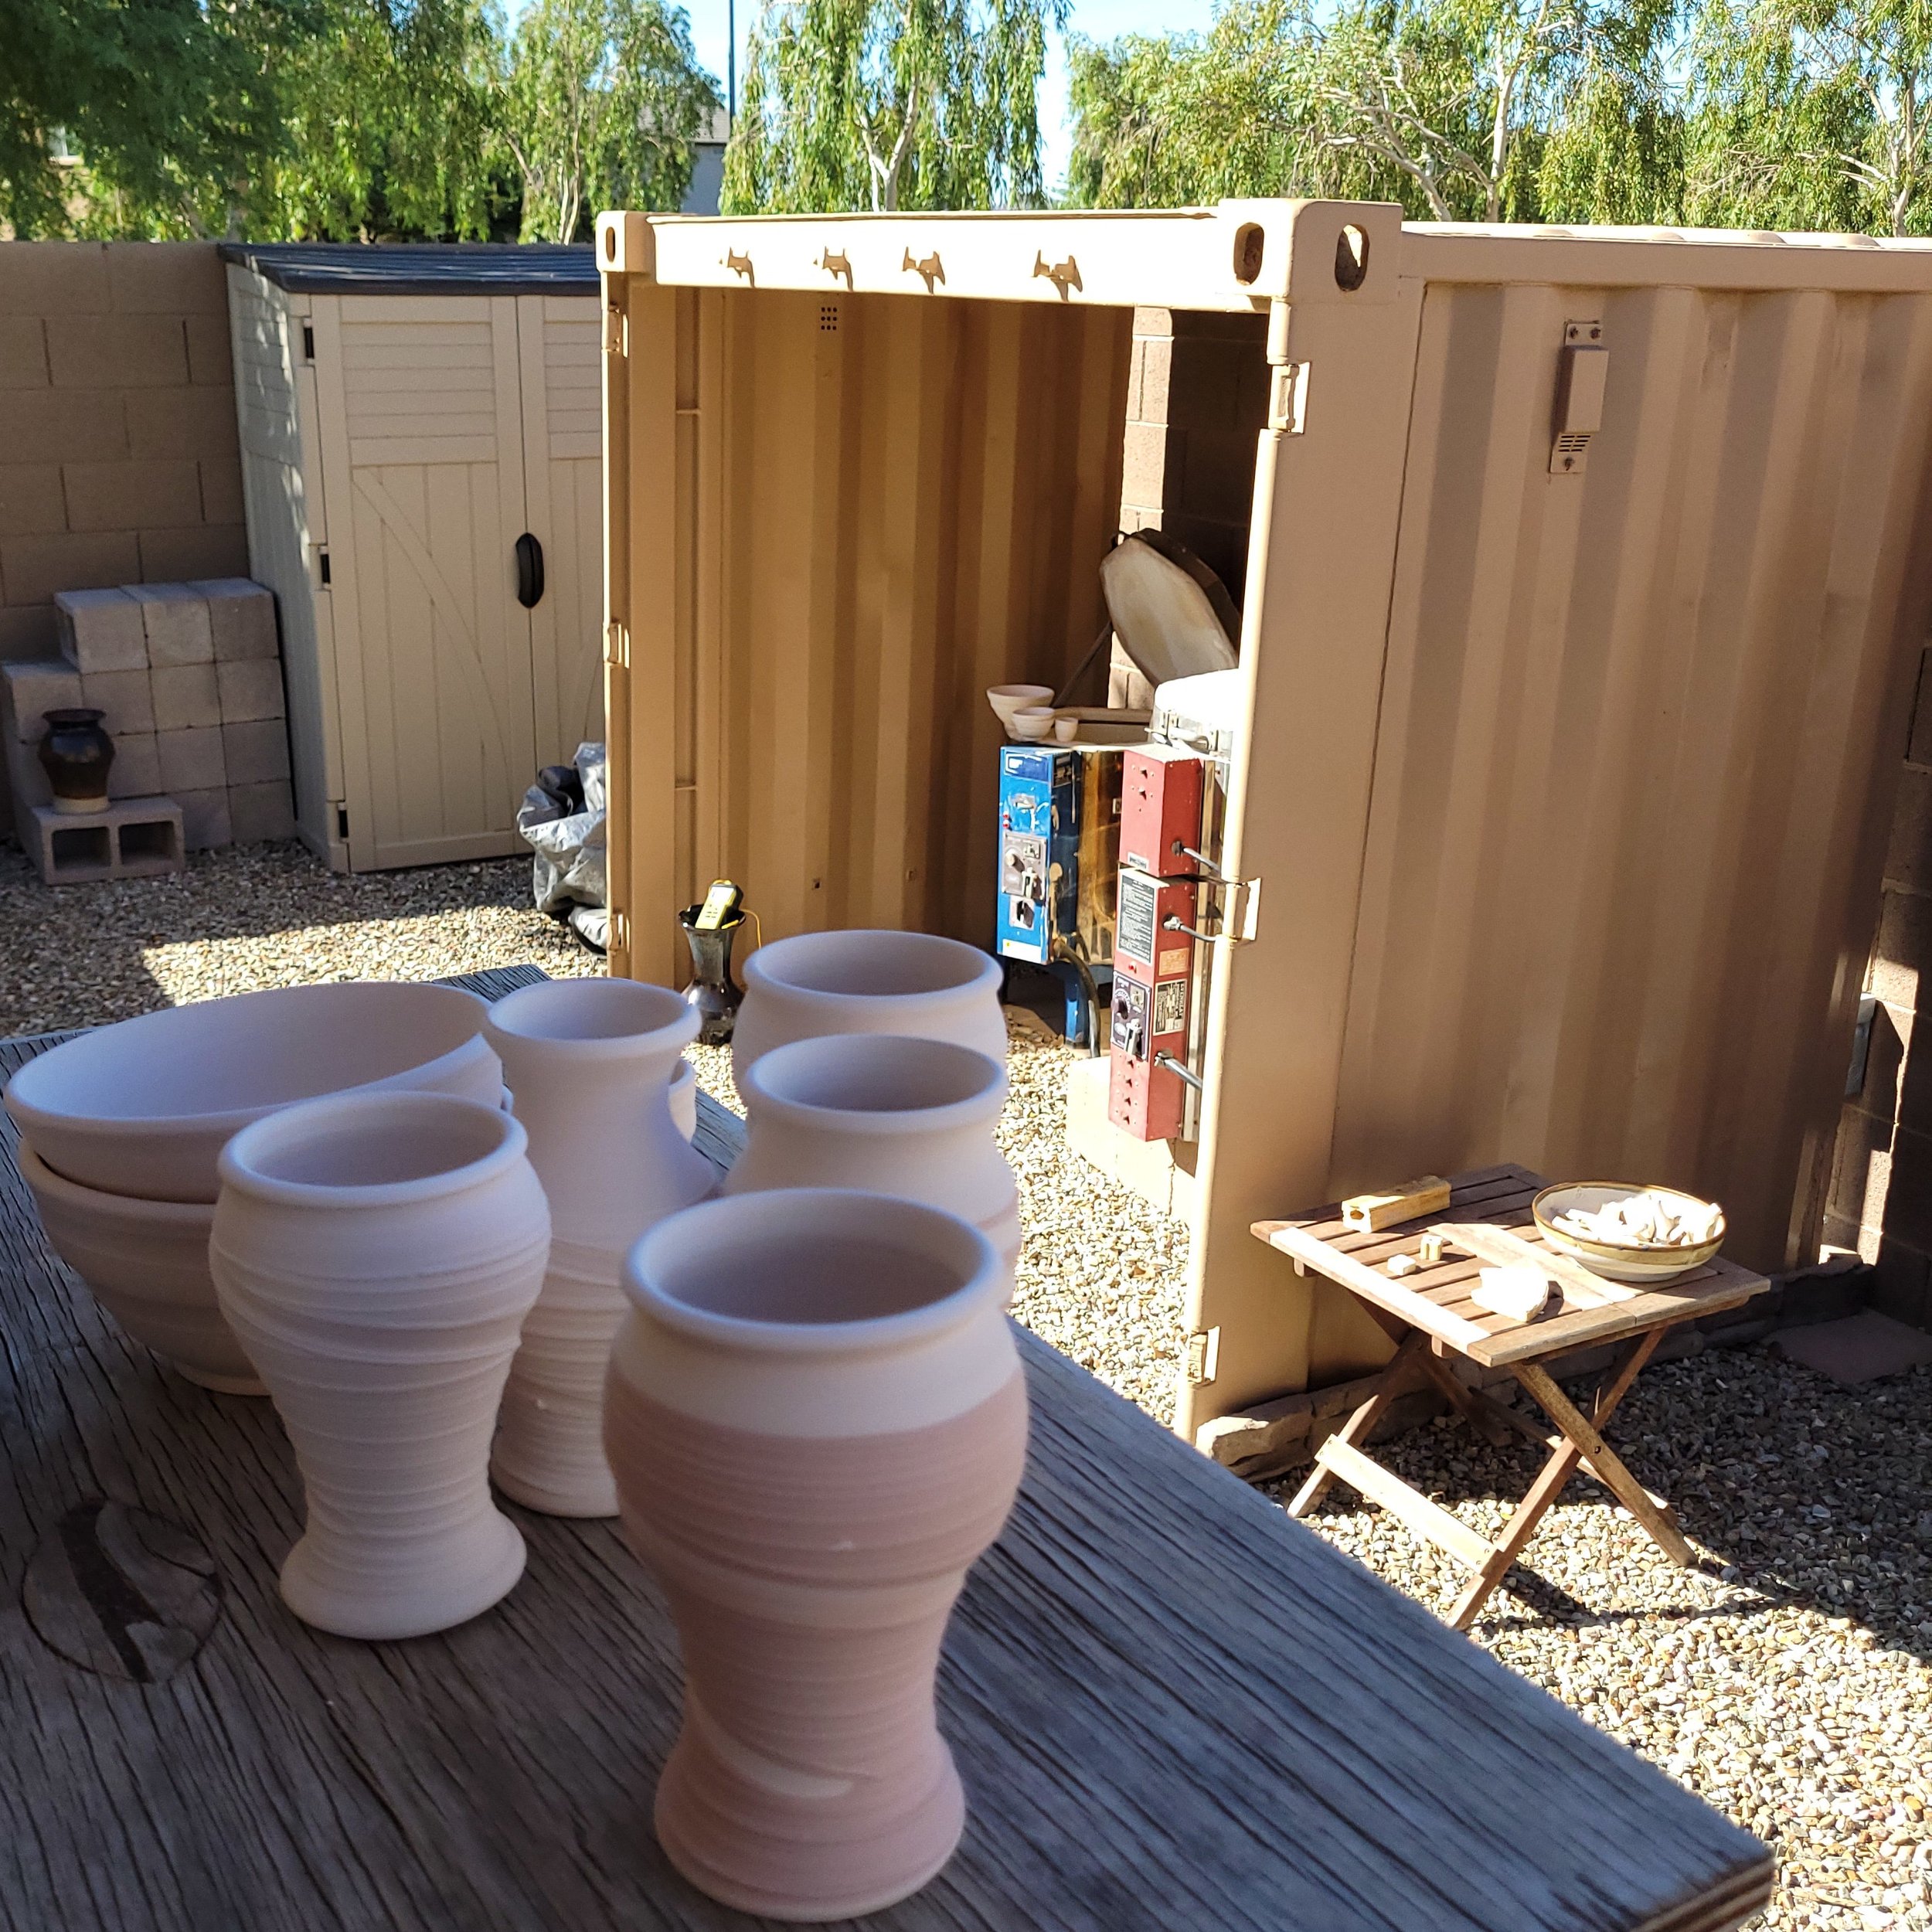
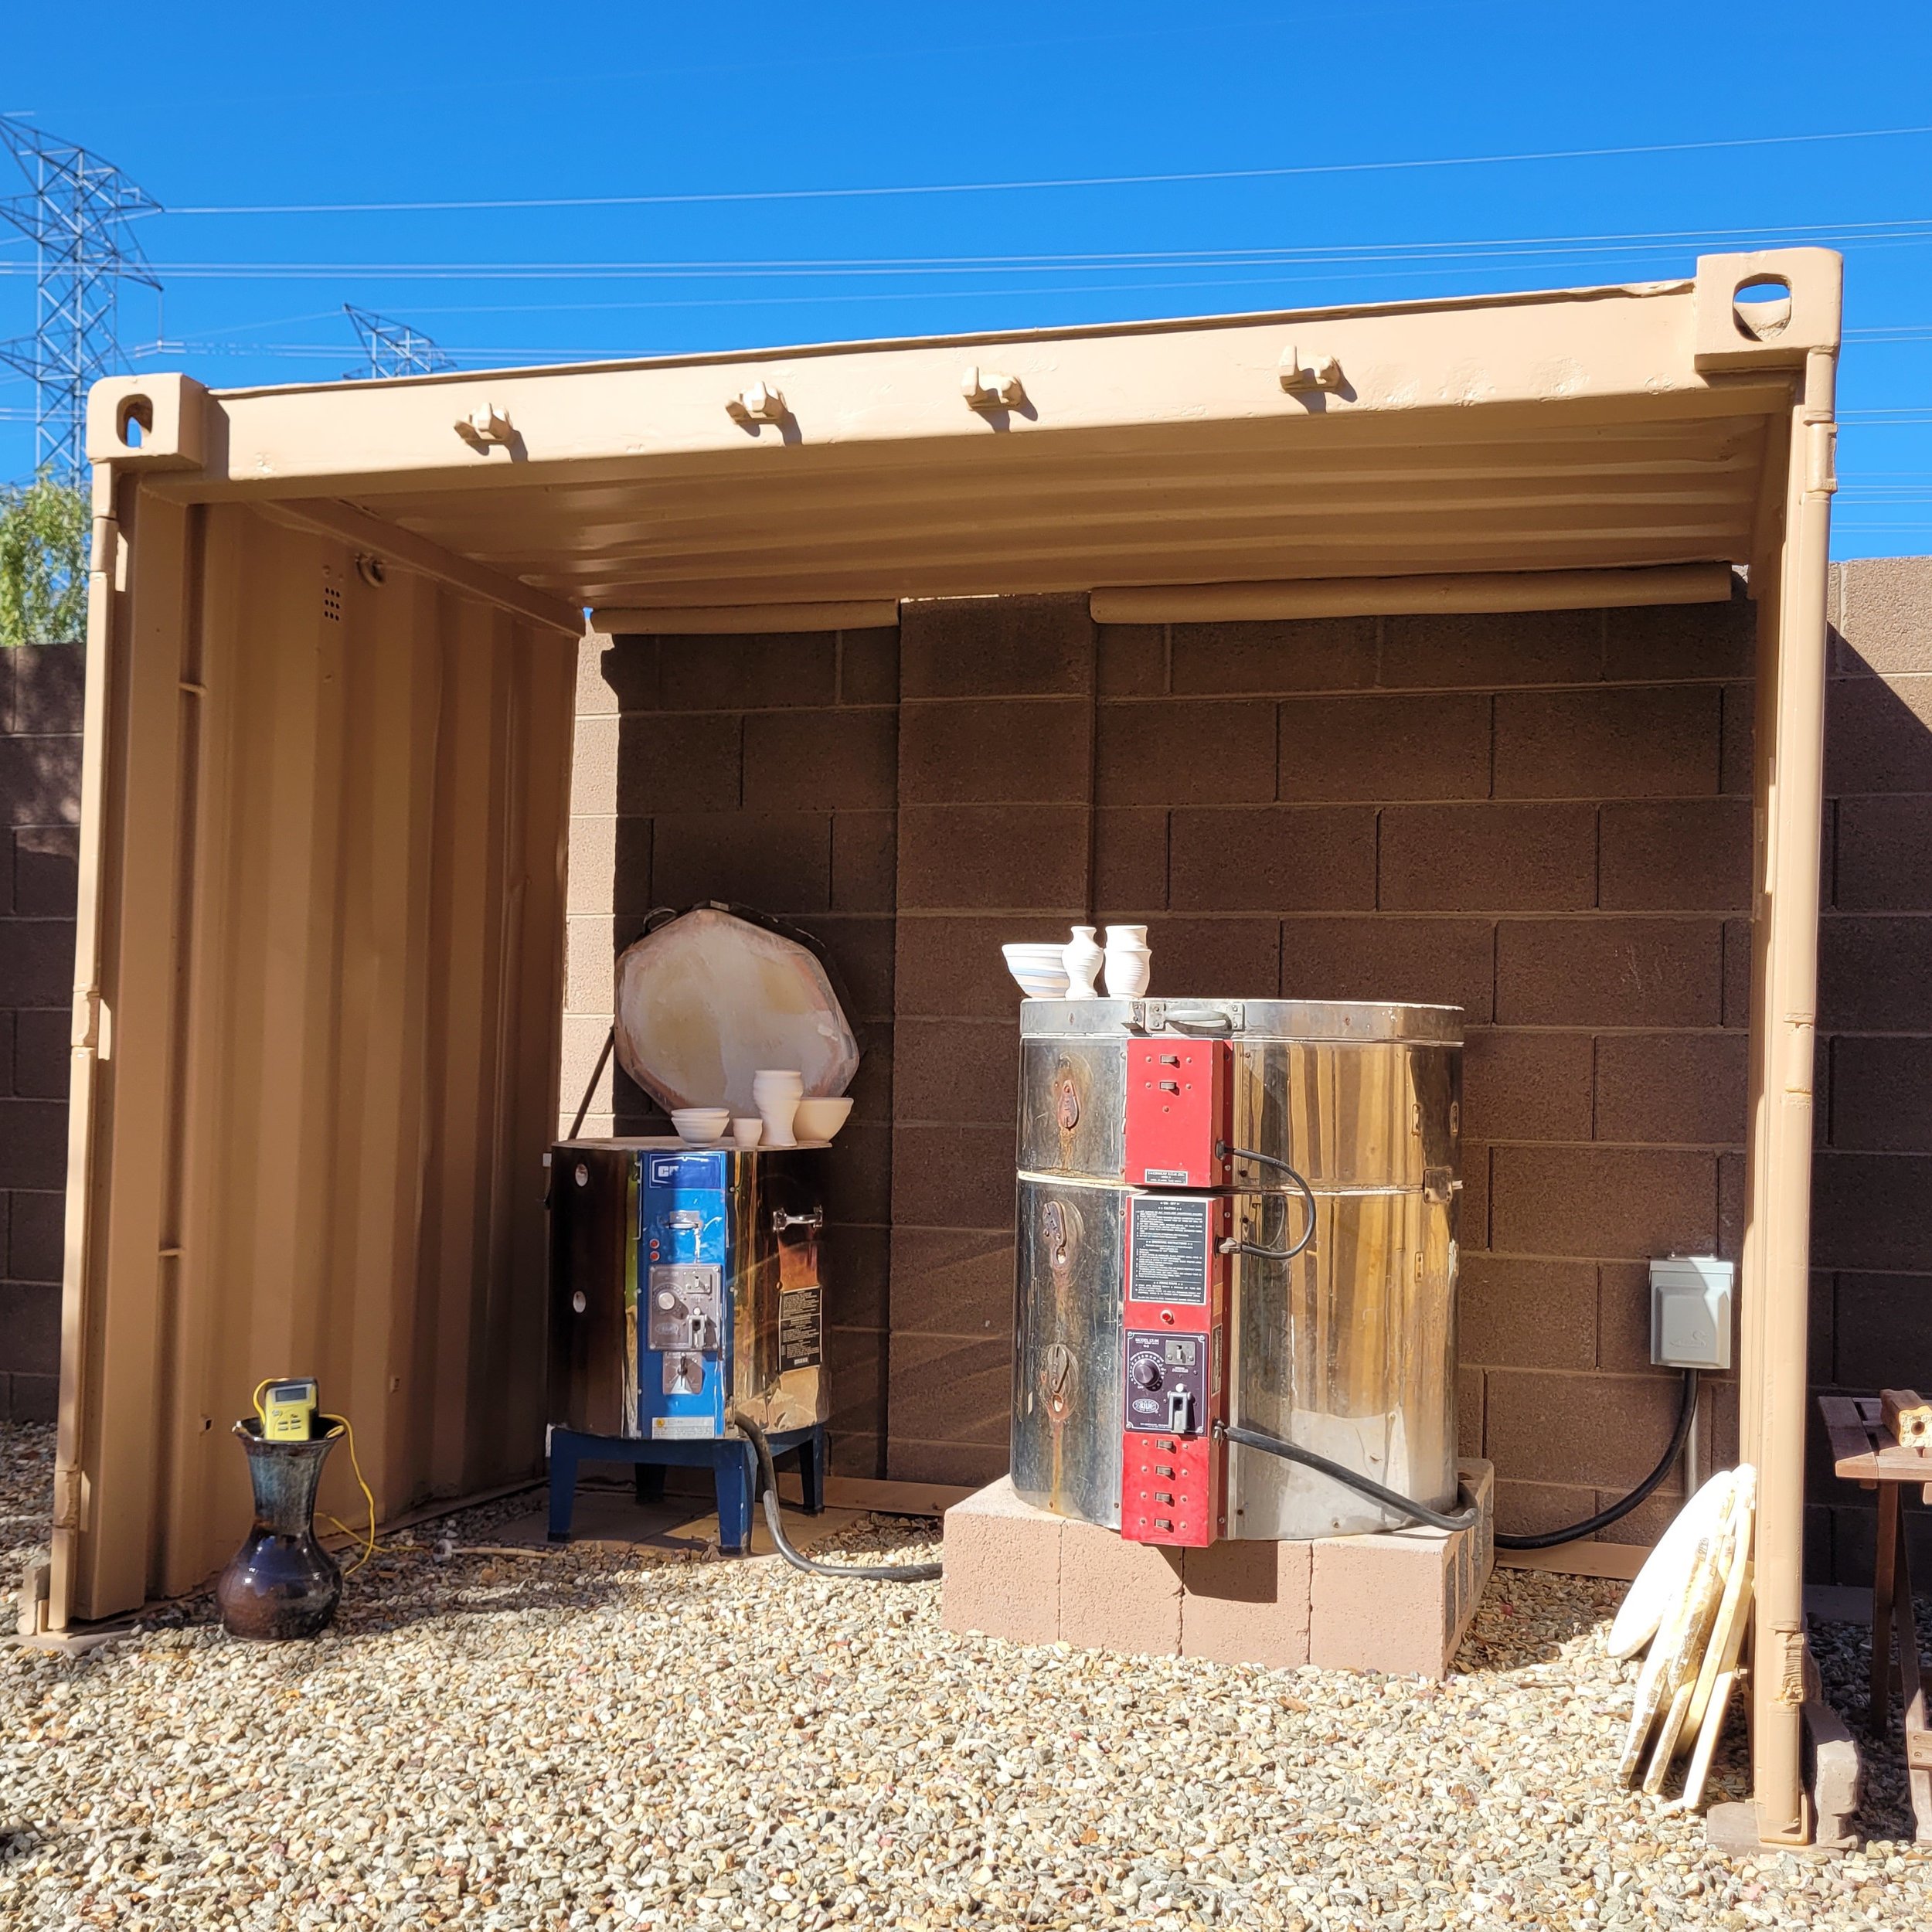
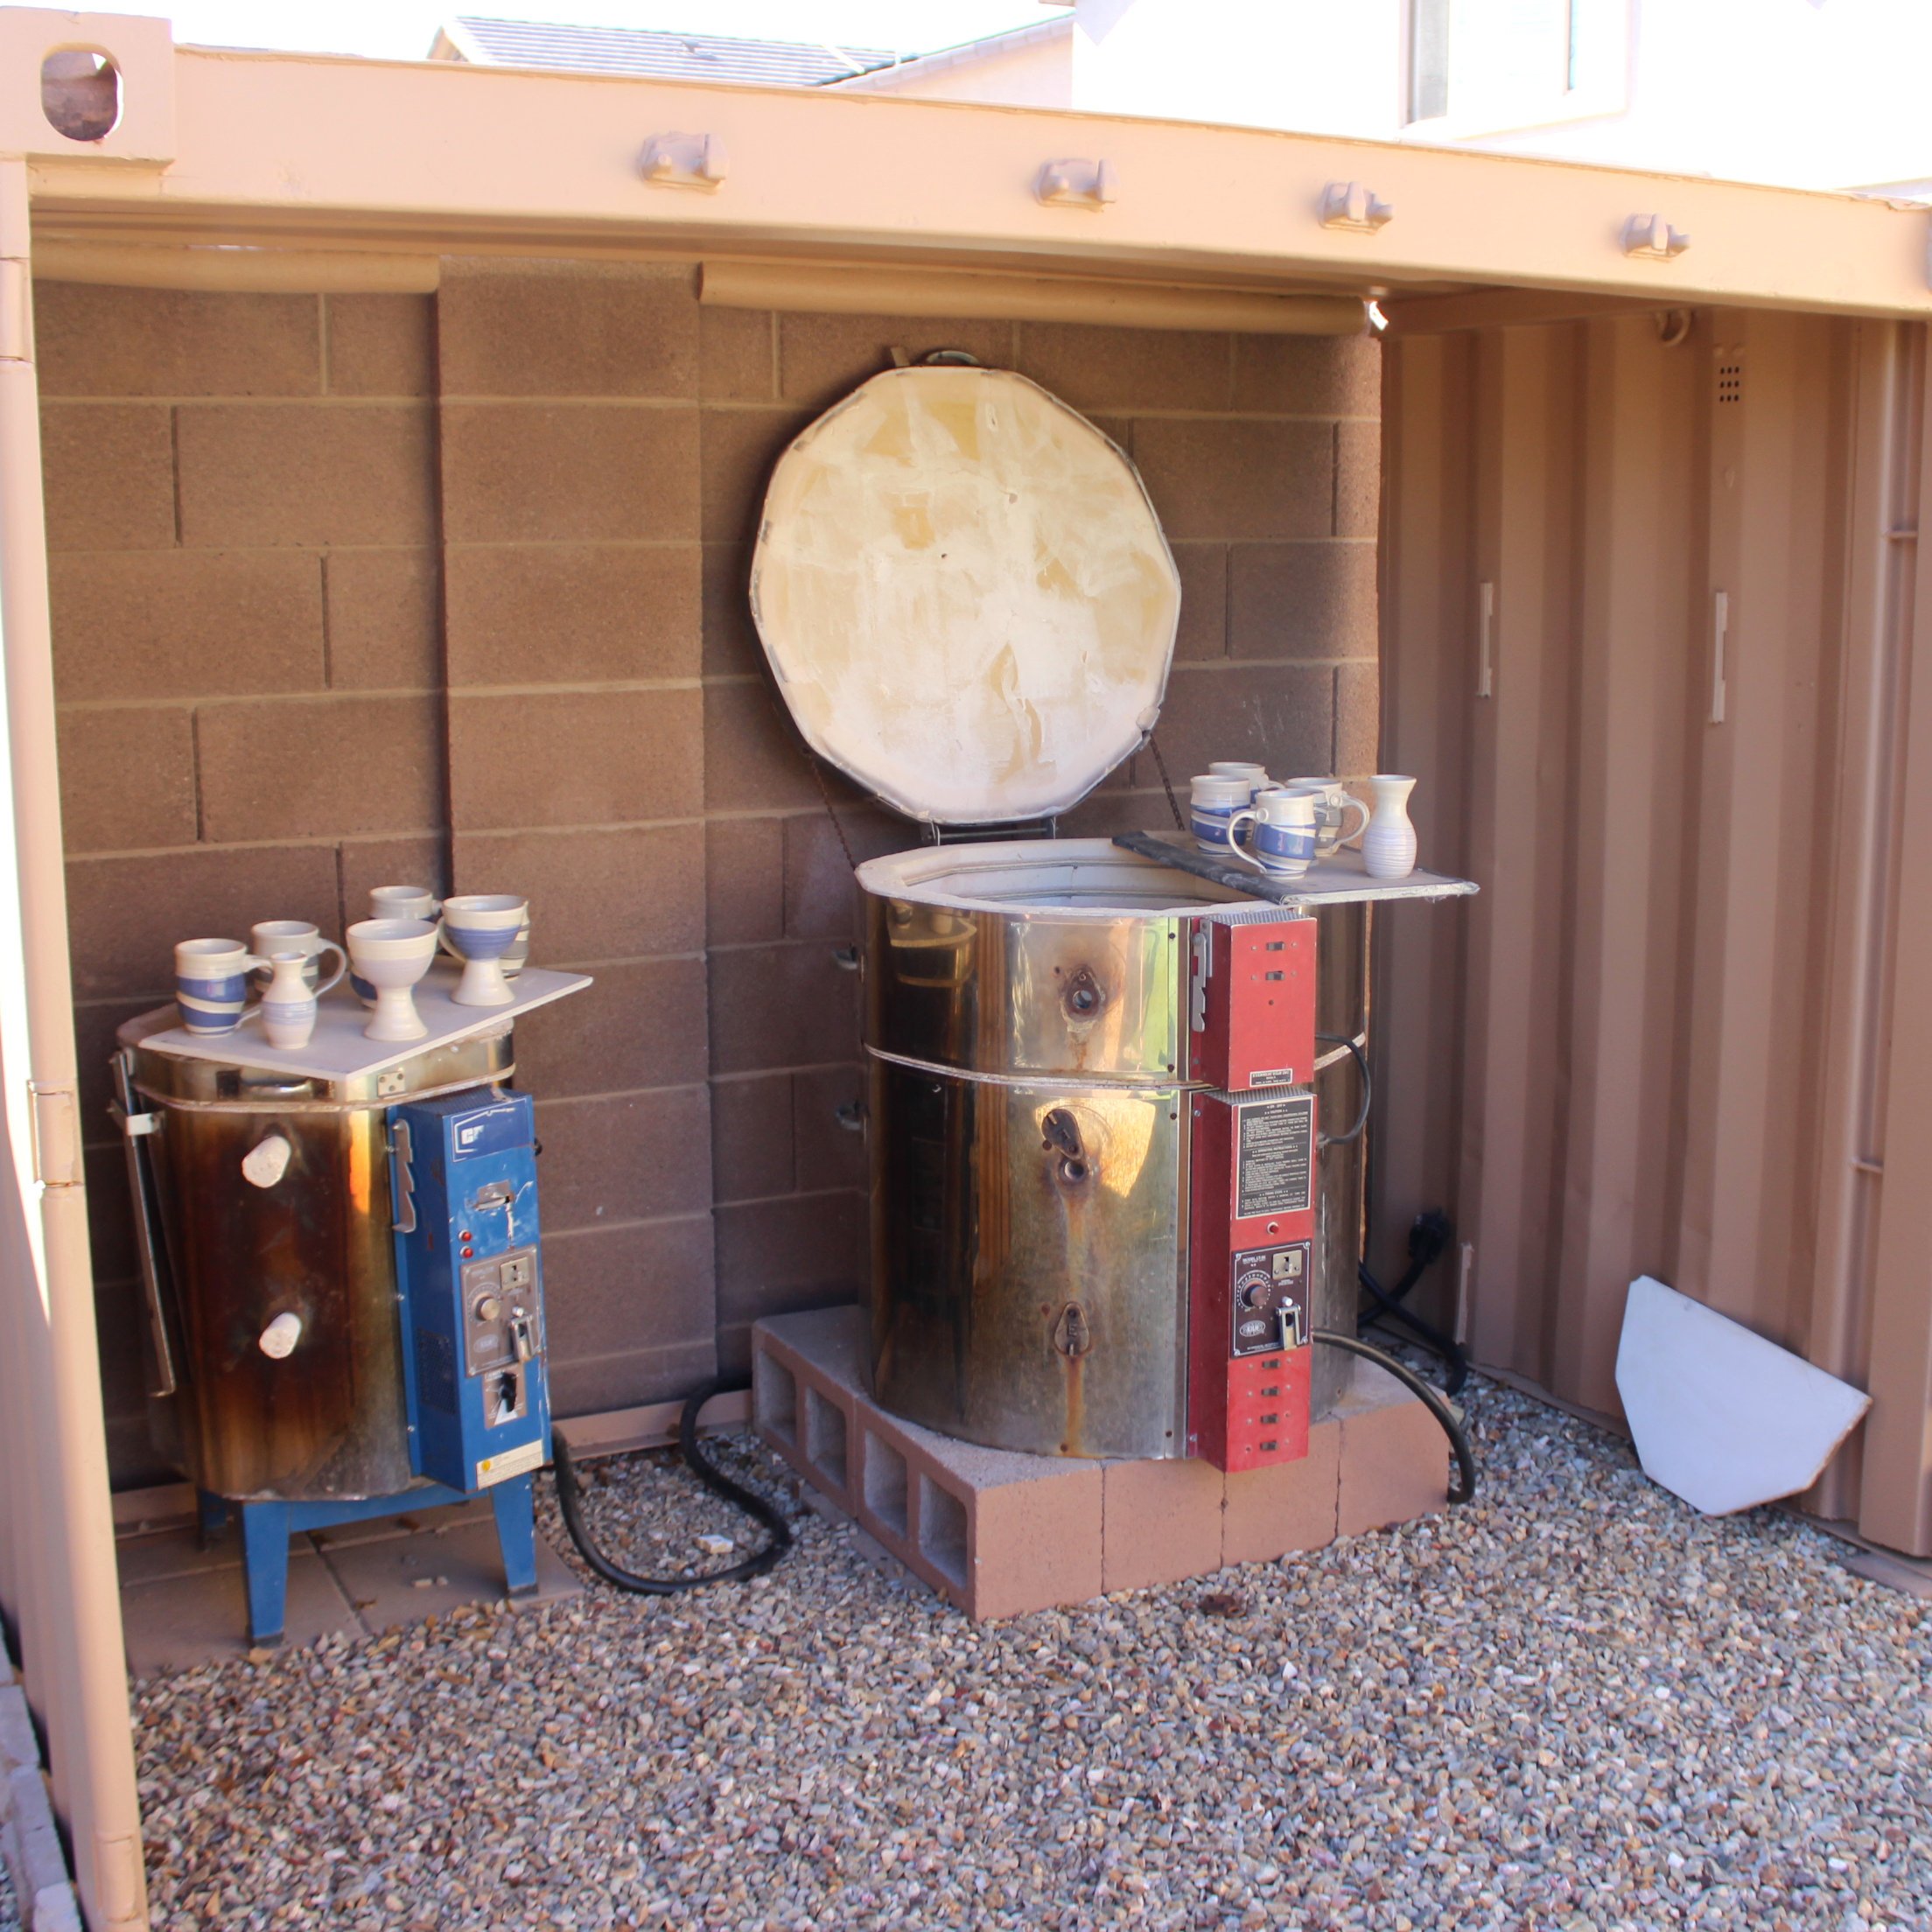
The finished shed looks pretty nice, and it functions very well! I have to duck to get under the lip at the top, but once I’m in I can stand up completely. It also provides some shade from the afternoon sun, which is a huge bonus.
Below are 3 pictures of the finished project. I’ve been using this shed for a few months, and so far I’m loving it!